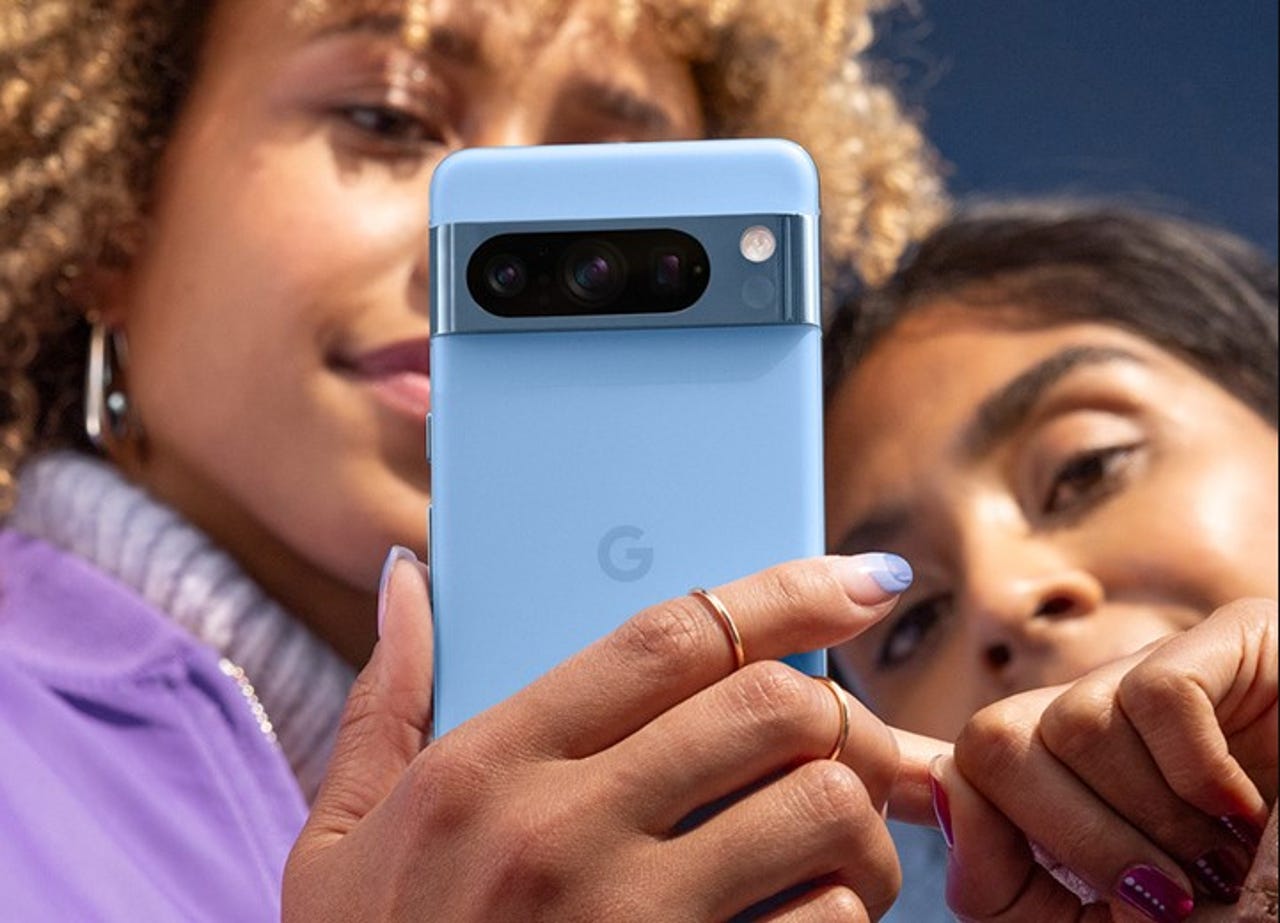
I don’t take a lot of selfies but I know a lot of people who do. Inevitably, those selfies look as if the subject/photographer was trying their best to look like they weren’t snapping a selfie. However, when you have to hold the phone with one hand and tap the shutter button with another, it’s all too obvious. And what about when you want to take a solo photo and your arm just isn’t long enough to get whatever’s in the background framed properly?
Well, Google has developed a solution for those who consider the selfie their favorite form of expression. Essentially, what the developers have done is use AI to recognize a gesture. When the camera spots that gesture, it snaps the selfie.
Also: The best Android phones that we tested this year (including foldables)
Said gesture is called the Palm Timer. How this is used will differ, depending on your camera. The Pixel line of phones has the feature baked in and always on (you just have to define how it works with the timer functionality). If you have a Samsung phone, you have to enable the feature.
I’ve tested Palm Timer over and over and found it to be an absolute must-have for taking selfies, especially when your arm isn’t long enough or you don’t want to risk messing up the shot by reaching out and tapping the shutter button.
Let me show you how this is done.
Using the Palm Timer in Android
What you’ll need: To make this work you’ll need either an updated Pixel or Samsung phone. Keep in mind, however, that the version of Android you have on the device could either require different steps or may not even have the feature built-in. I’ll demonstrate this on a Pixel 8 Pro and the steps for the Samsung device should work with any phone that has Android 13 or newer installed.
With that out of the way, let’s make this happen.
Also: How to turn your old Android phone into a security or pet camera
How to enable the Palm Timer on Pixel phones
The first thing to do is open the Android Camera app. Once the Camera app is open, tap the gear icon in the bottom left corner to access Settings.
Settings are accessed via the bottom left gear icon in Pixel phones. Screenshot by Jack Wallen/ZDNET
Within the Settings pop-up, tap More Settings. On the resulting page, tap Palm Timer.
I keep my Palm Timer set to Always On. Screenshot by Jack Wallen/ZDNET
Also: How to become a content creator: Everything you need
You have two options here: “Only on when 3 or 10 sec timer is on” or “Always on”. I would recommend going with Always on; otherwise, you will have to remember to enable the timer every time you take a selfie. If, however, you won’t always need to use the Palm Timer, you can opt to go with the 3 or 10 sec timer option.
If you opt for the first setting, you’ll have to remember to enable your timer when taking selfies. Screenshot by Jack Wallen/ZDNET
That’s it for the Pixel Phone. You can now back out of Settings to the Camera app.
Also: This foldable drone fits in the palm of my hand and takes the best selfies
How to enable the Palm Timer on Samsung phones
This process is a bit different. Here are the steps:
- Open the Camera app.
- Tap the gear icon in the upper left corner.
- Tap Shooting Methods.
- Tap the On/Off slider for Show Palm until it’s in the On position.
- Back out of Settings.
How to use the Palm Timer
This is very simple. When taking a selfie, all you have to do is hold up your palm toward the camera. You’ll see the Camera app recognize your palm and start the countdown.
Once the countdown hits zero, the selfie is snapped and you’re ready to share it with the world (or retake it if you’re not satisfied with the results).
Also: 5 hidden Samsung Galaxy camera features you should be using
And that’s all there is to enabling and using the Palm Timer to help improve your Selfies with Android.

