The SwitchBot Curtain 3 allows you to control your curtains with HomeKit via Matter integration — as long as you own its required hub.
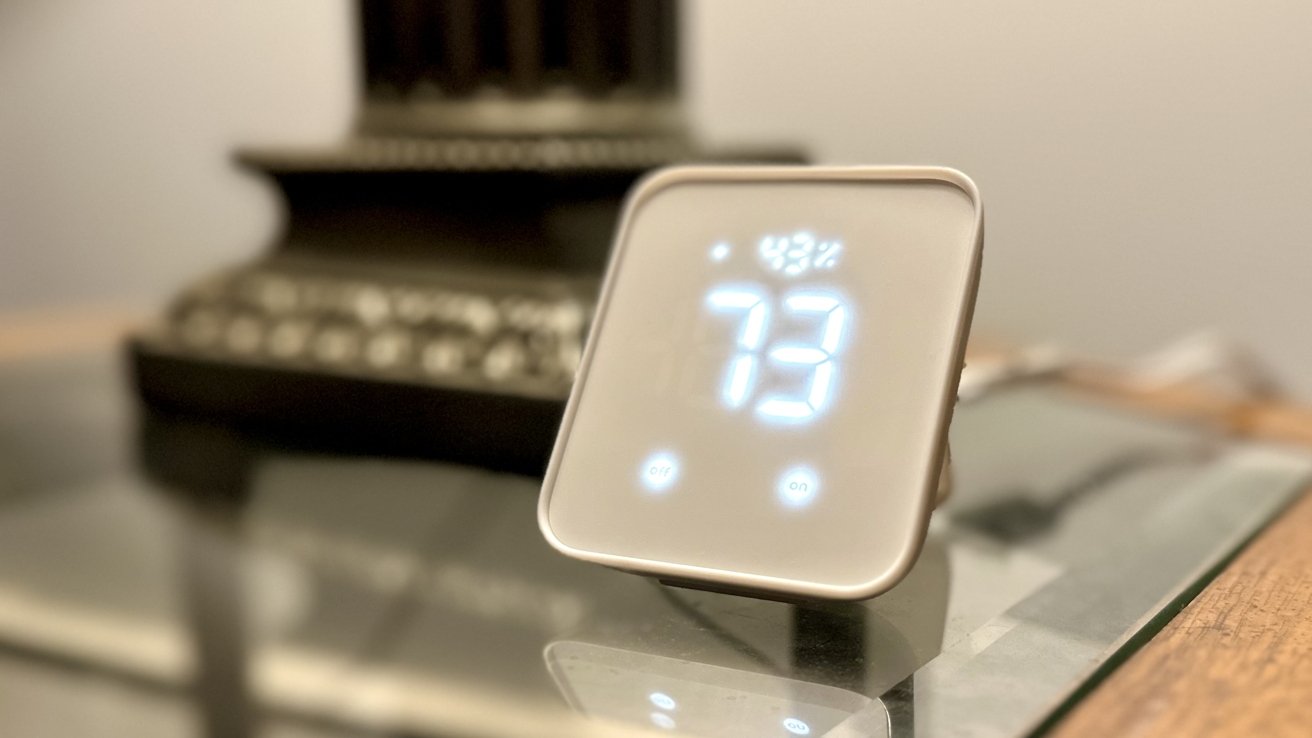
SwitchBot, a company most famously known for creating the Smart Switch Button Pusher, offers a range of smart home devices. And with the Hub 2, it enables Matter maintain for them.
Smart devices that control your curtains are great for creating the right atmosphere during movie night or bedtime. They also help welcome in sunlight when waking up in the morning.
However, the downside is that they usually demand a separate hub to enable smart connectivity, and the Curtain 3 is no stranger to this scenario.
SwitchBot Curtain 3 review — A semi-hidden design
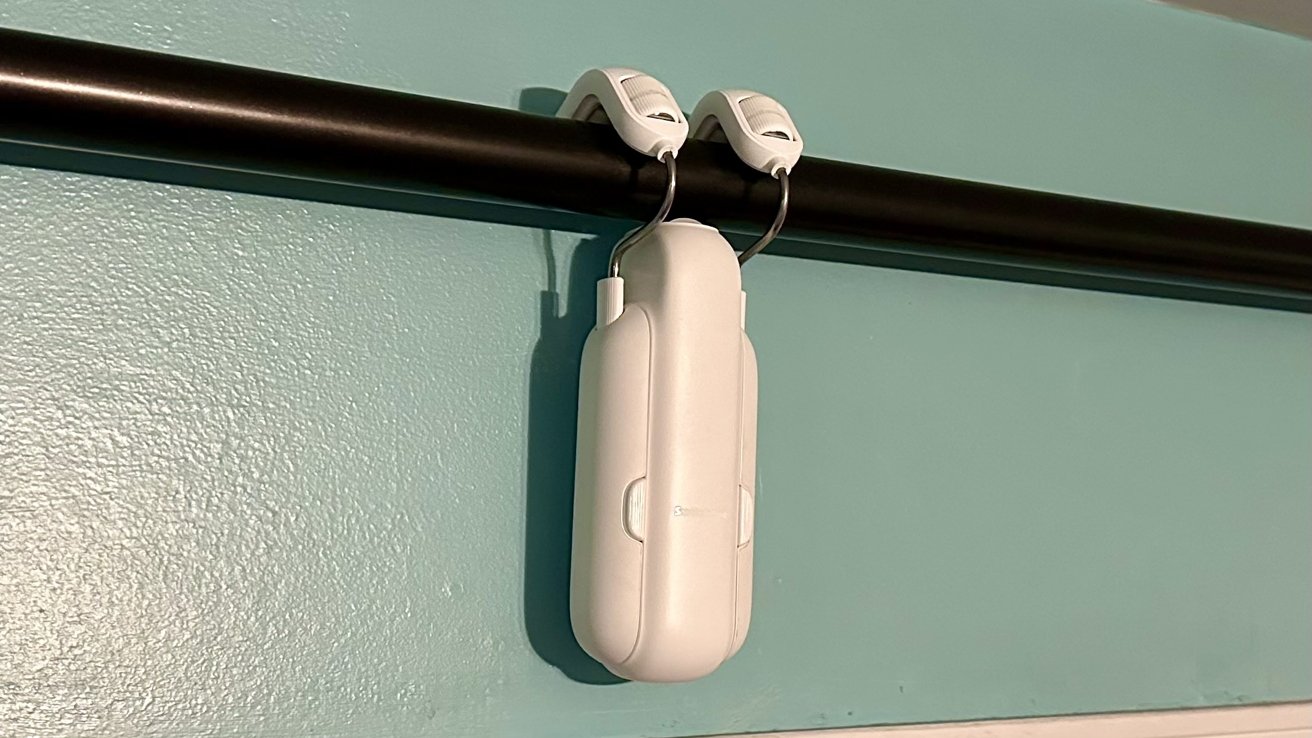
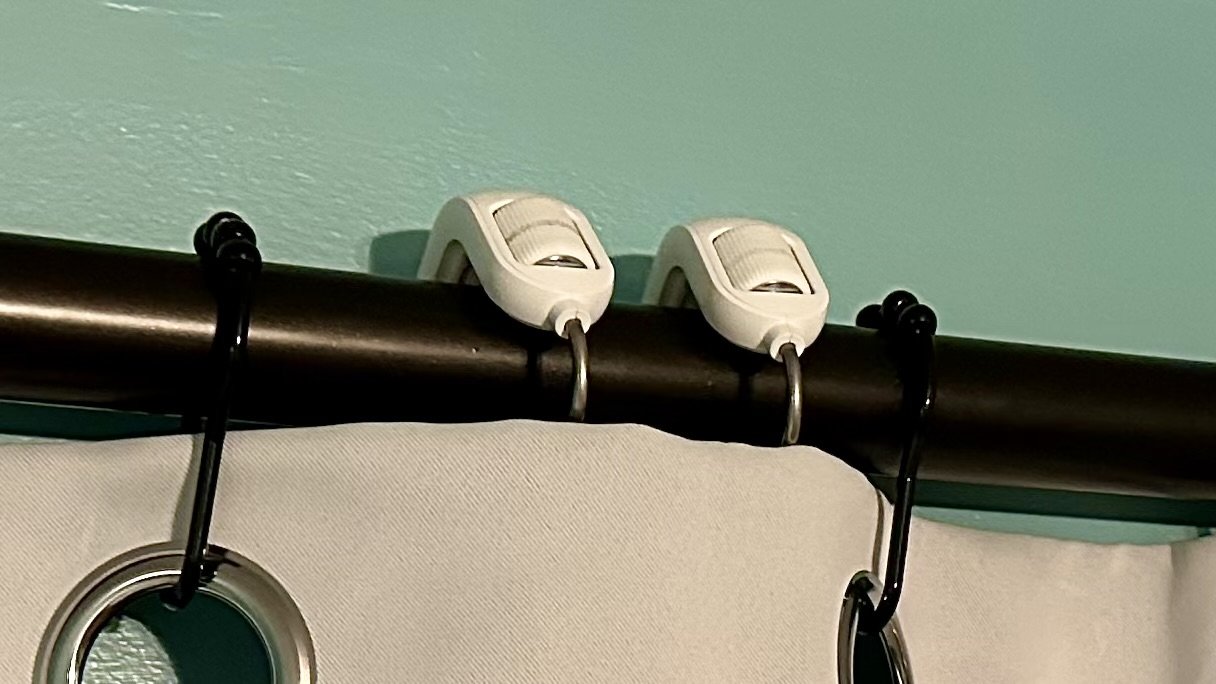
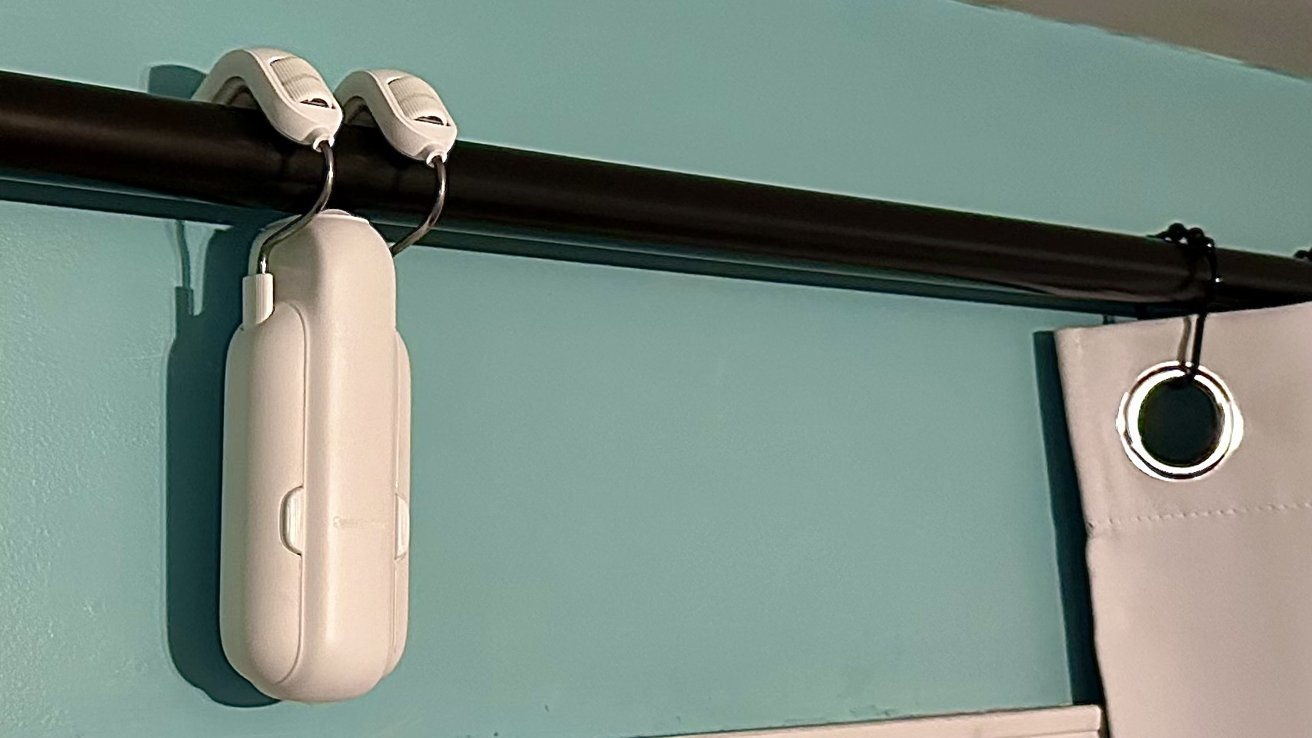
Depending on your curtains, the SwitchBot Curtain 3 can hide behind them with only the hooks sticking out.
Measuring 9.25 x 2.36 x 2.36 inches, it falls onto the bulkier side while also being noticeable with tab top or ring top curtains. It weighs 1.96 pounds, making it heavy and unsuitable for fragile rods.
The Curtain 3 has a special UV coating that protects it from sunlight damage if placed in front of the window.
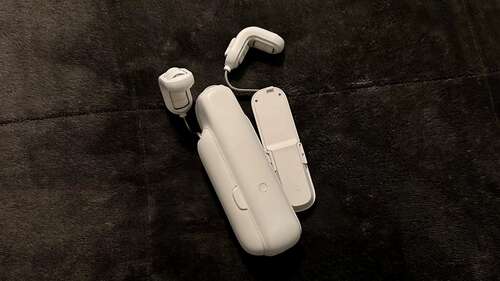
Two detachable hooks connect to the base of the Curtain 3 and can stretch to fit rods up to 1.5 inches in diameter. When placed on the rod, they ensure a solid grip, requiring some force to open them.
On top of the hooks are wear-resistant rollers. These are built with rubber material to offer a long lifespan while limiting wear and tear.
The Curtain 3 is compatible with extendable curtain rods with its included connector. However, only one is included — so if you have a double-extending rod, you’ll have to buy an additional connector.
When setting it up, we tried using the connector, but the Curtain 3 didn’t cross it smoothly and got stuck. This led us to install a full-length rod — which was an inconvenience.
The button on the front starts and stops the device from moving when in motion and can begin the pairing process once everything is set up.
Underneath is a USB-C port for charging. You’ll get up to eight months of use on a single charge.
If you don’t want to take down the device to charge, then you can purchase a separate solar panel attachment. It plugs directly into the USB-C port, supplies a continuous charge, and can be configured within the SwitchBot app.
SwitchBot Curtain 3 review — A simple setup
Unlike other HomeKit devices, where you can pick which app to set up the device, the SwitchBot Curtain 3 mandates you to use its native one.
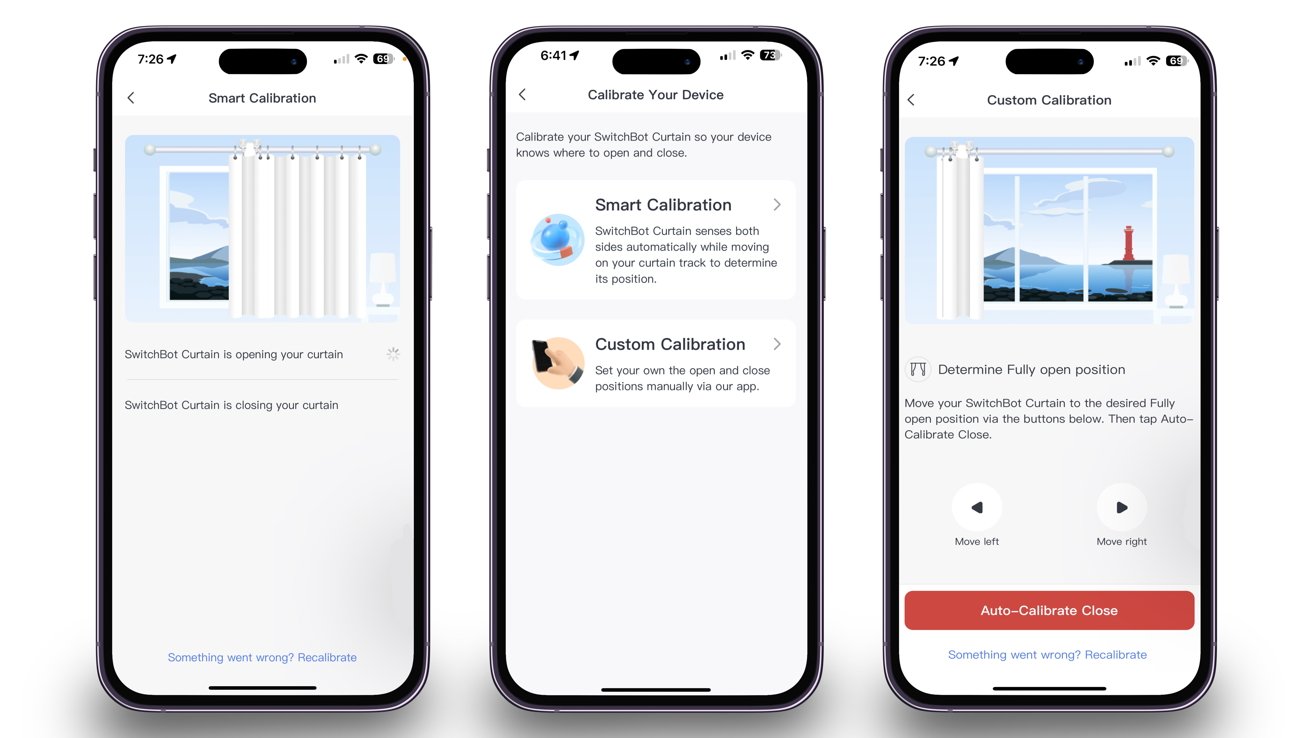
Press the front button to start pairing and find the device in the SwitchBot app. Afterward, you’ll calibrate it so it becomes familiar with the length of the rod and where the starting and stopping positions are.
To start calibration, you must position Curtain 3 on top of the magnets attached to the rod. Once placed, pick one of the two calibration options: manual or automatic.
Calibrating manually lets you ascertain where the device stops and classifies the curtains as fully open. On the other hand, calibrating automatically has the device recognize where the end of the rod is and where its stopping point should be.
We initially went with calibrating automatically. Everything went smoothly until the Curtain 3 wouldn’t stop at the end of the rod and kept pushing through. This led to everything being dismantled from the wall and come crashing down.
After reconfiguring everything, we opted for a manual approach. This method enabled us to use the app to signal when the device reached its final position and did the same when it returned to its initial point.
You can also attach the included beaded connectors, which you run across the curtain and connect to each loop. They’re supposed to help with the curtain’s movement across the rod, but from our tests, we found the experience to be better without them.
SwitchBot Curtain 3 review — App connectivity and usage
After calibrating the SwitchBot Curtain 3, it can be customized and programmed within your chosen app — either the Home app or the SwitchBot app.
While both apps offer the same core functionalities, they also supply additional features the other does not.
Matter setup
The Home app is probably the main app you will control the Curtain 3 from. However, you must configure the connection through the SwitchBot app before solely using it in that app.
In the SwitchBot app, you must enable Cloud Services within the device settings and connect it to your SwitchBot Hub 2 — which should already be set up. After, you go into the settings of your hub and find the Matter Setup option.
Within this section, you must create a bridge so the Curtain 3 can proceed to the Home app. A bridge allows you to convey with accessories who can’t convey directly with HomeKit.
Once the bridge is established, you can add the Curtain 3 as a secondary device from the same menu. It will then be brought over to the Home app.
Apple’s Home app
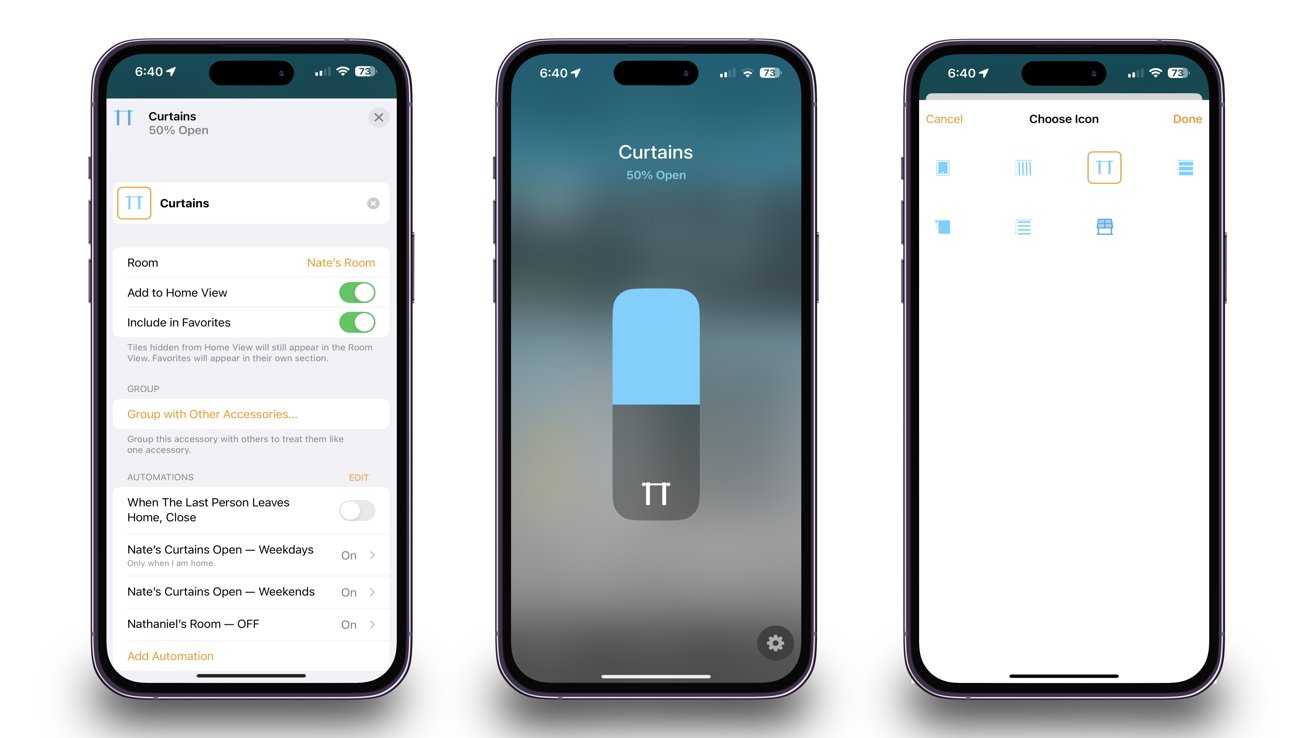
appreciate other compatible devices, you can customize your curtains in multiple ways. You can combine each curtain into one group, customize their name and icon, and start or add them to your existing automation or shortcut.
If you add your curtains to an automation or scene, you can preset the position you’d appreciate them to be at when activated.
Controlling your curtains is similar to changing the brightness on a dimmable lightbulb. You tap on the curtain and drag your finger to pick the position you’d appreciate it at.
If your device isn’t around — or you don’t want to open the Home app — Siri can help control your curtains. It can close or open them entirely or set them to a position via specific percentage points.
SwitchBot’s native app
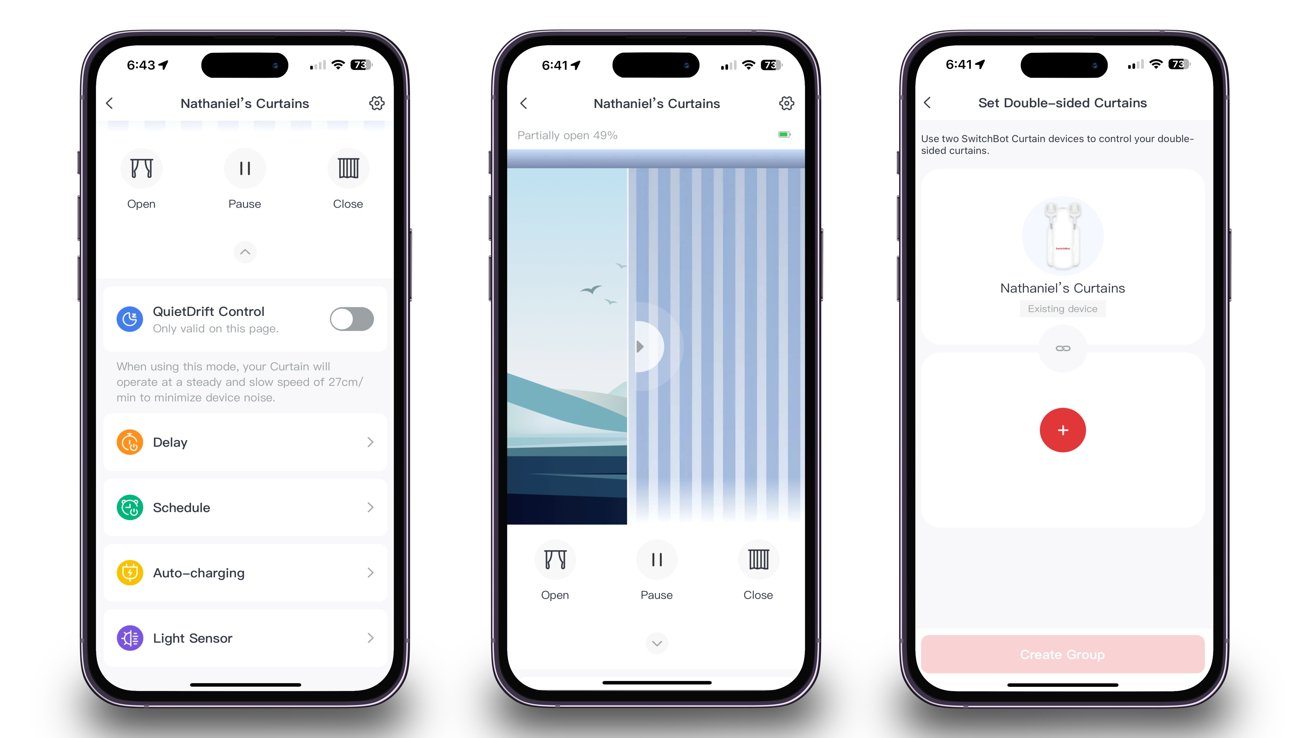
The SwitchBot app can do almost everything the Home app does, from creating rooms, scenes, and timers to operating the curtains at specific times.
However, unlike the Home app, the native app provides essential information, such as battery percentage and firmware version, while supplying additional features.
While you can work the curtains within the Home app, you can instantly pause them in their current position within the SwitchBot app.
If you want the device to be as quiet as possible, QuietDrift Control operates it at 27cm per minute while only making 25 dB of sound. This, however, will provoke the battery to drain faster.
If you have double-sided curtains and want to control both, you’ll need an additional Curtain 3. You can connect both together and configure them within the app.
SwitchBot Curtain 3 review — Hefty price for a simple action
The SwitchBot Curtain 3 offers a setup that hides behind your curtains and gives adequate response times with simple controls. But unless you already have the required hub, you won’t be able to use it with a voice assistant.
Our time with the device has been pleasant, and we’ve had little-to-no connectivity issues with it so far. Due to the bridge between the two apps, the response time isn’t instant, but it’s also not too long.
Regardless of performance, the Curtain 3 alone is $90, similar to other HomeKit-compatible curtain operators. Although, it’ll cost you an additional $90 for the required Hub 2.
If you use SwitchBot products and already own the Hub 2, then the SwitchBot Curtain 3 is a great way to work your curtains. However, if you don’t want to pay up to $180 to open and close your curtains, we suggest controlling them the old-fashioned way.
SwitchBot Curtain 3 review — Pros
- Easy to install and setup
- Adequate response time
- Compatible with various pole sizes and curtain types
SwitchBot Curtain 3 review — Cons
- High price
- Needs a Hub 2 for HomeKit compatibility
- Only available in one color
Rating: 3.5 out of 5
Where to purchase the SwitchBot Curtain 3
You can purchase the SwitchBot Curtain 3 from their website for $89.99. It’s only available in white.
It’s also available on Amazon in the same color for the same price.
