As someone who works on Microsoft Word daily, I follow a routine before I type my first words. Doing this means I can avoid making wholesale changes down the line, and it also ensures my document is presented professionally. Even if you only use Word occasionally, I’d recommend you do the same.
My routine is specific to the Microsoft Word desktop app, which you can download as a
Microsoft 365 subscriber
. Some of the steps are not available in the free web-based version of the program.
Name and Save the Document
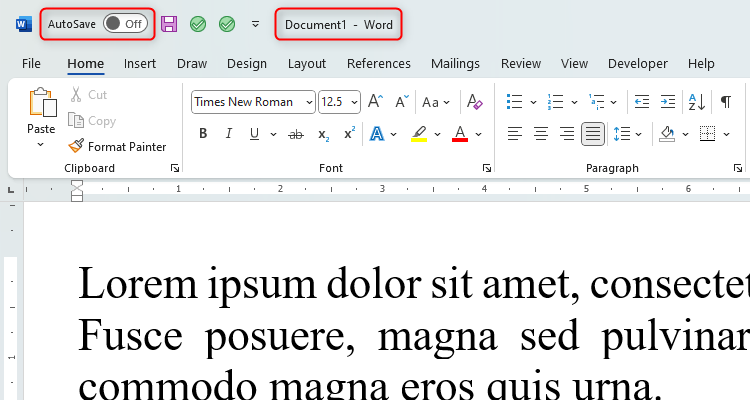
As soon as I open Microsoft Word, the first thing I do is name and save the document. Yes, if you have signed in to OneDrive on your PC, your work will automatically sync to the cloud as you go, but this feature won’t activate until you manually save your work for the first time. As you can see in the screenshot below, the document is unnamed and the AutoSave is turned off, meaning if my computer were to crash, I’d lose my work.
The quickest way I do this is by pressing F12 on my keyboard, which brings up the Save As window. From there, I can give my document an appropriate name, save it to an appropriate folder, and then continue my work with the knowledge that my document is securely backed up to OneDrive should anything happen.
Define the Styles
It’s often tempting to dive straight into the document and type the first few words, but I’ve found this step to be crucial in ensuring my work is presented and edited correctly and consistently. For example, which font do I want to use for my main body text? What types of headings will I use? Which editor language do I want Microsoft Word to help me with? These questions—among others—must be answered before I type my first word.
The Styles group in the Home tab is where I make these adjustments.

As you can see in this screenshot, I’ve set my normal body text to be Times New Roman size 12, my first heading to be size 14 and emboldened, my second heading to be size 12 and bold, and my third heading to be size 12 and italicized. This means that anytime I want to add a new heading to my Word document, I can quickly click the relevant style rather than remembering the formatting from the previous time I typed a heading.
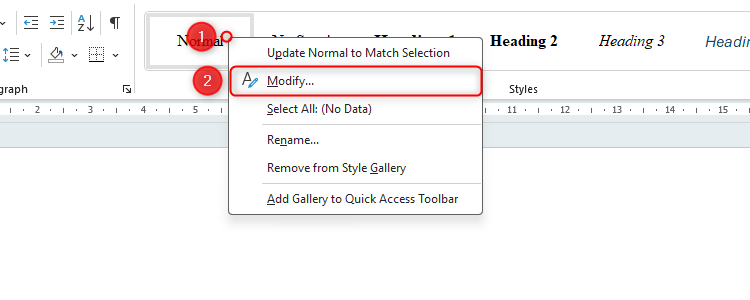
To modify a style, right-click one of the choices available, and click “Modify.”
Then, in the Modify Style dialog box, click “Format” to access the different settings for the style you selected, including the font, language, and paragraphing.

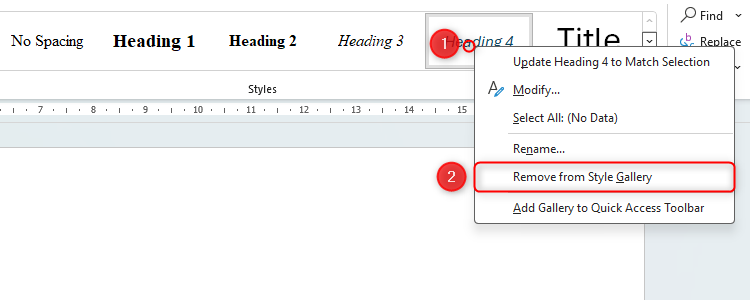
By default, Word will automatically recommend commonly-used styles until you adjust them to suit your needs. For example, I know I won’t need a fourth heading style, so I’ve left that unmodified. If you want to keep your Styles group nice and tidy, right-click the ones you know you won’t use, and click “Remove From Style Gallery.”
This might seem a tedious process initially, but after you’ve done it the first couple of times, it’ll become second nature, and you’ll appreciate the time it saves as you construct your document.
Check AutoCorrect Settings
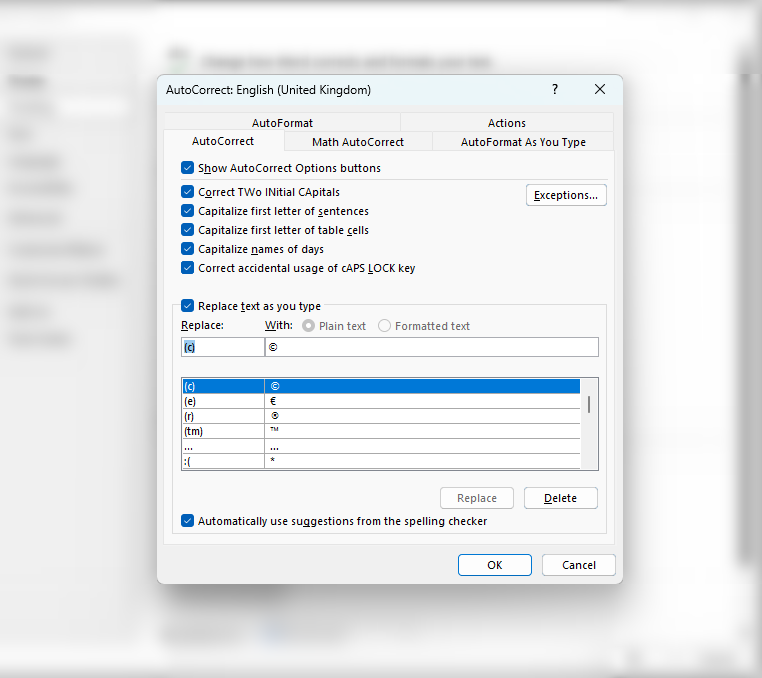
Although I love Word’s AutoCorrect tool, it can be a nightmare if its settings aren’t tailored to my personal typing experience. For example, I often type in-paragraph lists using (a), (b), (c), and so on, but Word’s AutoCorrect recognizes (c) as an attempt to insert the © symbol and changes it automatically. On the other hand, I have the habit of typing “etc.” instead of using a more formal way to express that there are other things included in a list, so I’ve forced Word to change this to “and others” to avoid having to change this manually each time.
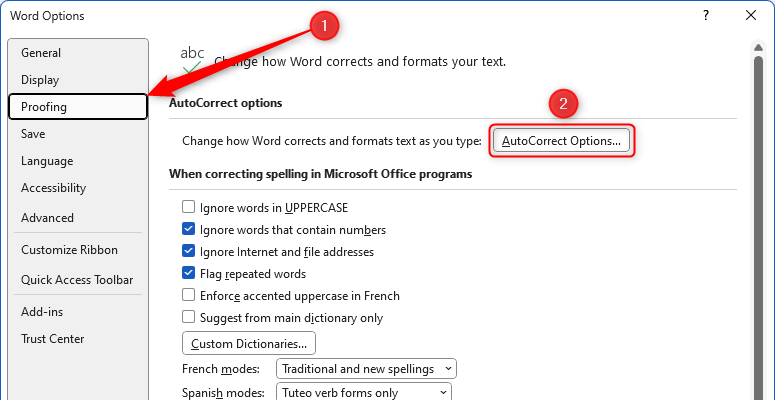
To check these AutoCorrect settings and other changes Word will make by default, click “File” in the top-left corner, and choose “Options,” which is at the bottom of the menu that appears on the left. Then, in the Word Options window, click “Proofing” and then “AutoCorrect Options.”
Head to the bottom half of the dialog box, where you can add or delete specific changes that you want Word to make as you type. It’s also worth clicking through the other tabs to check that everything else is as you want it to be.
Microsoft 365’s apps have a Quick Access Toolbar (QAT), which is exactly what you’d expect it to be—a toolbar where you can perform actions with a single click, regardless of which tab on the ribbon you have open. Setting these up before I start typing in Word saves me so much time, as I don’t have to browse Word’s many tabs and menus to find the action I want to perform.
If you can’t see the QAT, right-click the “Home” tab on the ribbon, and click “Show Quick Access Toolbar.”
In my case, I have added the Save, Multi-level List, and Show/Hide (¶) icons to my QAT, as I know I will use these frequently.
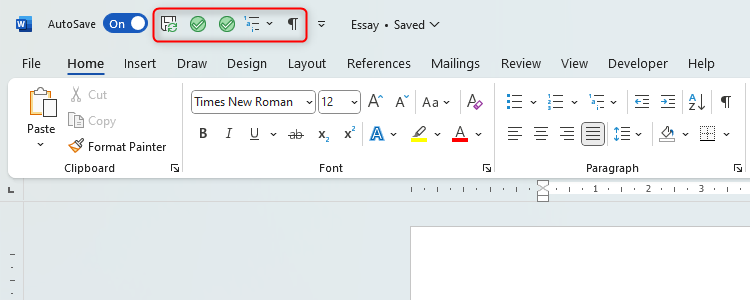
You might also have noticed two green buttons in my QAT—clicking these turns all straight apostrophes and quotation marks to curly ones, as I’m often sent documents that contain inconsistent punctuation formatting, and I added them using Word’s macro builder.
To customize what you see in your QAT, click “File” in the top-left corner of your Word window, and choose “Options.” Then, in the Word Options window, click “Quick Access Toolbar.” To locate more easily the command you’re looking to add to the QAT, click the drop-down arrow beneath Choose Commands From.

When you find the relevant command, click “Add,” and then click “OK” when you’re done.
Providing you have signed in to your Microsoft OneDrive account on your PC, the QAT icons you add will be there each time you open a Word document.
Save the Setup as a Template
Depending on the type of work I’m doing on Microsoft Word, I sometimes stop here and save the setup as a template. For example, if I’m creating a document for one of my clients, and know that I’ll have to use the same styles and layouts again in the future, I can avoid having to go through the above process each time.
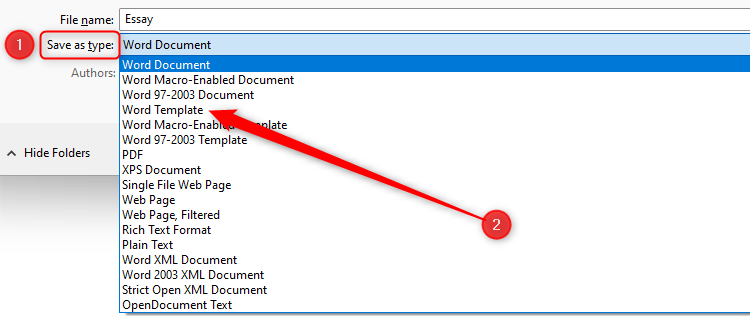
To save your setup as a template, press F12, and in the Save As dialog box, change the Save As Type option to “Word Template.”
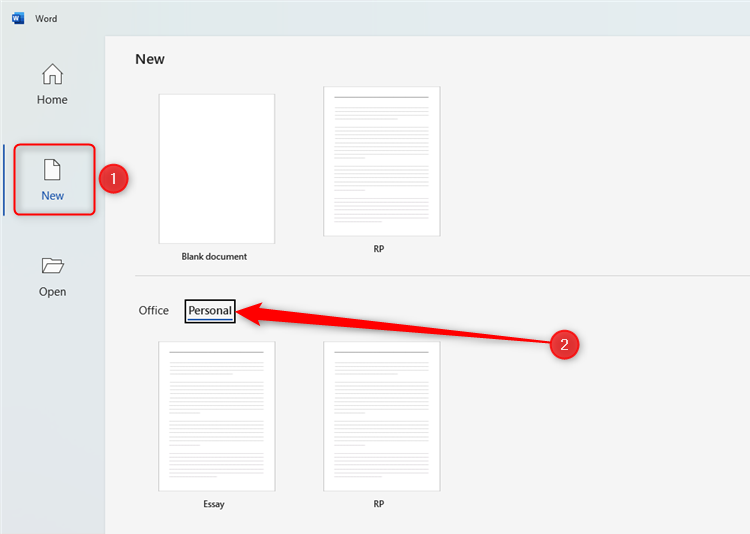
To use the template in the future, open Word, click “New,” and then open the “Personal” tab, where you’ll see any templates you have created and saved.
Adjust the Zoom
Now that my document is ready to go, the last thing I make sure I do is adjust the zoom. This helps me to work more comfortably, as it means I’m not arching my back or neck to see the screen more clearly, and I’m not straining my eyes because my text is too small.
You can either drag the zoom slider to the left or right, click the “+” or “-” icons at either end of the zoom slider, or—if you’re using a mouse with a scroller wheel—hold Ctrl and scroll up or down.
While you’re thinking about the best ways to use Microsoft Word, there are some features that make your work as professional as possible.

