Apple’s Live Photos is a hybrid photo-video format that records action 1.5 seconds before and after you tap the camera shutter. They capture image, sound, and movement combined, and you can play the Live Photos with a simple tap and hold. With Live Photos, you get more than a great photo; you capture the entire moment with movement and sound and shoot them in the same easy way as any other photo. Unfortunately, all of this extra data can take up quite a bit of space if all you want to do is take a simple photo. As a result, turning off Live Photos — a feature present on all of the best iPhones — is a rather logical response.
The catch is that Live Photos is on by default. And, turning it off in the most obvious way — in the camera app — isn’t a permanent fix. You’ll find the feature back on again soon unless you take more action.
Here, we run through the steps to turn off Live Photos for just awhile as well as to disable it permanently. Then, we’ll go into more settings and techniques you can use to control Live Photos.
How to turn off Live Photos temporarily
Follow these steps to turn off Live Photos for your next shoot. It will turn back on again, automatically, for the shoots thereafter.
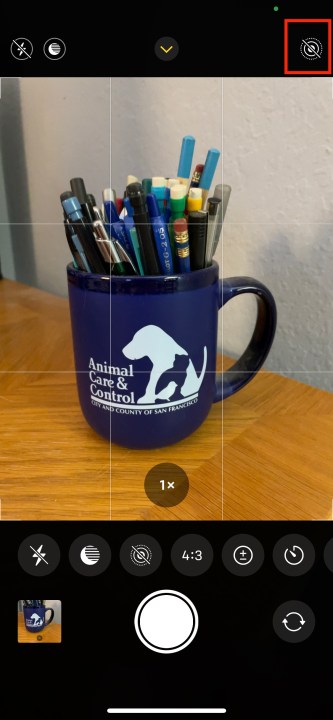
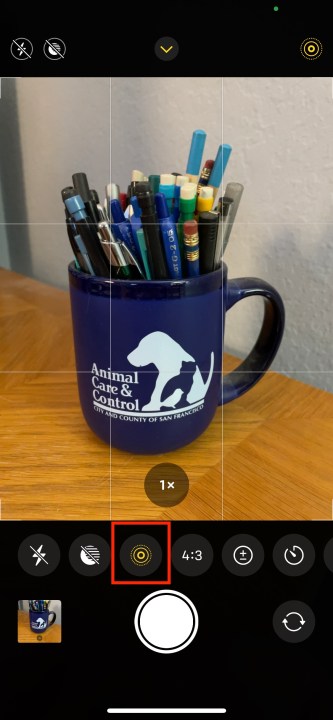
Step 1: Launch the Camera app and look for the Live Photos bullseye.
After launching the Camera app, you will see the Live Photos animated yellow bullseye icon at the top right of your screen, as well as the arrow icon at the top middle that governs various camera options.
Step 2: Tap on the bullseye.
This will turn off the Live Photos function — you will see a quick notation indicating the change in status. A slash through a white bullseye button up top means the feature is off.
How to disable Live Photos
Use these steps to turn off Live Photos completely. You can follow these steps again, later, and reverse the changes to turn Live Photos on again.
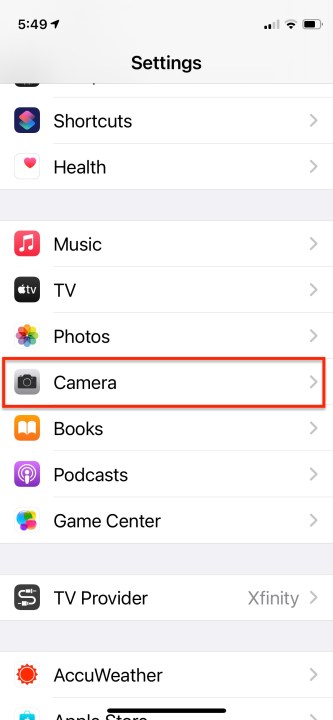
Step 1: Tap Settings.
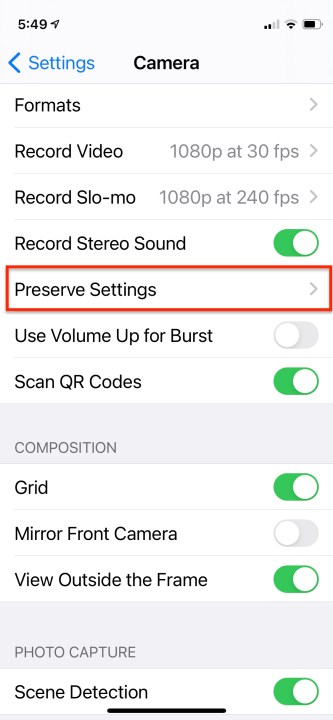
Step 2: Click Camera.
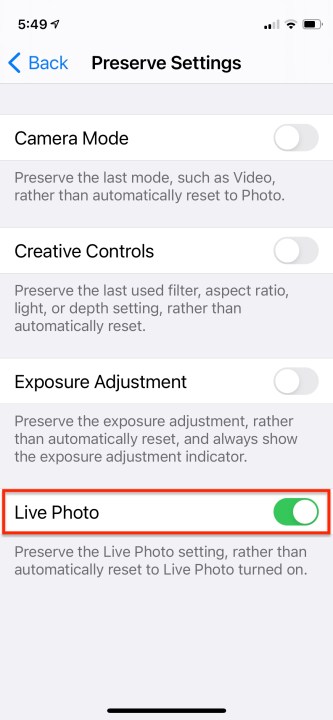
Step 3: Click Preserve Settings and toggle on the switch next to Live Photos.
What to know about turning off Live Photos
Once you have switched off the Live Photos feature, any images you shoot after that will be standard stills, and any Live Photos you previously captured will remain as Live Photos in your Camera Roll.
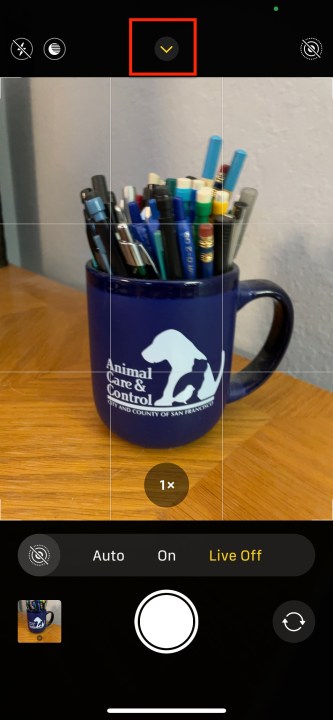
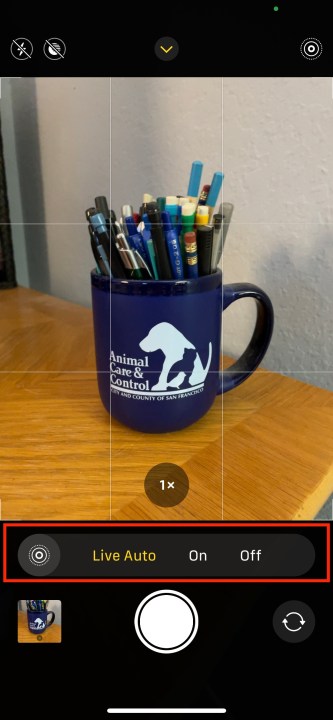
Step 1: Another way to control Live Photos status is to tap the middle top arrow in the Camera app. That gives you a range of controls over various camera functions like flash, video, exposure, aspect ratio, timer, and Live Photos.
Step 2: Tapping the Live Photos bullseye gives you the option to change the setting on the fly to Live Off, Live On, or Auto.
How to make adjustments to Live Photos
Within each Live Photo, you can change the main display frame or add all sorts of adjustments and effects.
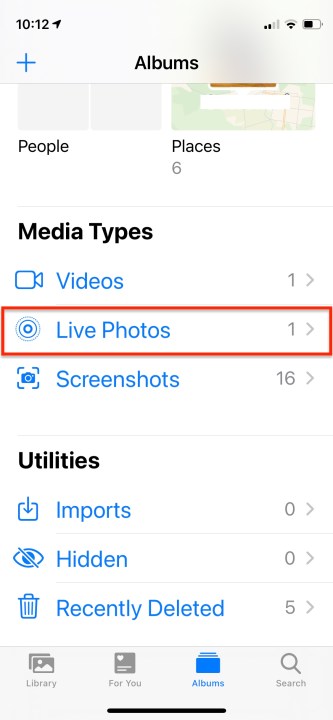
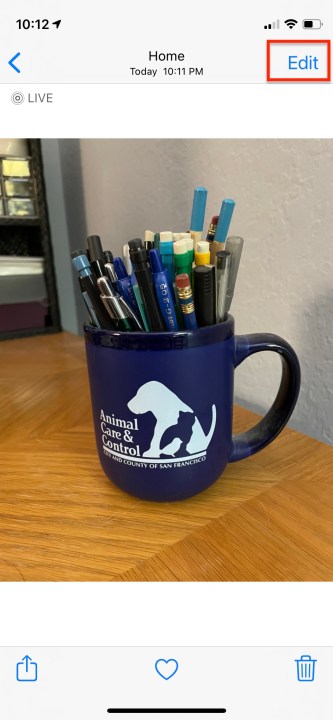
Step 1: Open a Live Photo from the Photo app’s Albums sheet and tap Edit.
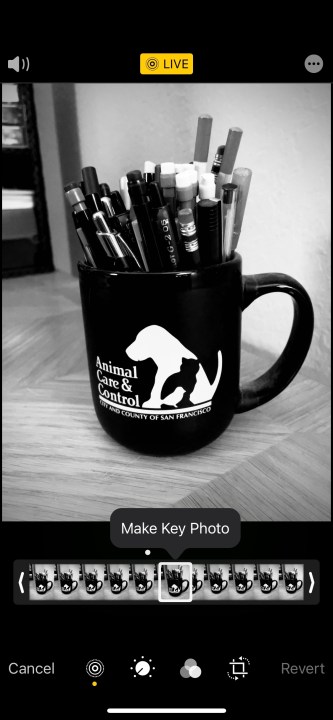
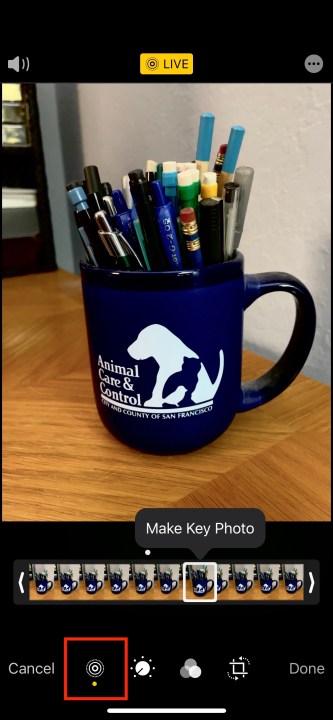
Step 2: If you want to change the frame that’s used as the still photo, tap the bullseye icon.
Step 3: Move the slider at the bottom with your finger and release when you reach the frame you want.
Step 4: Tap the Make Key Photo icon.
How to create a static image from a Live Photo
You can share Live Photos with others, but they’ll only animate if the recipient is using an iPhone, iPad, or iPod Touch. If you want to convert a Live Photo into a static shot, do this:
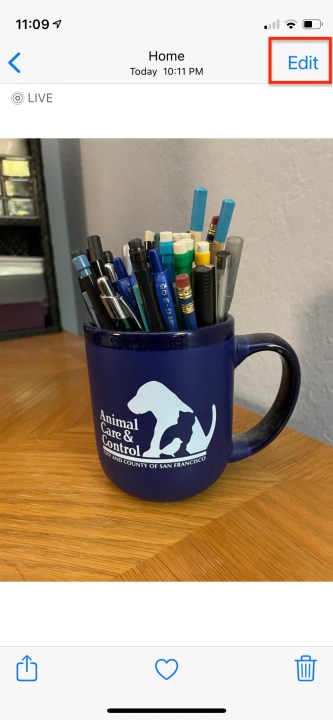
Step 1: Open your Live Photo and tap Edit.
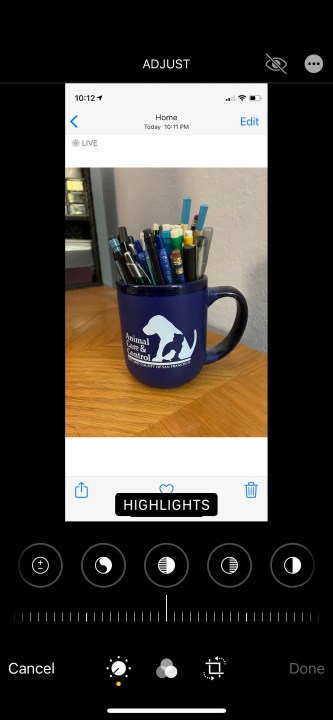
Step 2: Apply any adjustments and cropping you want.
Step 3: Tap the bullseye icon to select the frame you want to use.
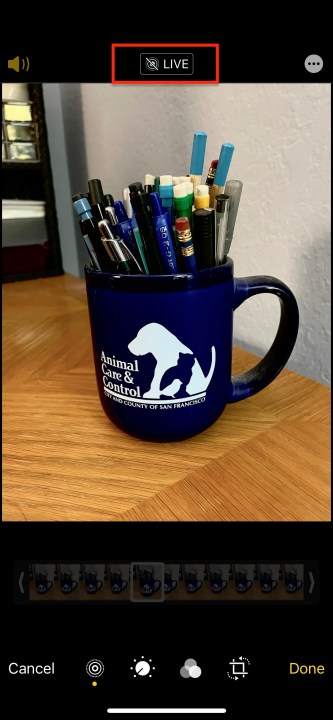
Step 4: Tap the* yellow Live tag* at the top and watch it turn white with a strikethrough bullseye icon. Tap Done.
Your Live Photo is now a regular image edited exactly the way you want it to look, while your original Live Photo is also stored in the Camera Roll.
Want more from your iPhone camera app? Check out our iPhone tips and tricks.
Editors’ Recommendations
