Wi-Fi has become an essential part of everyday life, especially in the home. So, we’ve come up with a few handy tips to help your speed up your Wi-Fi for free.
This guide is all going to be specifically about improving your Wi-Fi, so the wireless connectivity around your home. For a advice on a faster internet connection, take a look at our step-by-step guide on how to speed up your internet. For now, let’s crack on with our simple tips on how to get more out of your Wi-Fi without spending a penny.
What you’ll need:
- An existing internet connection
- A PC (with an additional PC required for one test)
The Short Version
- Test your Wi-Fi network
- Move your router
- Change your Wi-Fi channel
- Change advanced Wi-Fi settings

Save 35% on the Tapo Smart Bulb L510E two-pack
Amazon is selling the Tapo Smart Bulb L510E two-pack at a huge 35% discount for a limited time.
- Amazon
- Save 35%
- Now £12.99
-
Step
1Test your Wi-Fi network

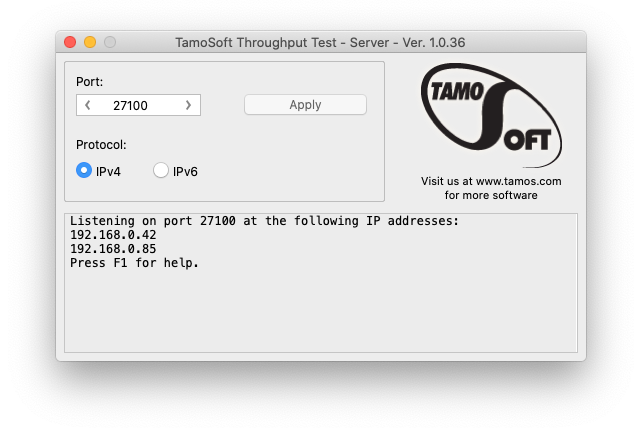
You can test your network using software called TamoSoft Throughput Test, and it’s available for Mac and PC. Download and install the software on two PCs, with one plugged into your Wi-Fi router via Ethernet and the other being a portable PC, such as a laptop.
Run the server component on your device that’s plugged into the router and note down its IP address. Then, on the portable device, run the client software from the same room. Type in the IP address you noted before and click the ‘TCP only’ box, then Connect. Let the software run for around 30 seconds and take note of the average speeds.
Repeat this test in different rooms in your home. Each time, you should pay attention to the baseline figures you’re getting. This allows you to work out where your Wi-Fi could do with improvement.

-
Step
2Move your router

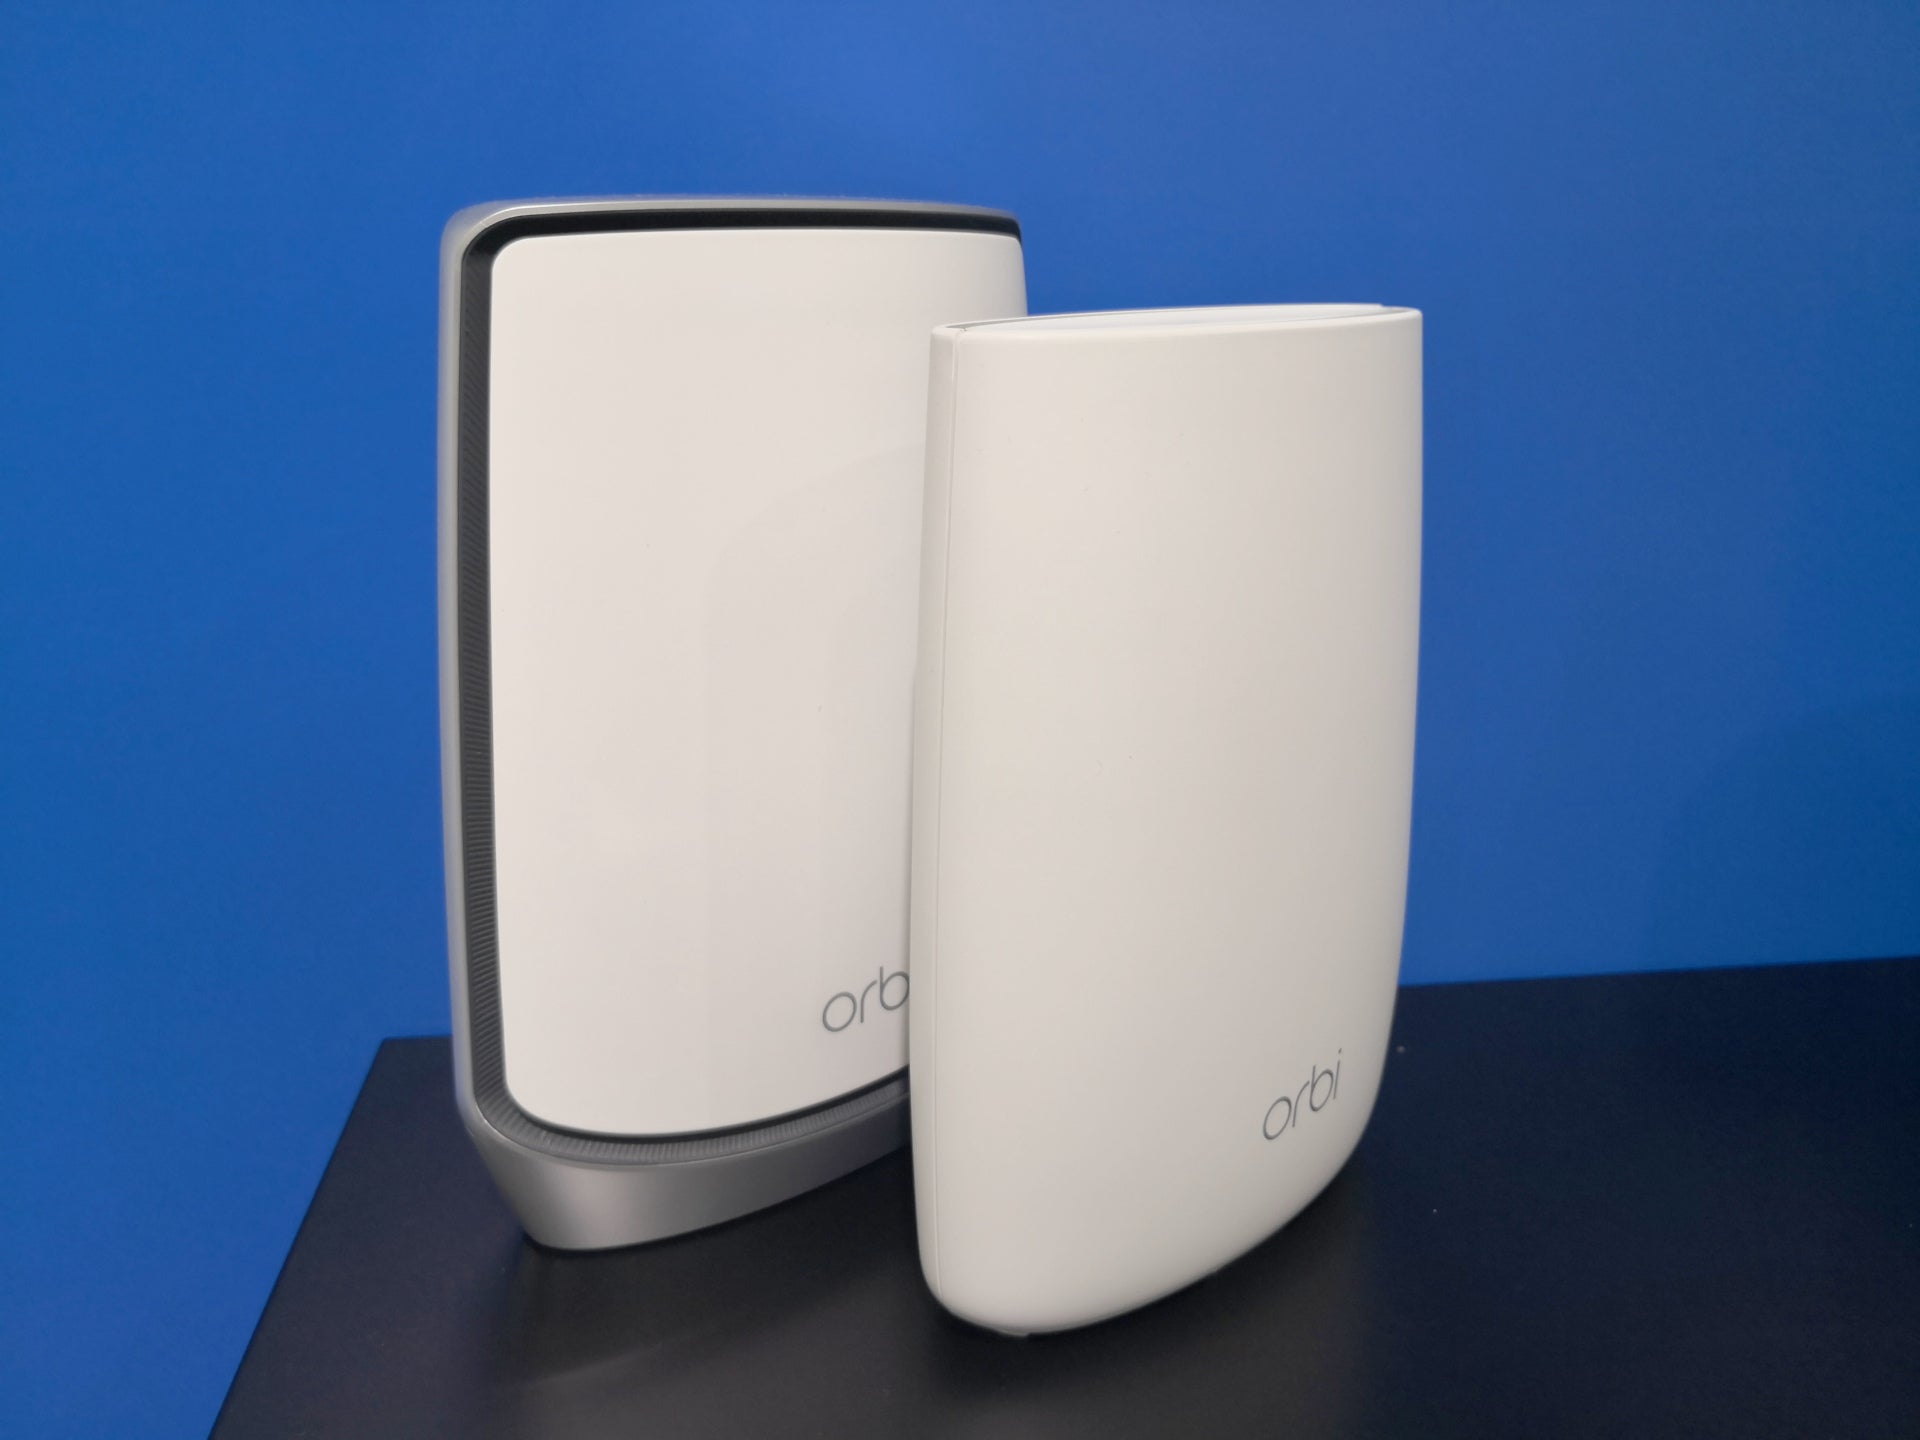
The first step in addressing the placement of your router involves looking for things that may interfere with the signal. Your router should be placed in the open to allow the wireless radio signal to transmit unimpeded. For a wireless mesh system, the same principle applies to the positioning of the nodes.
When it comes to placing the nodes, consider positioning them halfway between the router and where you’d like there to be a strong signal.
Mesh router or not, attempt repositioning and return to step 1 to see if there’s been an improvement.

-
Step
3Change your Wi-Fi channel

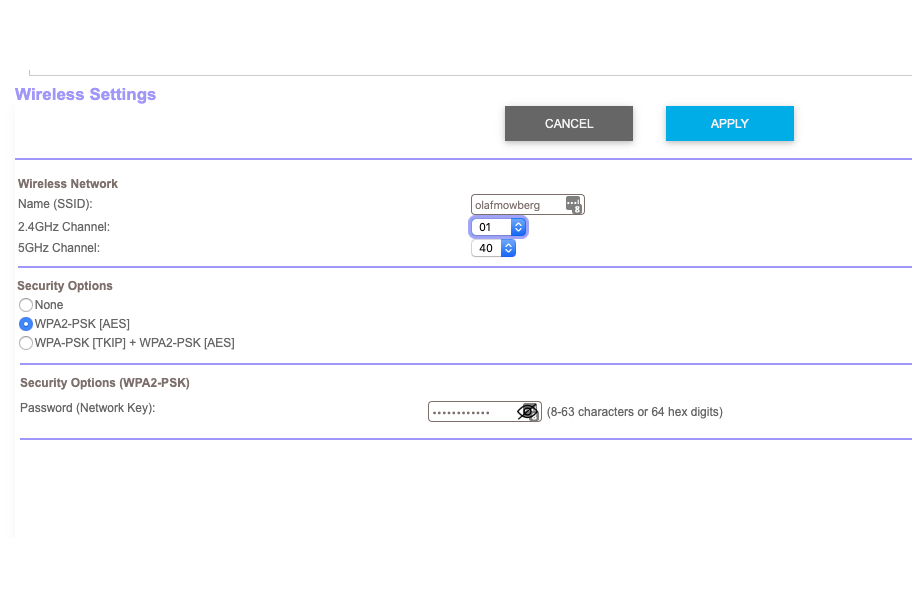
Another step to take to attempt to improve your Wi-Fi is to change the wireless channel you are using. To do this, you’ll need to access your router’s web-based management page. Some modern routers may use an app but, if your’s doesn’t, then you can access it by visiting the router address.
To find this, on a Mac, hold the Option key then click the Wireless symbol and note the router address. For Windows, head to Network settings and click the network your currently on then scroll down to the IP address.
Next, enter this address into a browser. This will take you to your router management settings. This page will look different depending on your router, but locate the wireless channel page and try changing the channels to see if it improves your Wi-Fi. For example, your 2.4GHz channel may be set to channel 11 and you can attempt changing it to channel 1 or, for 5GHz, you may attempt channel 40.

Troubleshooting
If you’re unable to improve your Wi-Fi with these free tips, we’d first recommend you make sure you’ve tested as much as possible as it can involve plenty of trial and error. If that still isn’t helping, then consider a wireless extender or, even, a new router.

