Key Takeaways
- Velja is a browser and app picker for Mac that lets you open links in your preferred browser or native apps.
- It works by tricking macOS into believing it’s the default browser, which allows it to push the link you click on to a different browser or a site’s desktop app.
- You can set how you want Velja to open links on your Mac by configuring its browser and app preferences or creating custom rules.
Clicking a link on your Mac opens it in the default web browser. However, if you want to access a certain link in a different browser, you need to copy the link and paste it into the browser manually. If this is something you often do, you can use the app Velja to make the process a lot easier.
What Is Velja?
Velja is a browser and app picker that lets you open links in any web browser—or their corresponding desktop apps—on your Mac. It’s free to use and has no ads.
Velja works by tricking macOS into believing it’s the default web browser on the system. This allows it to push the link you click on to the web browser or the app you choose in the Velja prompt. Or you can set up a rule so that it happens automatically.
A rule in Velja gives you more control over how the app opens links on the Mac. It lets you tell Velja which browser or app to open a link in, depending on the website or the source app.
That’s all well and good, but if you didn’t find this article because you’re intent on accomplishing this neat browser trick, you might be wondering why anyone would care about this.
Let’s look at some quick examples to inspire you. Perhaps you use Slack for work, and you would like to have a work-focused link you open in Slack to open in a specific browser that you have configured just for work. Or maybe you use another app or tool where you want every link you click to open in a privacy-focused browser.
Whatever your motivation, if you’ve ever wished you could open a link, based on context and other variables, to a specific browser on your Mac, we’re here to help.
How to Set Up Velja on a Mac
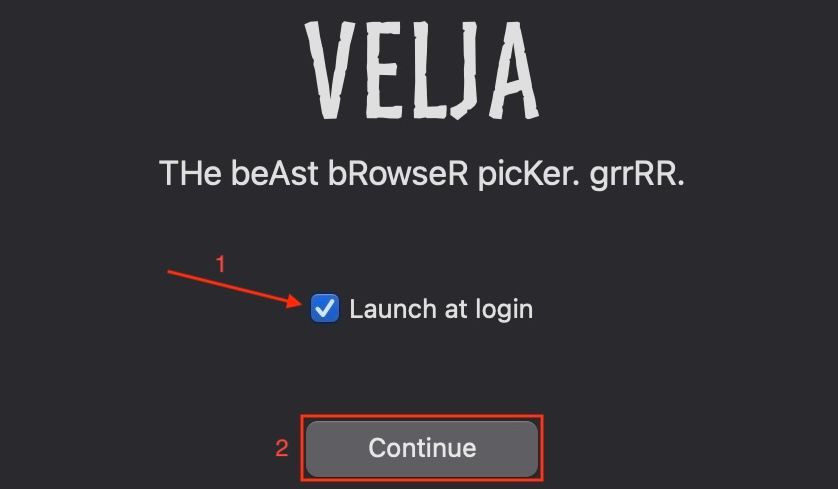
Before you begin using Velja, there are a few things you need to set up. Start by launching the app on your Mac. Then, check off the “Launch at Login” checkbox and hit “Continue.”
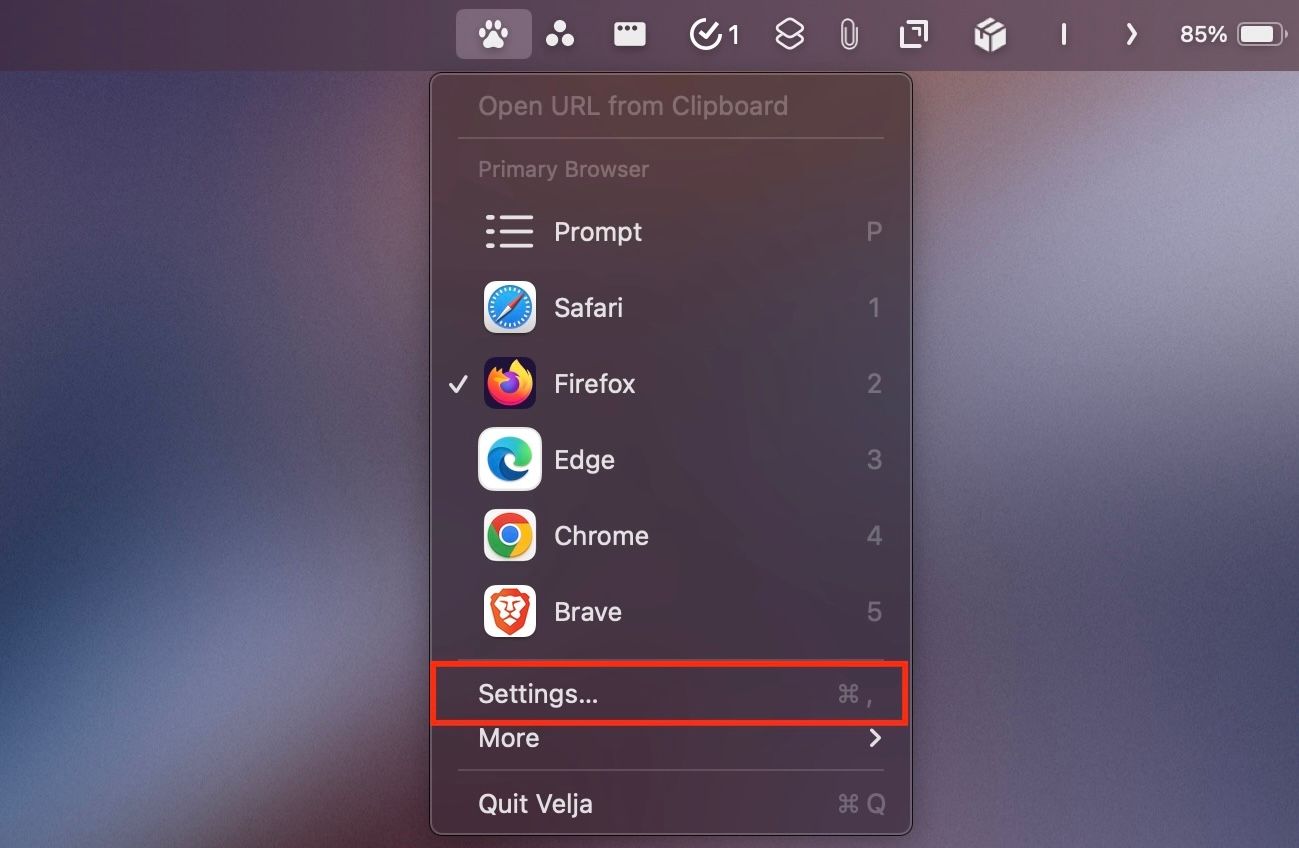
Click the “Get Started” button. Velja will now minimize, and you’ll see its icon—a paw—in the menu bar on your Mac. Hit this icon and select “Settings.”
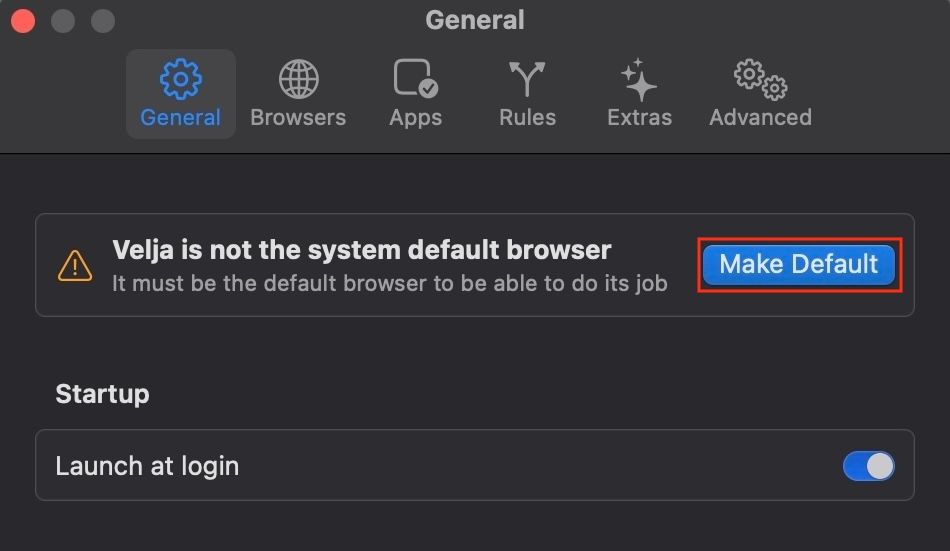
Click the “Make Default” button at the top of the page.
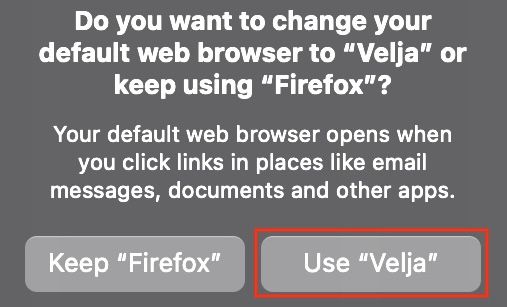
Velja will now pop up a prompt asking you to confirm changing your Mac’s default browser. Click the “Use Velja” button to set it as the default system web browser.
With the basic setup complete, let’s proceed with configuring Velja’s browser and app preferences and setting up rules.
Configure Velja’s Browser Preferences
Velja has multiple browser settings that you need to configure correctly to make it work the way you want.
To begin, open Velja Settings again and go to the “Browsers” tab. Click the drop-down for the “Browser” option.
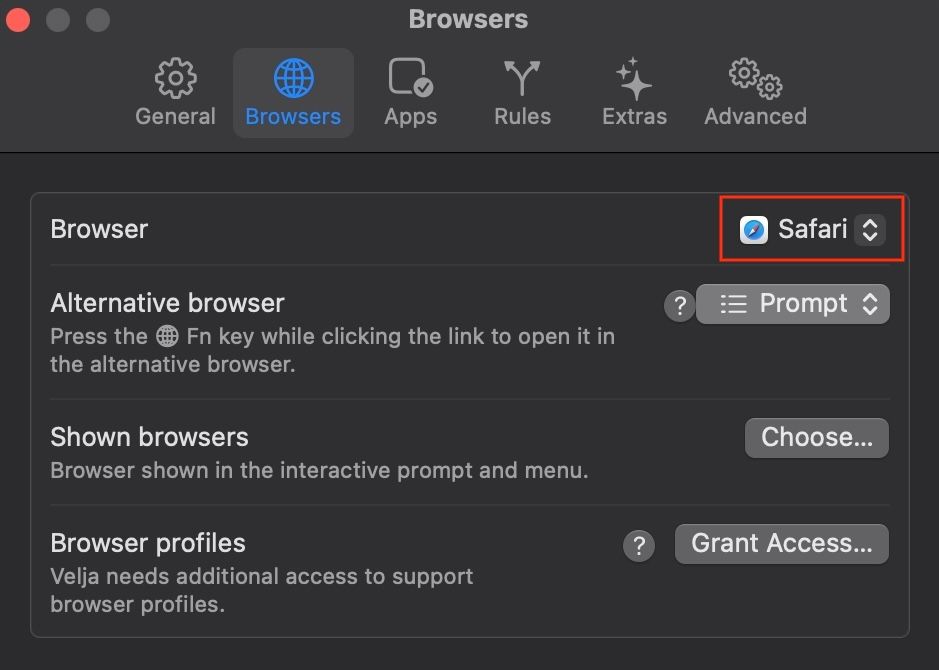
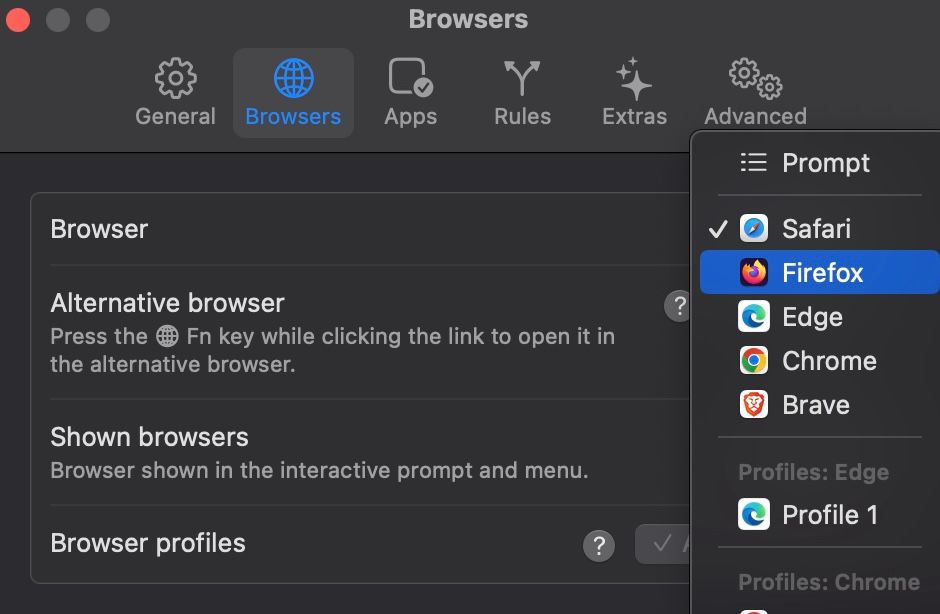
Select a browser from the list. This will now be the default web browser that Velja will use to open all the links for which you don’t explicitly select a browser, or that don’t have a set rule in the settings.
Alternatively, you can set the option to “Prompt.” This will tell Velja to open a menu with a list of browsers every time you click a link, so you can choose one based on the situation.
Next, you need to set up an alternative browser, which is one that you can use at any time by clicking a link while pressing the Fn key on your keyboard. It’s set to “Prompt” by default. To change it, click the drop-down button next to “Alternative Browser” and select your preferred browser from the list.

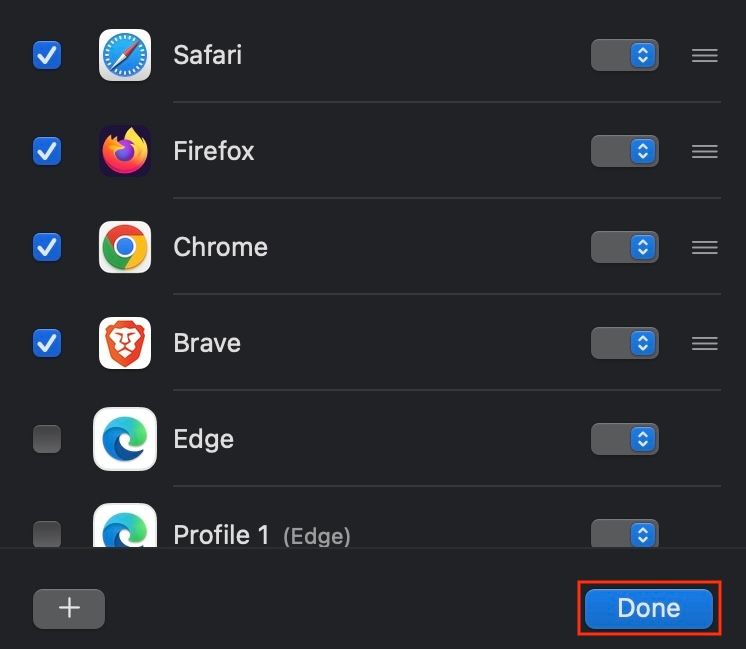
By default, Velja shows all your installed browsers in the Prompt window. However, you can limit the number of browsers that appear in this prompt. To do this, hit “Choose” next to “Shown Browsers” and clear the checkboxes next to the browsers you don’t want in the menu. Hit “Done” to save.
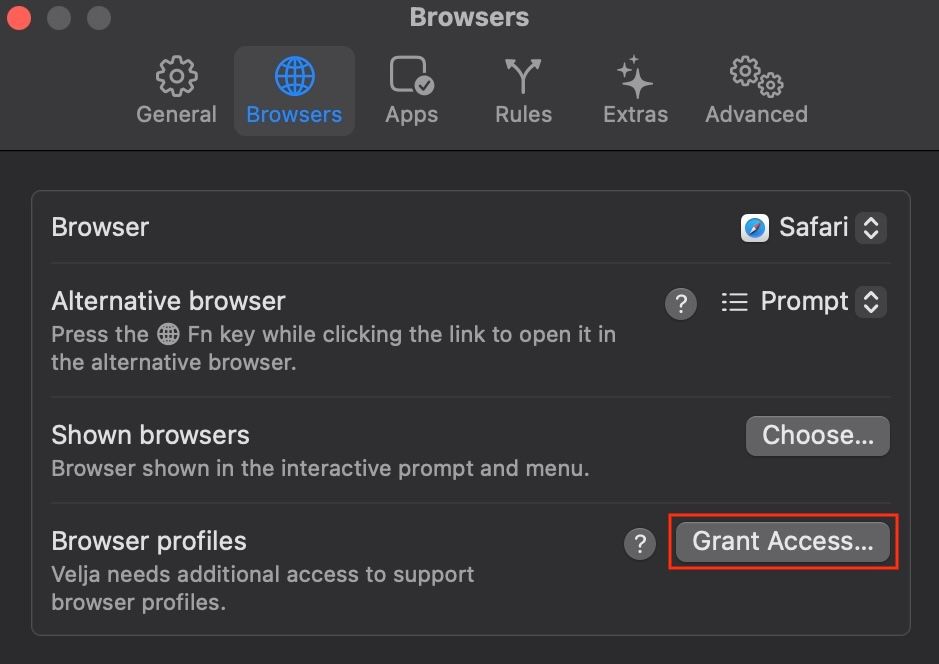
In addition to allowing you to open links in your preferred browser, Velja also gives you the option to open links inside a specific profile in a web browser. This is possible with Rules, which we’ll demonstrate how to set up later in the guide. But first, you need to grant Velja access to browser profiles on your system.
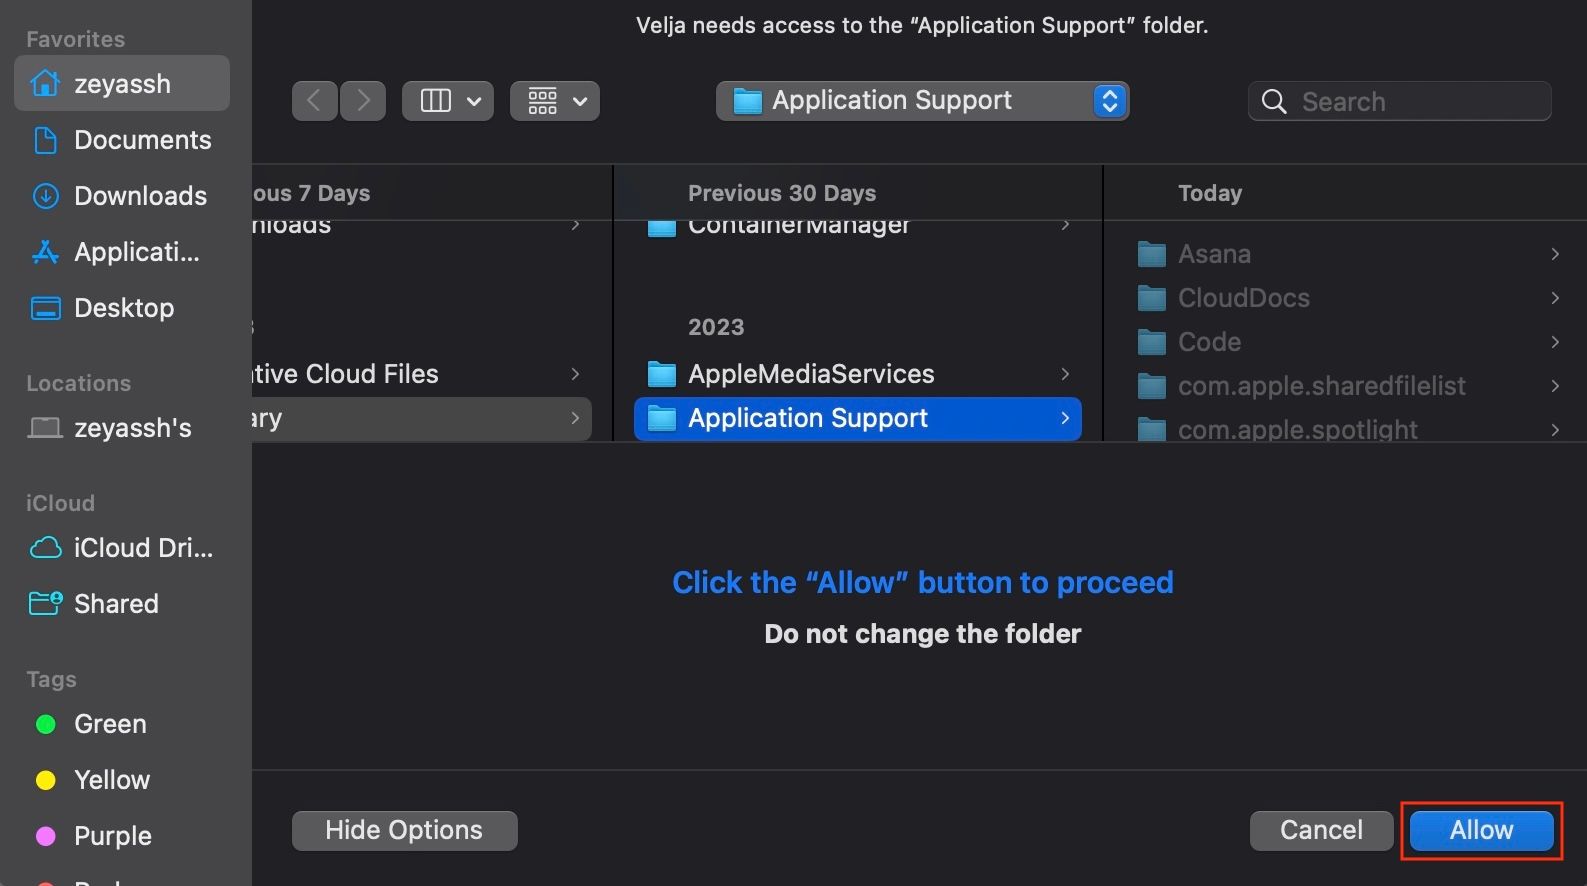
In the Velja Settings, select the “Browsers” tab and click on “Grant Access” beside “Browser Profiles.”
This opens the Finder app on your Mac. Now click the “Allow” button to grant Velja access to the “Application Support” folder.
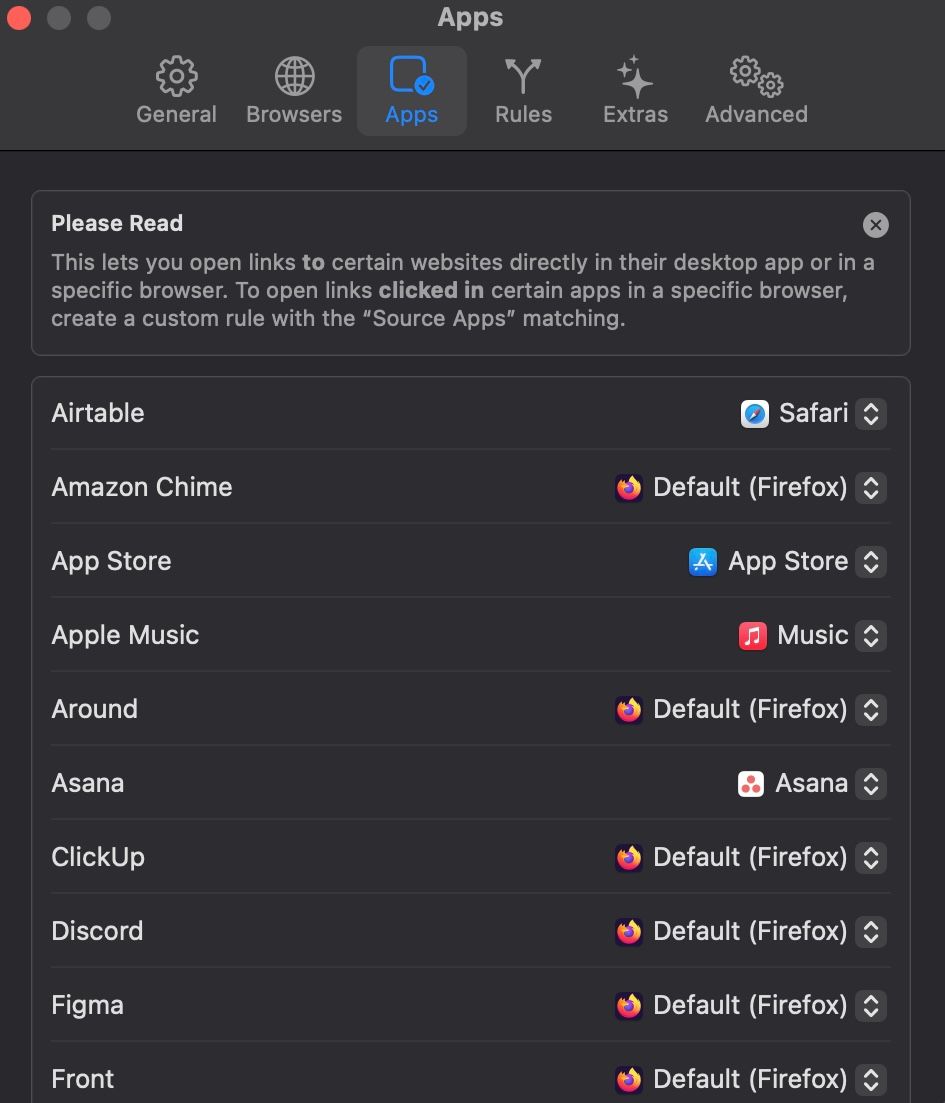
Configure Velja’s App Preferences
If you’ve got native apps for certain services, like Zoom, Spotify, or Notion on your Mac, it’s best to set Velja to open their links in the native desktop apps. To do this, head into the “Apps” tab in Velja Settings. Click the drop-down button next to the service you want to configure and select the relevant app from the list.
Set Up Rules in Velja
While setting up browser and app preferences is enough to get started with Velja, to get more control over how links are opened, you’ll need to create your own rules. Do note that rules overrule your browser selection in the prompt and your set browser and app preferences.
To illustrate, we’ll create a rule in Velja that opens all Google Docs links in Google Chrome.
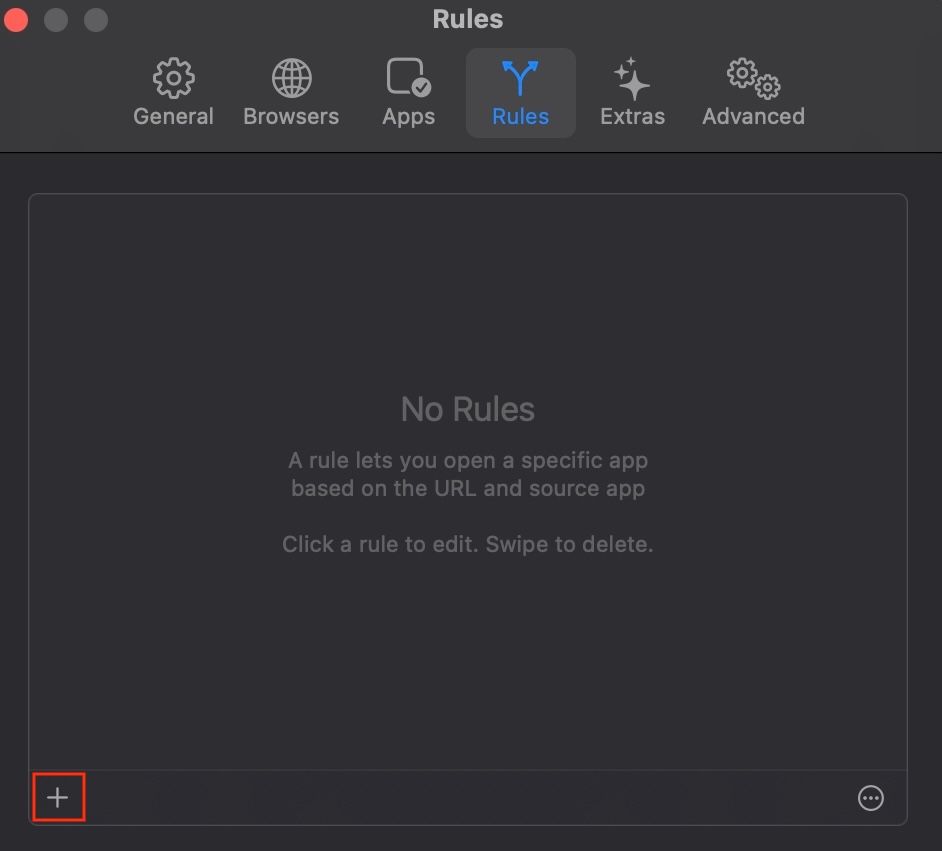
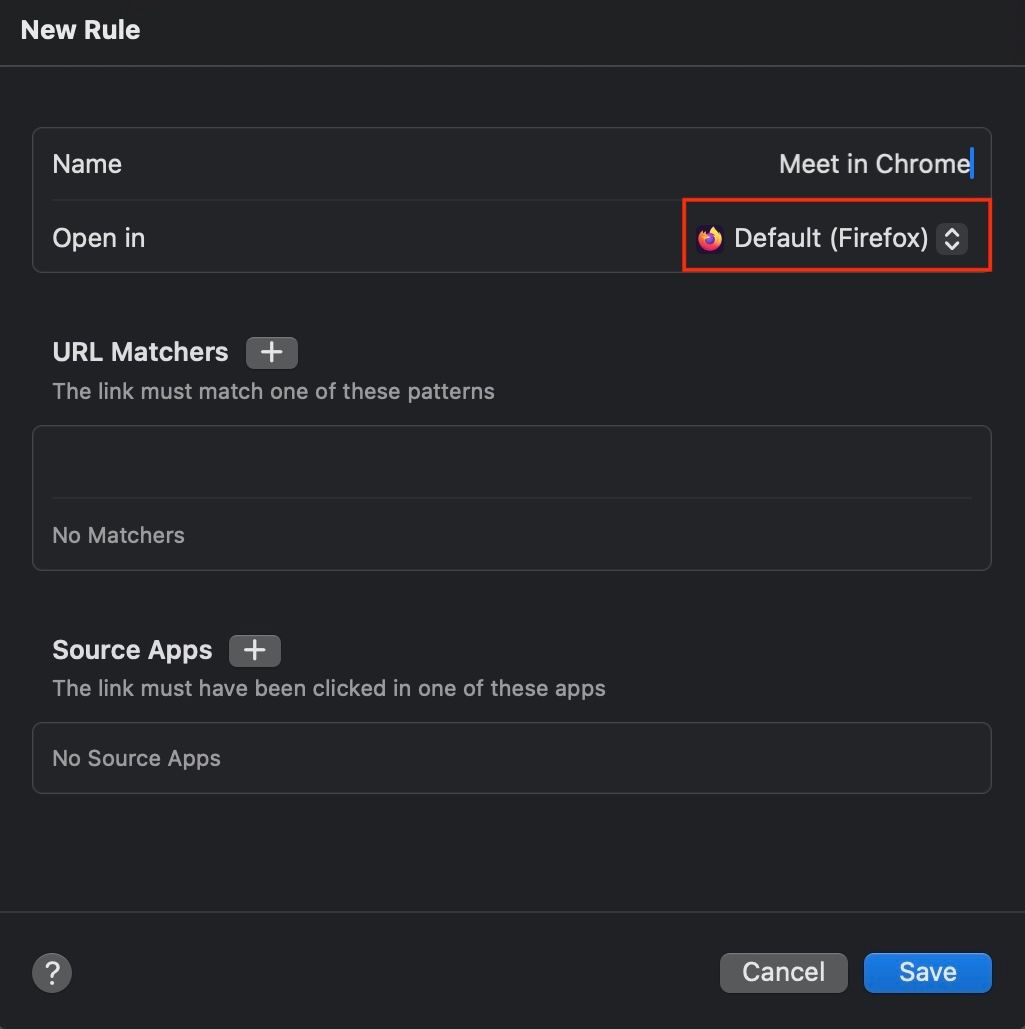
Launch Velja Settings and head into the “Rules” tab. Click the plus (+) button in the bottom-left corner of the app to bring up the “New Rule” window.
Give a name to this rule.
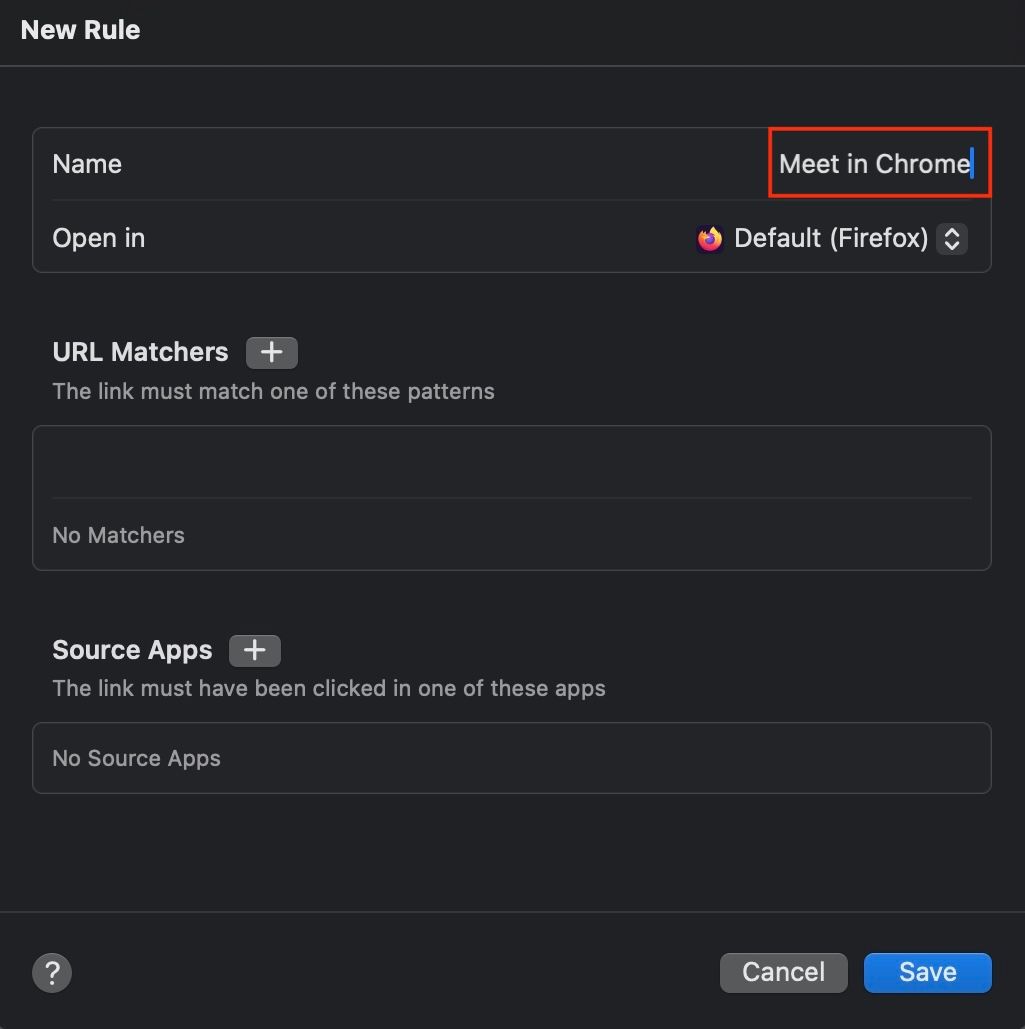
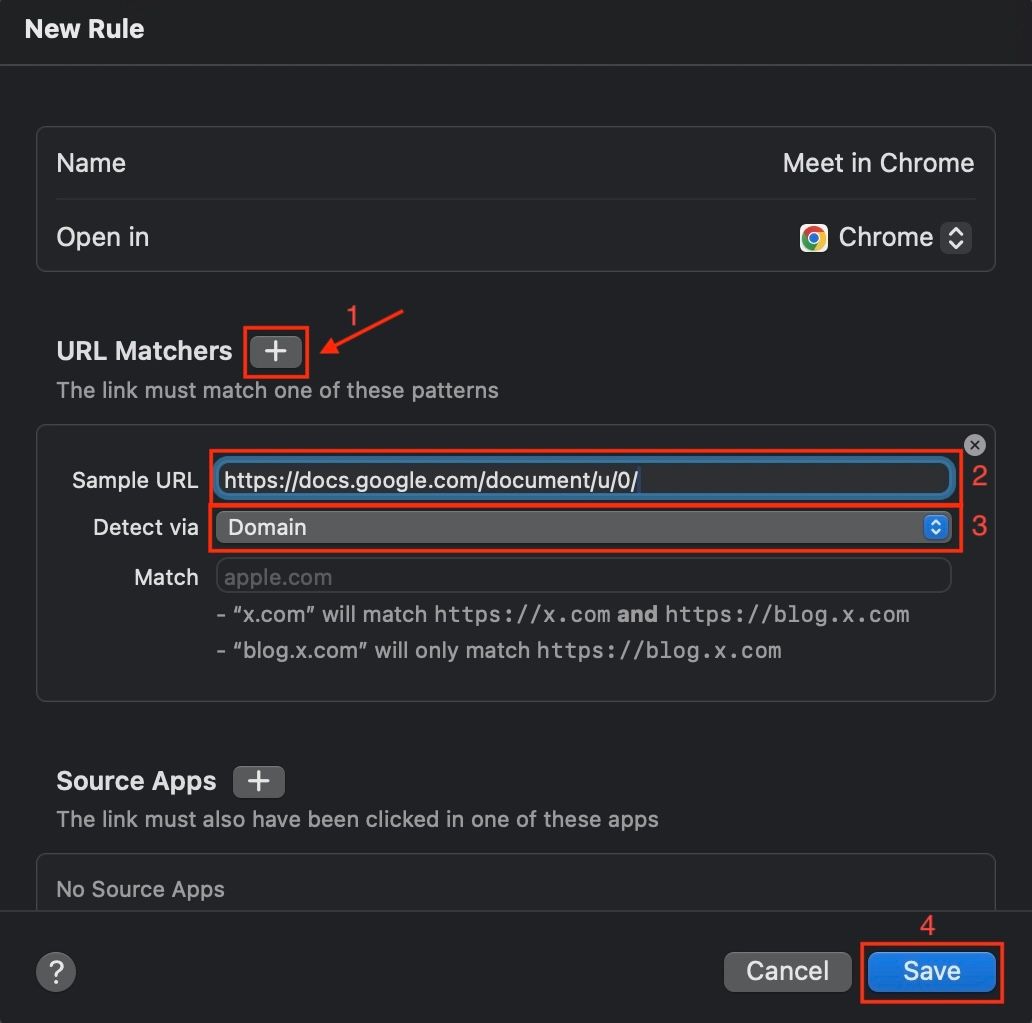
Then, click the “Open in” dropdown button and choose “Google Chrome.” If you want to open the links in a specific Chrome profile, select a profile from the list.
Click the plus (+) button next to “URL Matchers” and enter a Google Docs URL to tell Velja what links to look for and forward to Chrome. Leave the “Detect via” drop-down set to “Domain” and hit “Save.”
How to Use Velja on Your Mac
Velja is easy to use, as it automatically handles most of the link redirections and openings based on your set browser, app preferences, and custom rules. So, the only time you need to do something extra is when you want to open a link in a browser using the prompt menu. Let’s explain.
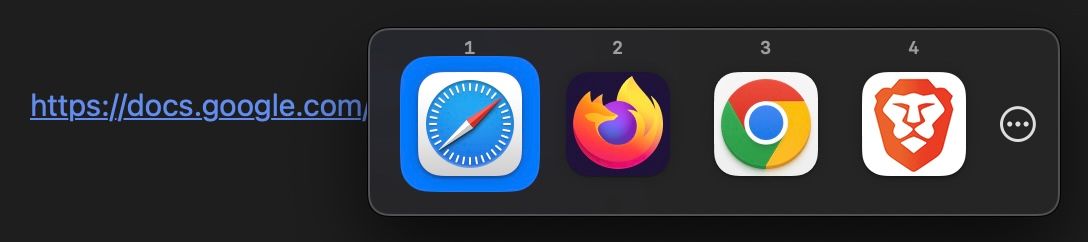
If you’ve set the Alternative Browser option to Prompt, whenever you want to open a link in a specific browser, click the link while pressing the Fn key. This will bring up the prompt menu with a list of web browsers. Click the browser or press the corresponding number key for that browser in the prompt, and Velja will open the link in it.
On the other hand, if you set a browser as the Alternative Browser in Velja, you simply need to click the link while pressing the Fn key to open it in that browser.
Similarly, you may have specified Velja to open links from certain services in their native apps. In this case, clicking the link will automatically open it in its desktop app.
Lastly, if you’ve created a rule for URLs from a specific domain, Velja will automatically open them in the set browser (or browser profile) or app when you click them.
Velja doesn’t work inside web browsers out of the box. So you can’t open the links you come across on web browsers in a different browser or a native app. You’ll need to install the Redirector extension in your browser and set up a rule in it to open such links in Velja. Check out
Velja’s website
for more information.
What Else Can You Do with Velja?
Besides opening links in your preferred browser or app, Velja can also help you with a few other things.
Remove Tracking Parameters
Velja can automatically remove tracking parameters when you open links or copy them, to improve privacy.
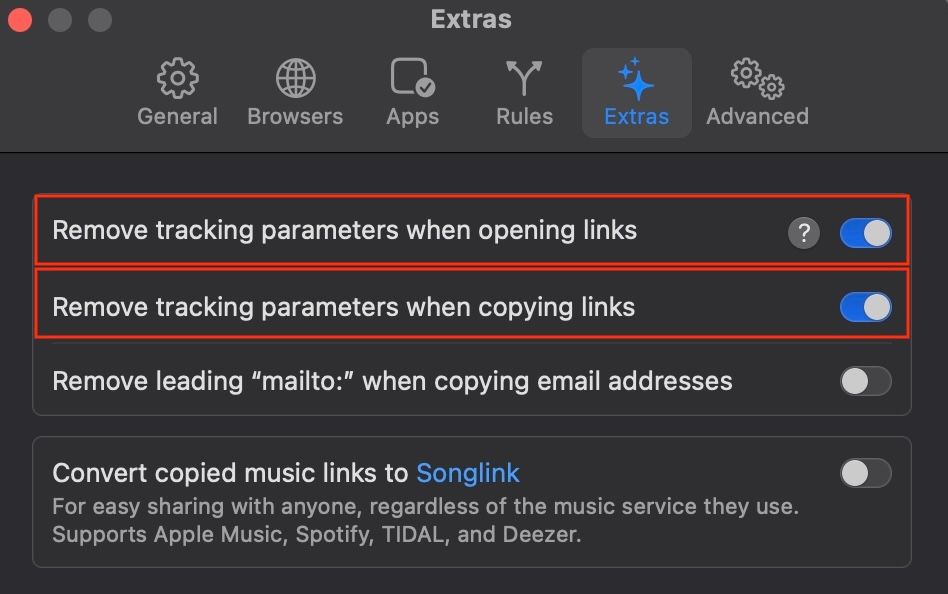
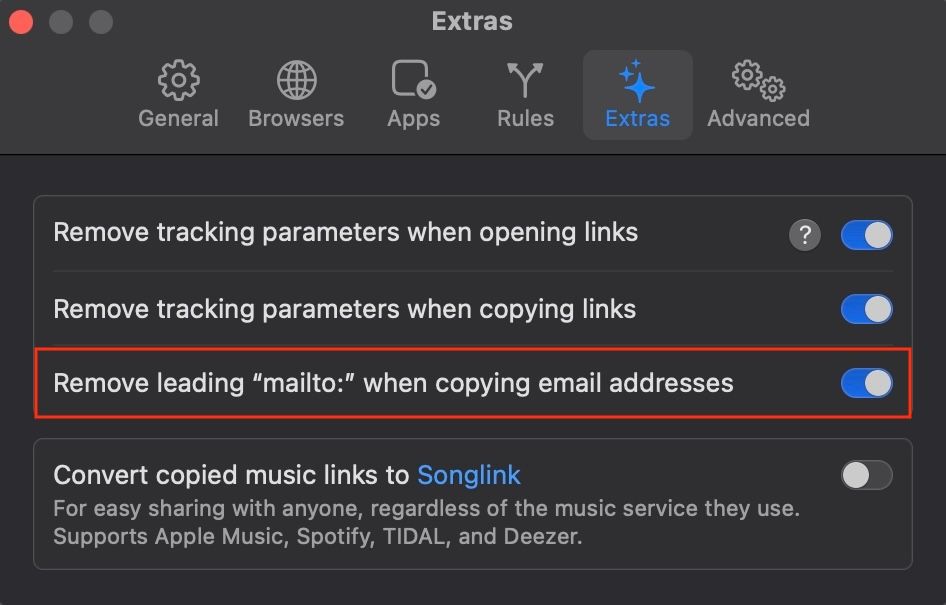
To turn on this feature, open the Velja Settings. Go to the “Extras” tab and toggle on the options for “Remove Tracking Parameters When Opening Links” and “Remove Tracking Parameters When Copying Links.”
Remove the Mailto URL Scheme
Another neat feature in Velja is that it can automatically remove the mailto URL scheme when copying email addresses, so you don’t have to do it yourself.
To enable it, toggle on the switch next to the “Remove Leading “Mailto:” When Copying Email Addresses” option.
Expand Redirect and Short URLs
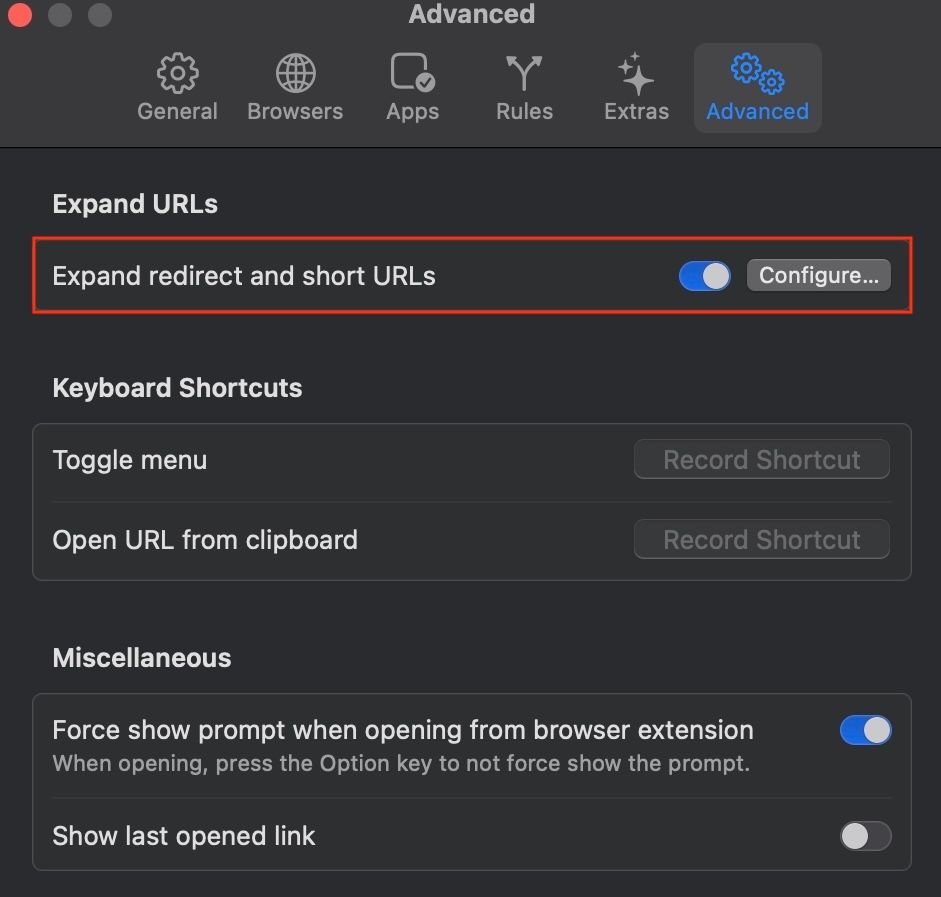
Velja doesn’t work with short URLs such as those from Bitly. Thankfully, it has a built-in feature that can automatically resolve short URLs and expand them, so it can redirect or open them based on your configuration.
To enable it, head into the “Advanced” tab in Velja Settings and flip the switch next to “Expand Redirect and Short URLs.”
Velja isn’t the only browser and app picker for Mac. Choosy, OpenIn, and Bumpr are some other popular options that can help you achieve a similar objective. However, what gives Velja an edge is that it’s a complete app that’s not only free but includes all the necessary features to help you manage how links open on your Mac.

