SD cards are incredibly versatile and can be used across a wide range of devices. However, most SD cards need to be formatted before they can be properly used on a new laptop or camera. If you don’t format the card, you’ll likely run into compatibility issues and problems storing all your files. Formatting is also a great option if your card is receiving errors, as it’ll essentially return it to its factory settings.
Need help performing the task? Here’s how to format SD cards on Mac. The process is rather simple and should take no more than a few minutes.

Apple
Insert the SD card and back up the data
For a Mac with an SD card slot, simply insert the card with the metal connector contacts facing down, sliding that side into the slot. For a microSD card, be sure to use a microSD-to-SD card adapter.
If you don’t have a card slot, you’ll need to connect an external device with read and write ability like the SD card reader on our list of portable tech gadgets.
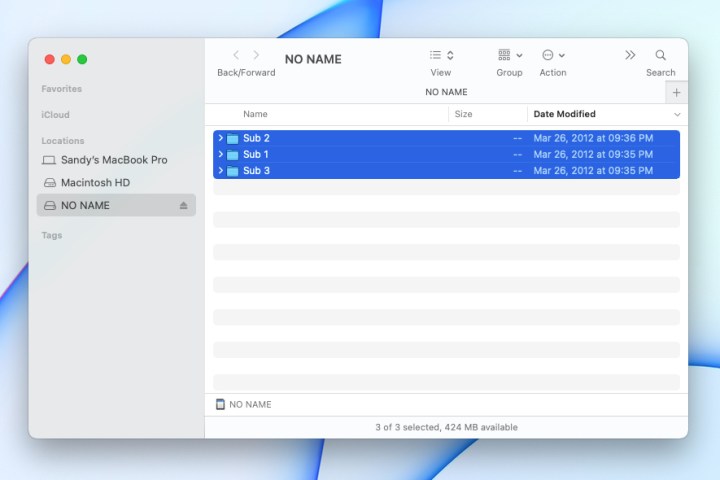
If you have a card with data that you want to save, be sure to back it up on your Mac or other devices before proceeding. You can double-click the Card icon on your Mac desktop to review its contents.
Keep in mind that formatting an SD card means erasing all of its data and then formatting it.

Apple
Open Disk Utility and select the card
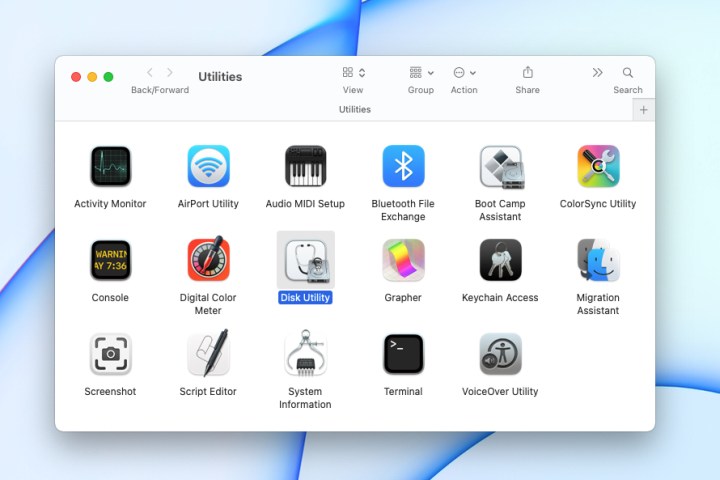
Once you connect the SD card to your Mac, open the Disk Utility tool using one of these methods.
- Click Go > Utilities from the Finder menu bar and select Disk Utility.
- Open the Applications folder in your Dock, pick the Utilities folder, and select Disk Utility.
- Access Spotlight Search, type “disk utility,” and select the application from the list.
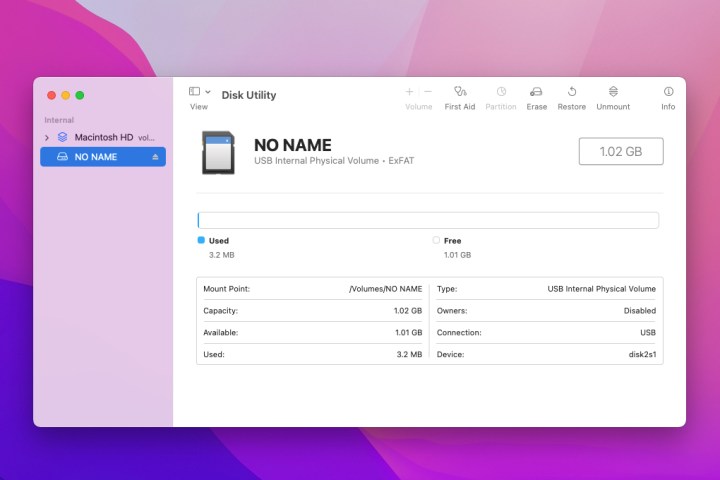
With Disk Utility open, select your SD card on the left side. If you’ve never given it a name, it’s likely labeled No Name or Untitled.

Apple
Optionally adjust the Security Options
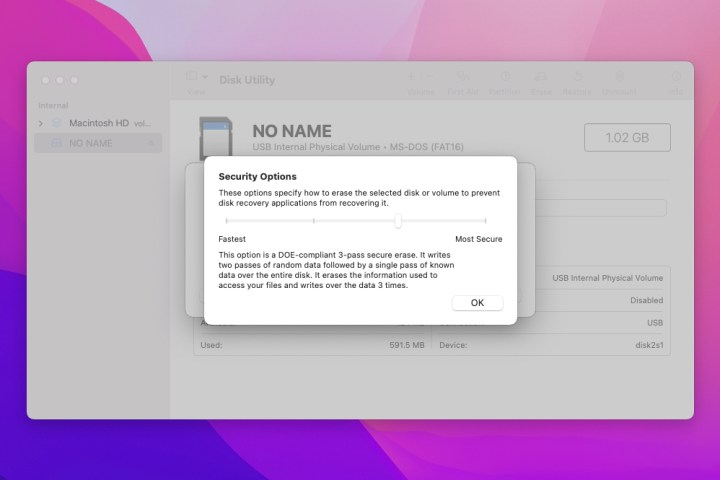
Before erasing and formatting the card, you can optionally choose the security level for cleaning the card.
Click Erase in the toolbar at the top of the Disk Utility window. When the Erase box opens, click Security Options.
You have four options for the level you’d like to use from Fastest to Most Secure. Move the slider to review each description. When you land on the one you want, click OK.
Erase and format the SD card
Give your SD card a new name if you like. Then, select the format you want to use from the drop-down list.
If you plan to use the card with a digital camera or the card is 32GB or less, you would normally choose MS-DOS (FAT). Otherwise, select ExFAT. Then, click Erase.
It can take a bit of time for the process to complete, especially if you choose a more secure option in step 3 above. You’ll see the progress as the erasing and formatting take place.
Click Done when the process finishes.

Apple
Eject the SD card
Before removing the SD card and basically disconnecting it from your Mac, it’s safest to eject the card properly.
With the Disk Utility window still open, click the Eject icon to the right of the card name. If you happen to close Disk Utility, you can right-click the SD card icon on your desktop and pick Eject.
Then, remove the card from your Mac or the connected reader.
Troubleshooting
If your SD card doesn’t display when you insert it into your Mac, you may have inserted it too quickly or too slowly. Simply remove the card and reinsert it.
If you receive a message that the SD card cannot be modified or cannot be opened, the card may be locked. Eject the card, remove it from your Mac, and slide the lock tab on the side of the card to unlock it. Then, try again.
Editors’ Recommendations

