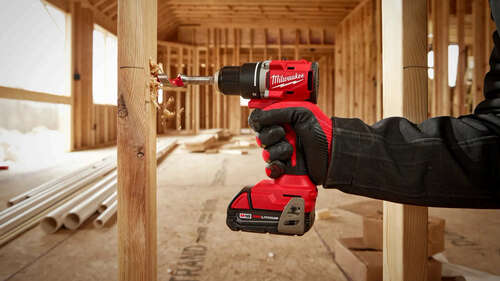
While the icons and numbers on the selector collars are the most important symbols to understand for your drill’s day-to-day usage, there are a few other icons and switches you should be aware of.
If you look on the side of your drill, you’ll see a button with a little side-pointing arrow on it. That’s the forward/reverse setting. Push the button to flip the drill bit’s rotation to clockwise or counterclockwise. You should also be mindful of the battery fuel indicator on your drill’s attached battery pack. The battery symbol has four bars next to it that wink off as power is consumed. If all four bars are on, you’re at full charge, and if only the leftmost bar is on, you’re almost empty.
The exact placement of the icons on your Milwaukee drill may vary slightly depending on your model, but they all mean the same thing. Once you understand the icons on one drill, you’ve got the gist of it. Once you’ve got a good handle on all your drill’s functions, you might expand your collection of highly rated cordless Milwaukee tools.

