If you want to add checkmarks to your writings in Microsoft Word, you can do so through the Symbols menu. The Symbols menu holds a complete repository of every font Microsoft Word has loaded, as well as all of their associated symbols.
 Daniel Trock/SlashGear
-
In Microsoft Word, place your cursor on the spot in the document you want to add a symbol.
-
Switch to the Insert tab in the top bar.
-
Click on the Symbol button in the bar to bring up a grid of available symbols.
-
Click on the checkmark symbol to add it to your document.
Bear in mind that the checkmark symbol may not automatically show up in the Symbol box if you haven’t used it before. If it’s not there, you’ll need to manually retrieve it from the detailed Symbols menu at least once, after which it’ll show up in the box as a shortcut.
 Daniel Trock/SlashGear
-
Click the Symbol button in the bar to open the box.
-
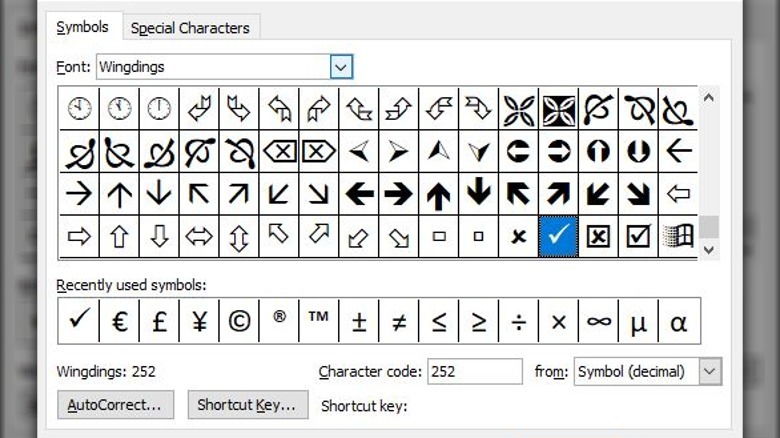
Click the More Symbols button.
-
In the new window, scroll through the grid of symbols until you find the checkmark.
-
Double-click on the checkmark to add it to the document.
If you don’t see the checkmark in the grid, try using the font selector to switch to a different font library. You should be able to find the checkmark in the Wingdings font.

