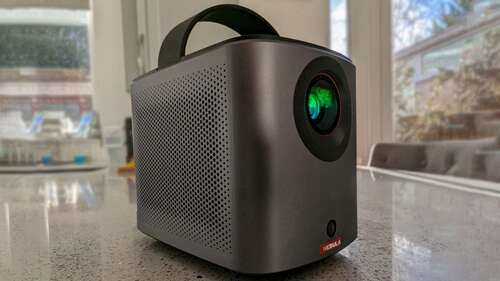
The setup on the Mars 3 Air is about as simple as it gets. You place the projector the appropriate distance from a wall or screen, with that distance determining the size of projection you will ultimately get. Then power it on. You’ll be prompted to sign in to Google TV, and any apps you install may also demand a sign-in, but aside from that the projector essentially handles things on its own. This includes installing any updates, squaring off the corners, setting the keystone, and focusing the image. If things are a little off after the projector does its thing, you can still drop into the settings menu and tweak things. But on most surfaces, the auto-setup will be enough to get you going.
As with many other projectors, there’s a small screw hole underneath. This allows you to mount the unit on a standard camera tripod. This can be handy if you lack a surface to place it on at the correct throw distance. It’s worth noting that the Mars 3 Air doesn’t have the little plastic flap the Mars 3 has, which allows users to adjust the angle of the projector and point it upwards a little. But you can achieve a similar effect by putting a book or something underneath it, so this isn’t a big miss.
One slight issue we encountered during setup is remote-related. Once auto-focus and keystone have done their thing, you need to press a strange button combo (“ok” and volume down) to continue. It took us several attempts before the press registered, and we’re still not quite sure why. The remote itself works perfectly well once the setup is complete, but it’s very unresponsive during this one part.

