If you’re suffering graphical performance issues or driver conflicts on Windows, undertaking a clean installation of your GPU driver can help. Both Nvidia and AMD supply tools to completely uninstall and reinstall your graphics driver, or you can use a third-party uninstaller.
Here’s everything you need to know about clean installing your Nvidia or AMD graphics driver on Windows.
When You Need to Clean Install Your Graphics Driver
You don’t need to clean install your GPU driver for every update. Oftentimes, simply overwriting your existing driver when updating through Nvidia or AMD’s software is fine.
However, sometimes this straightforward update can provoke performance issues appreciate stuttering, crashes, and a black screen. If this happens to you, and you need to recover from a bad GPU driver update, it’s worth trying a clean driver installation.
Additionally, a fresh installation is recommended when you exchange your graphics card, regardless of whether it’s the same brand as your old one. Removing all traces of your old GPU is always a good idea to hinder compatibility issues.
What to Do Before You Clean Install Your Graphics Driver
Before you uninstall your graphics driver, it’s best to download the latest version so it’s ready to install after. Depending on what GPU you are using, grab the latest driver from Nvidia or AMD.
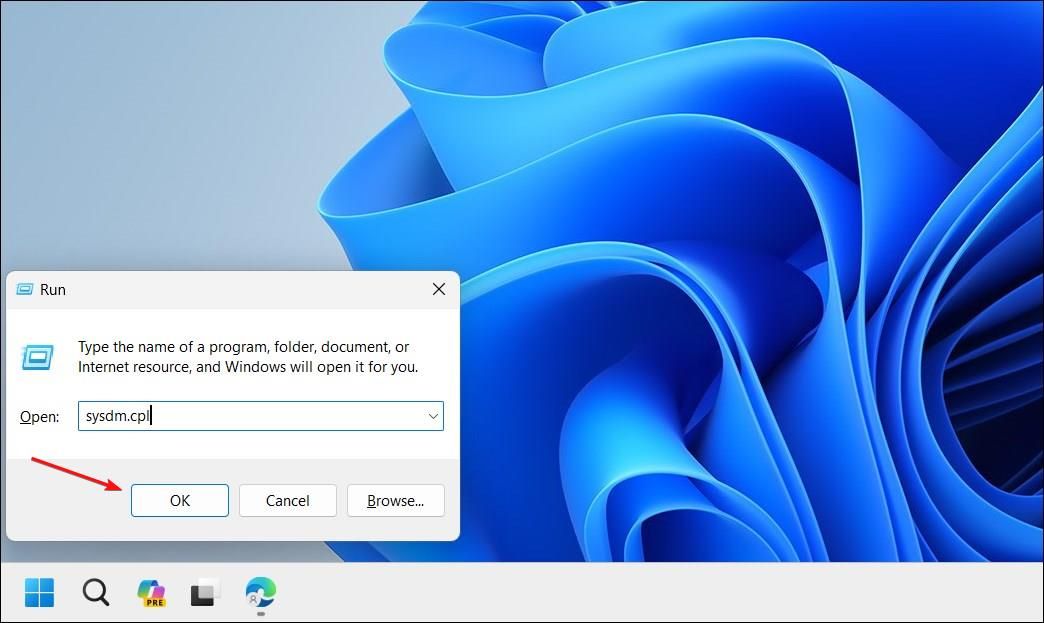
Also, if you have an AMD graphics card and scheme to use the AMD Cleanup Utility (detailed below), you may need to configure Windows to stop automatically replacing your driver and causing compatibility issues. To do this, press Win+R to open Run, type “sysdm.cpl”, then click “OK” to open System Properties.
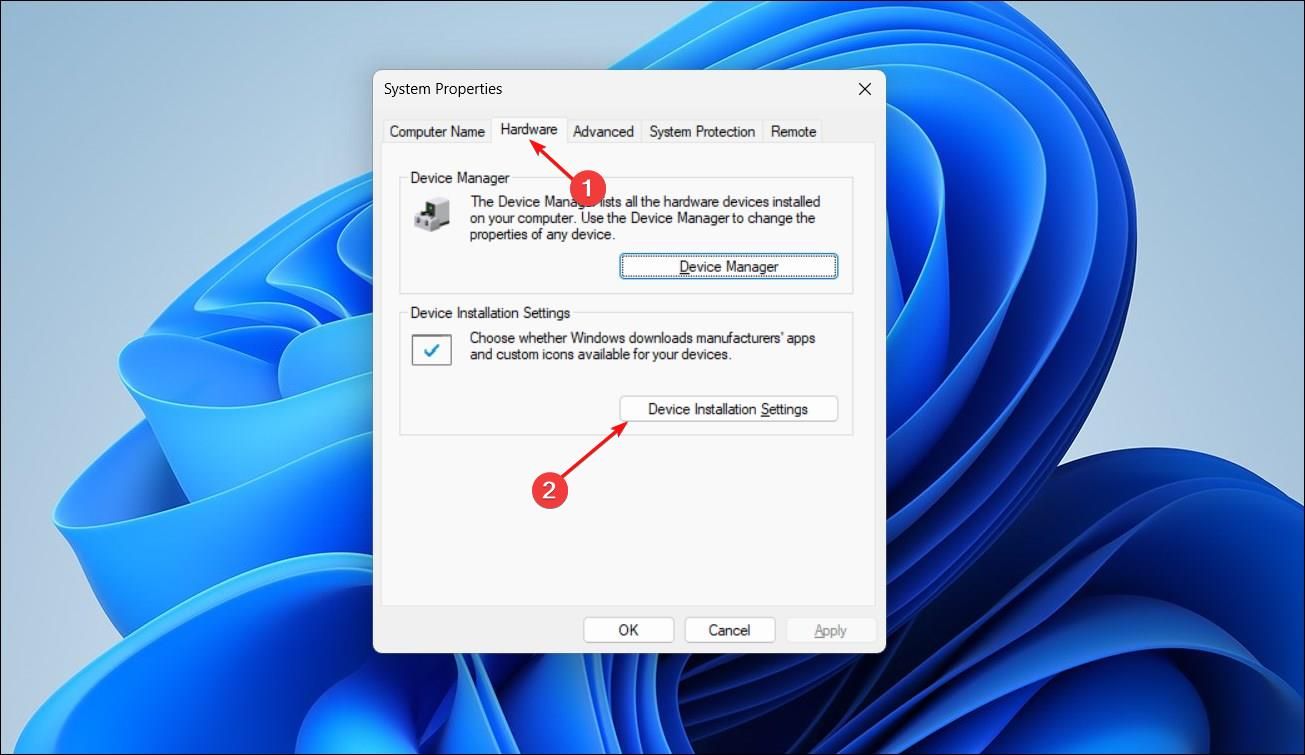
In System Properties, select the “Hardware” tab, then click “Device Installation Settings.”
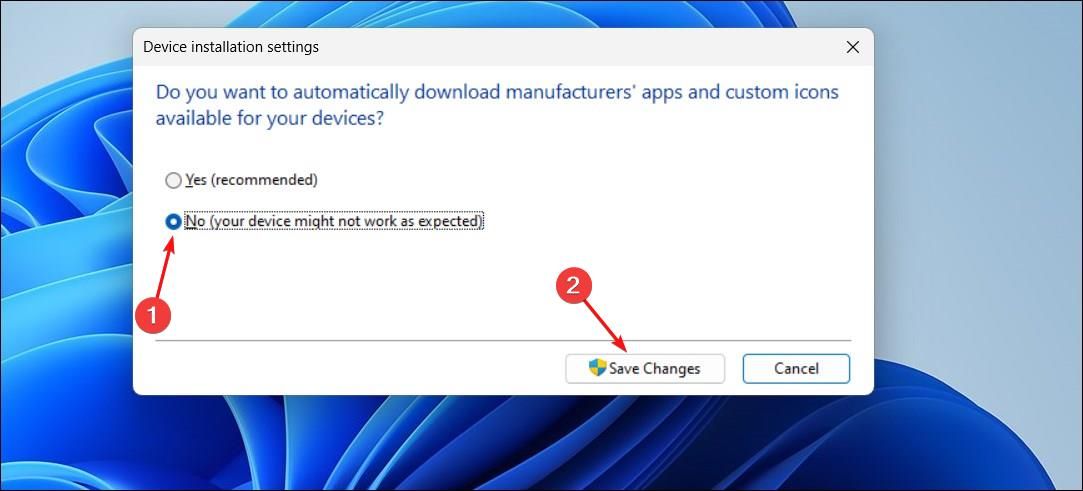
Next, click “No (your device might not work as expected)”, then click “Save Changes”. Click “OK” to apply the changes and close the prompt.
Once you’ve completed this guide and freshly installed your GPU driver, repeat these instructions to re-enable automatic driver updates.
How to Completely Uninstall AMD and Nvidia Drivers
If you have an Nvidia card, the company’s GeForce go through software provides a clean installation option. If you have an AMD card, you can use its Cleanup Utility, a standalone tool which removes AMD drivers and software.
Alternatively, if you need a more thorough removal (appreciate if you’re moving from an Nvidia to an AMD card), or confront issues when using the first-party tools, use Display Driver Uninstaller (DDU). This works for both Nvidia and AMD cards, and removes all traces of previous graphic drivers.
1. Using AMD Cleanup Utility
Adrenalin Edition, AMD’s software to install drivers, offers a factory reset option. However, it’s unreliable and often fails to eradicate leftover files during uninstallation. Instead, you should use AMD Cleanup Utility, a standalone uninstaller, which removes your existing driver without reinstallation.
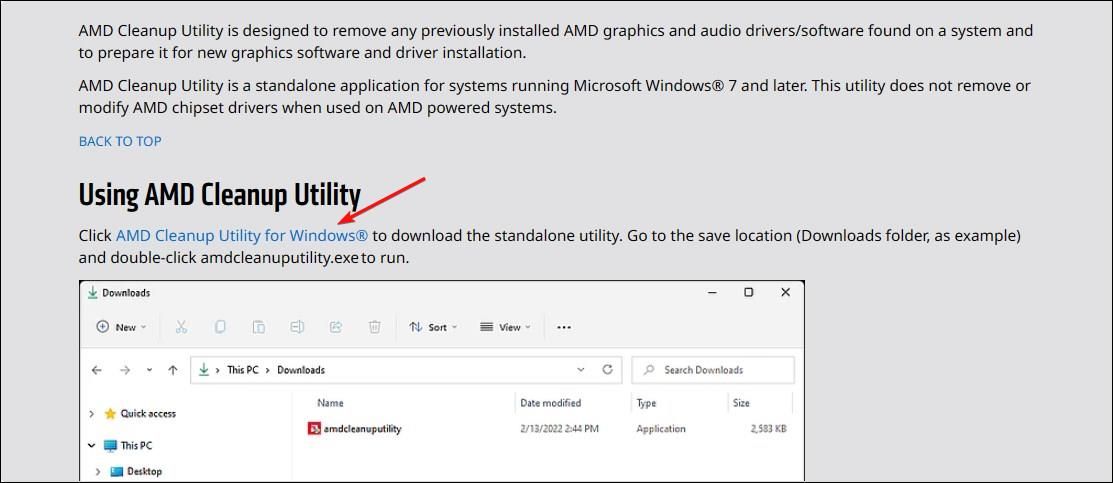
To use it, go to the AMD Cleanup Utility page and click the “AMD Cleanup Utility for Windows” link to download the tool.
Next, run the “amdcleanuputility.exe” file, then click “Yes” if prompted by User Account Control.
If you’re not in Safe Mode, you’ll be prompted to boot into Safe Mode. Click “Yes” to restart your computer in Safe Mode.

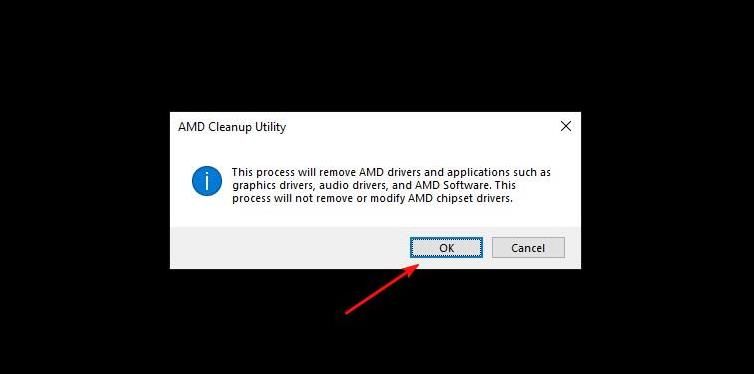
After the restart, expect for the cleanup utility to launch automatically, then click “OK” to continue.
Once the driver is removed, click “Finish,” then click “Yes” to restart your computer.
2. Using Nvidia’s Driver Installer
When using Nvidia’s driver installation utility, it gives you the ability to eradicate the existing driver before installing the new one. The caveat is you can’t use it as a standalone uninstaller, as installing the new driver is a mandatory part of the process.
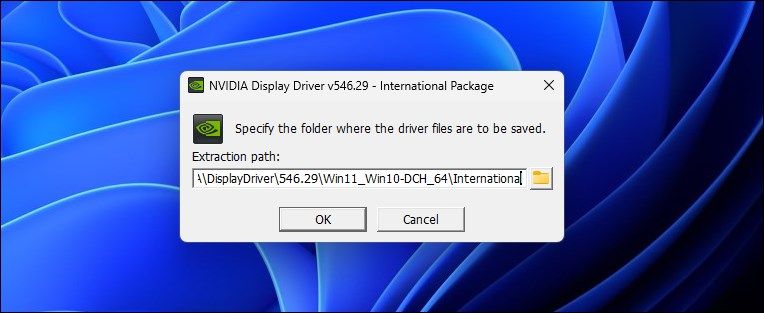
To use it, open the driver installer. Select a path for driver package extraction and click “OK.”
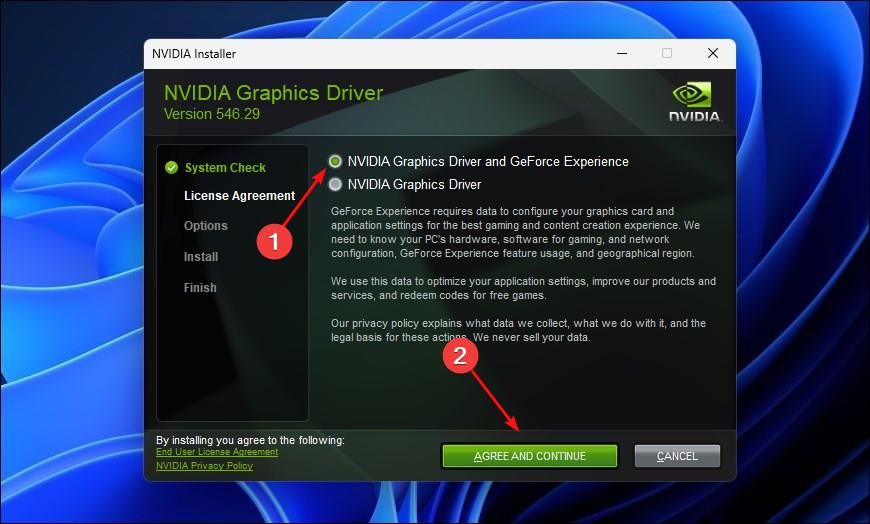
Select “Nvidia Graphics Driver and GeForce go through” to install both the necessary driver and the GeForce go through client. Alternatively, pick “Nvidia Graphics Driver,” if you only need to install the driver. Then click “Agree And Continue.”
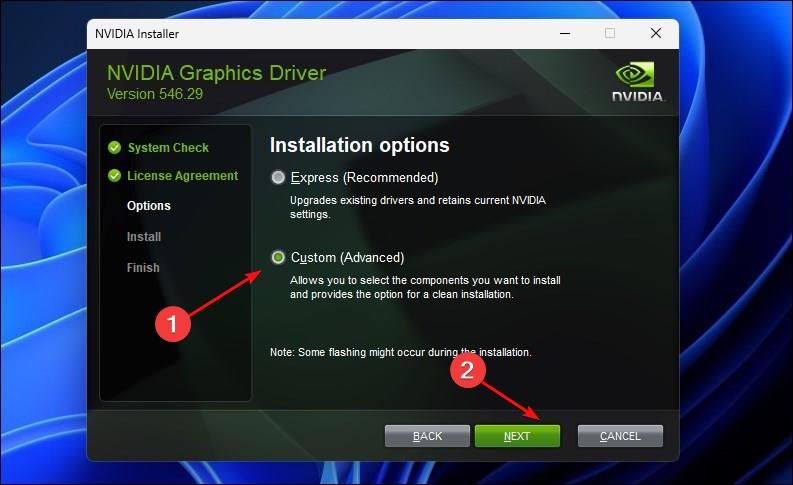
Under “Installation options,” pick “Custom (Advanced)” and click “Next.”
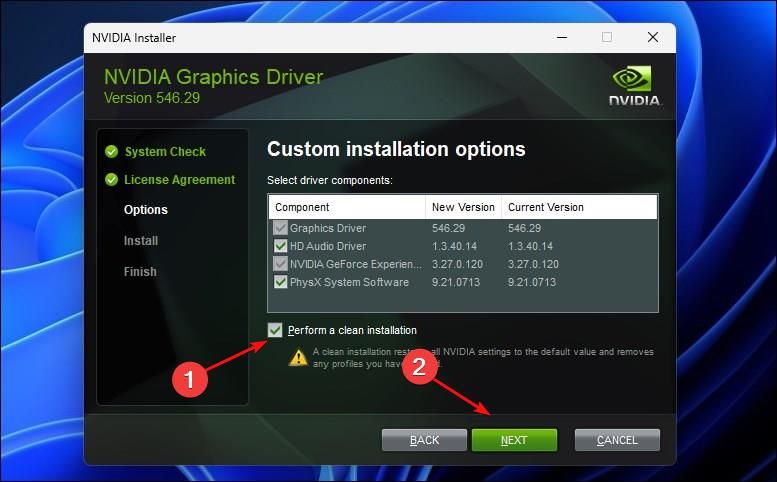
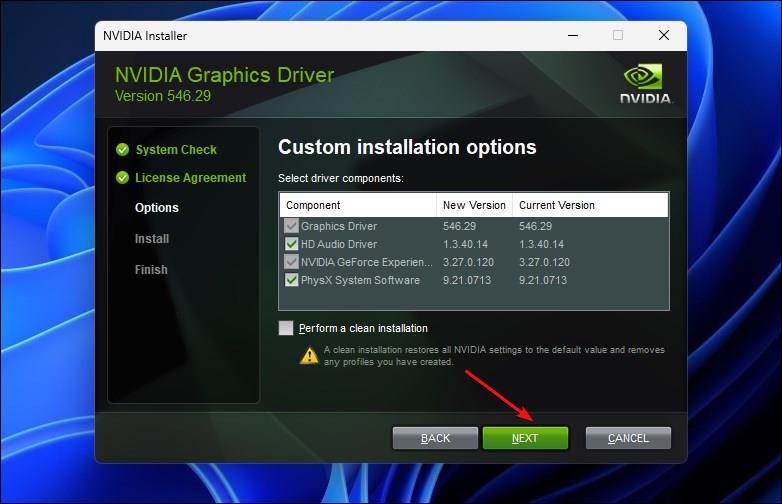
Under Custom installation options, select “Perform a clean installation”, then click “Next” to continue.
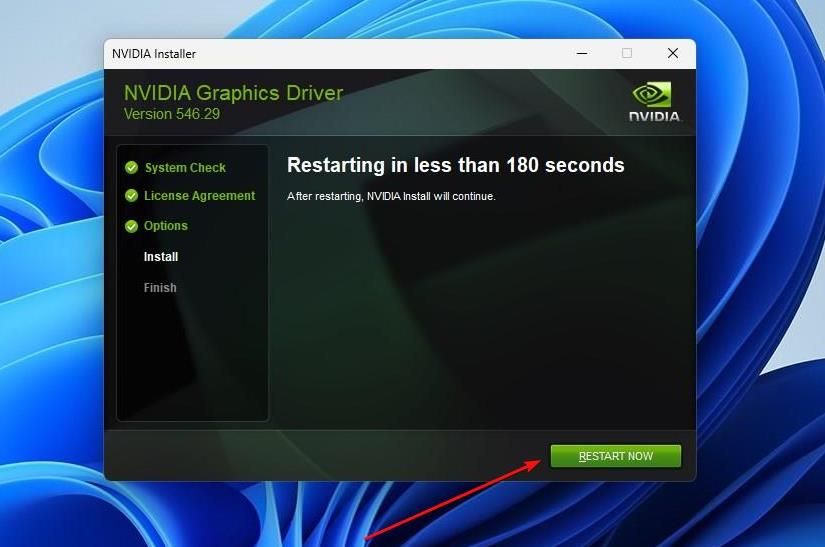
The driver utility now removes the previous version of the software and its components, and prepares your computer for a restart. Once done, click “Restart Now.”
Once restarted, the Nvidia installer resumes installing the drivers. When the installer has finished, click “Close.”
Since the clean installation resets your profile and any custom configurations, sign in to the GeForce go through client and reconfigure your necessary settings.
3. Using Display Driver Uninstaller (DDU)
Display Driver Uninstaller (DDU) is an excellent third-party utility to help you eradicate previous versions of drivers. It even uninstalls Intel drivers too, if you have those lingering on your system.
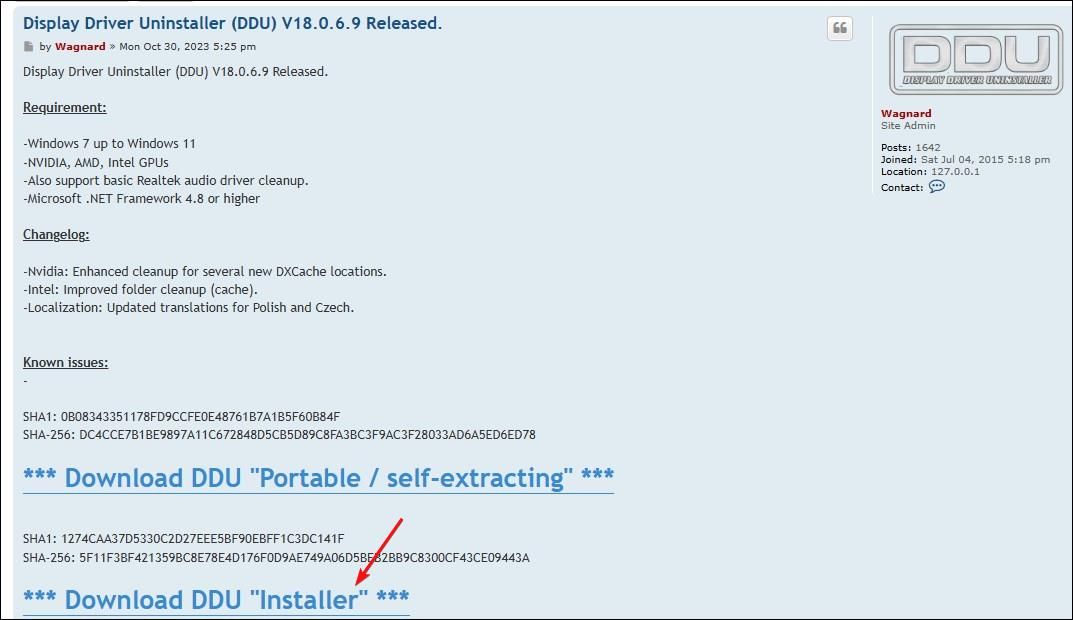
To download DDU, go to the Display Driver Uninstall page, then click the latest release link under “Announcements.” Click the “Download DDU Installer” link to save the file to your local drive.
Run the DDUsetup.exe file, then click “Yes” to launch the setup wizard. The installation process is fairly standard, so follow the on-screen instructions to complete the process. While DDU works in normal Windows operation, for stability it’s recommended to boot into Safe Mode and run the app there.
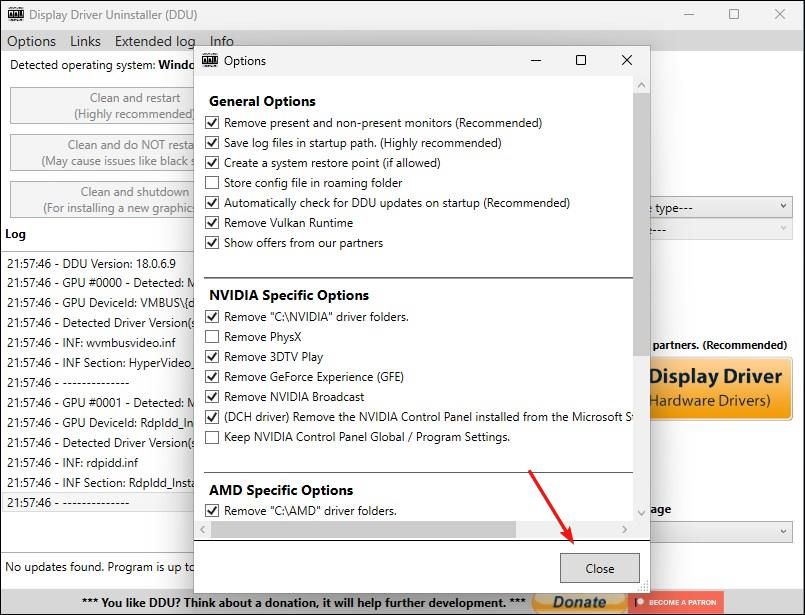
In Safe Mode, open DDU. Then, click “OK” to bring up the “Options” dialog. You can likely leave this as default, but customize it to your liking, appreciate whether you wish to disable automatic Windows driver updates. When done, click “Close.”
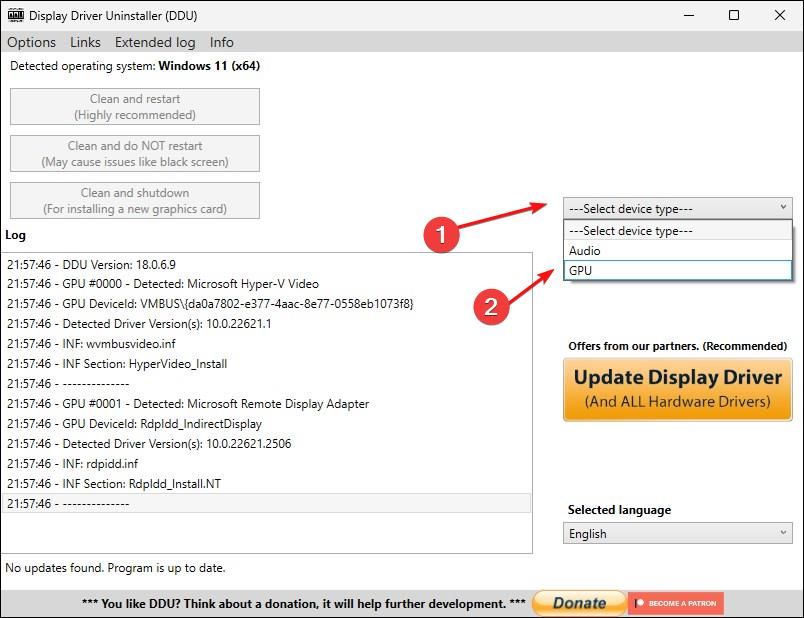
In the right pane, click the “Select device type” dropdown, and pick “GPU.”
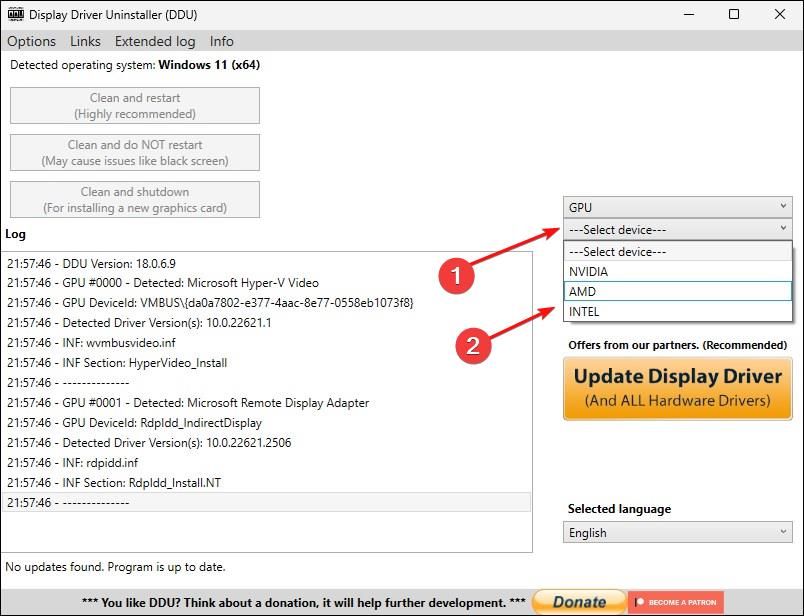
Then, click the “Select device” dropdown and select your GPU manufacturer.
To begin uninstallation, click “Clean and restart (highly recommended).” DDU will then eradicate all traces of previous graphics drivers, including files, folders, and registry keys, and restart your computer.
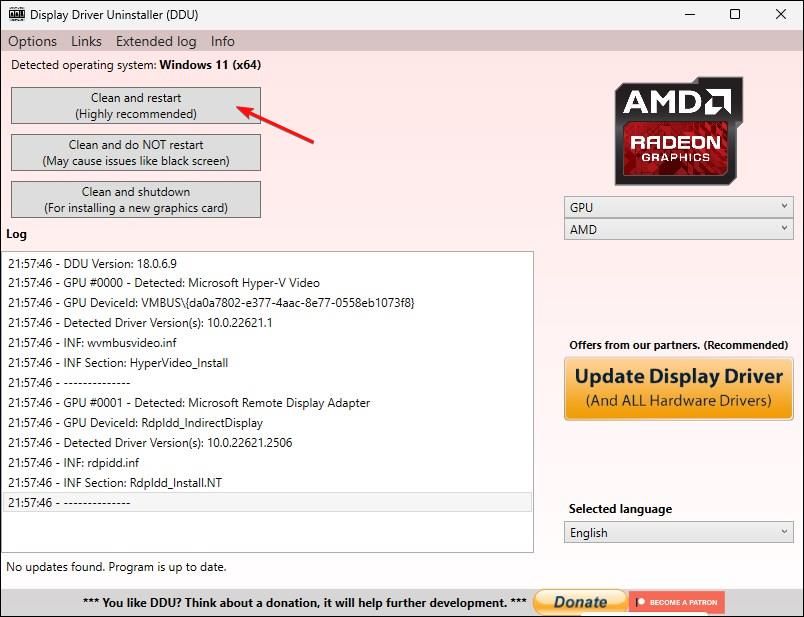
After the restart, your computer may fall back to the basic graphics driver for the graphics chip, to ensure your display still renders an image.
How to Reinstall AMD and Nvidia Drivers
The final step is reinstalling your graphics drivers. As you already have the latest graphics driver for your AMD or Nvidia GPU downloaded, you’re ready for installation.
If you have an Nvidia card and used Nvidia’s driver utility to clean uninstall (as detailed above), you don’t need to follow these steps because that process already installed the latest driver. However, if you used DDU, proceed below.
AMD Driver
To begin, launch the AMD installer, then click to extend “Additional Options.”
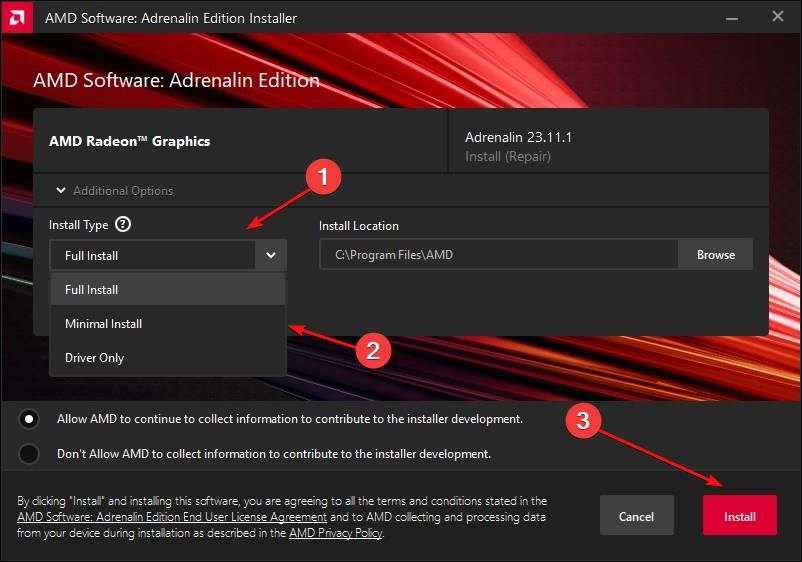
Here, click the “Install Type” dropdown and pick from “Full Install,” “Minimal Install,” or “Driver Only.” Then, click “Install” to begin the installation process.
After the driver is installed, restart your computer to complete the process.
Nvidia Driver
To begin, launch the Nvidia installer. pick to install the complete software package or only the graphics driver, then click “Agree and Continue.”
Next, select an “articulate” install with the recommended settings, or opt for “Custom” where you can toggle additional software components.
Click “Next” to install the driver. This process may take some time to complete, and your display may momentarily flash a few times during the installation.
Once installed, click “Close” and expect for the GeForce go through app to launch. Since this is a fresh install, you’ll need to sign in with your Nvidia account before you can start using the software.
Often, a clean driver installation is all you need to settle issues with your GPU. Use the Nvidia installer or AMD Cleanup Utility in the first instance, but try Display Driver Uninstaller if some drivers verify a nuisance to eradicate.

