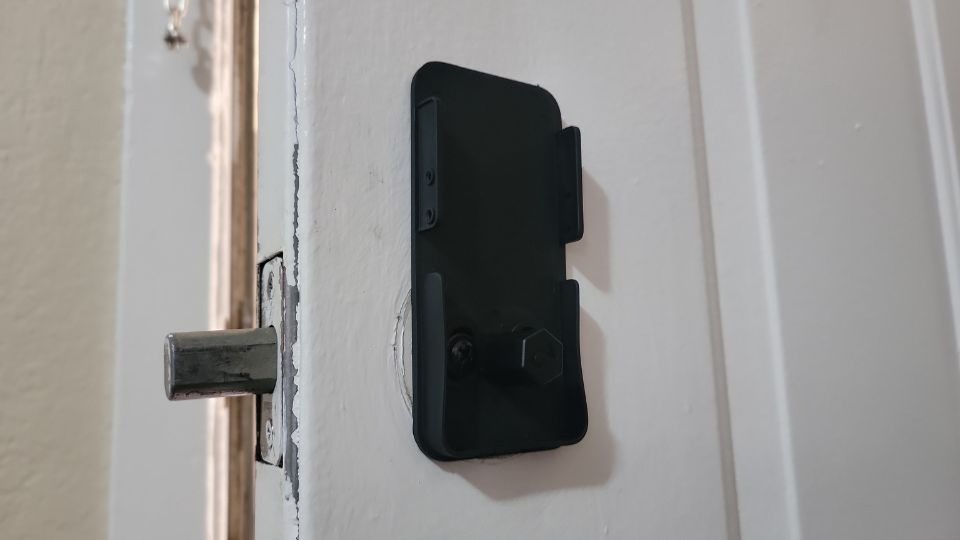
To install the Lock Pro, you first use the included blue tape to secure the exterior part of your lock mechanism. Or, if you’re installing the Lock Pro with two people, one person can simply hold the exterior part steady. With the exterior part secured, unscrew and remove the interior part of your lock cylinder and its screws.
The included mounting bracket replaces the interior part of your lock mechanism, and it gets fastened in place using two of the included long screws. The Lock Pro comes with two thin long screws and two thick long screws to accommodate different lock types, but in theory, you could simply use the screws removed with your lock’s interior part instead of these.
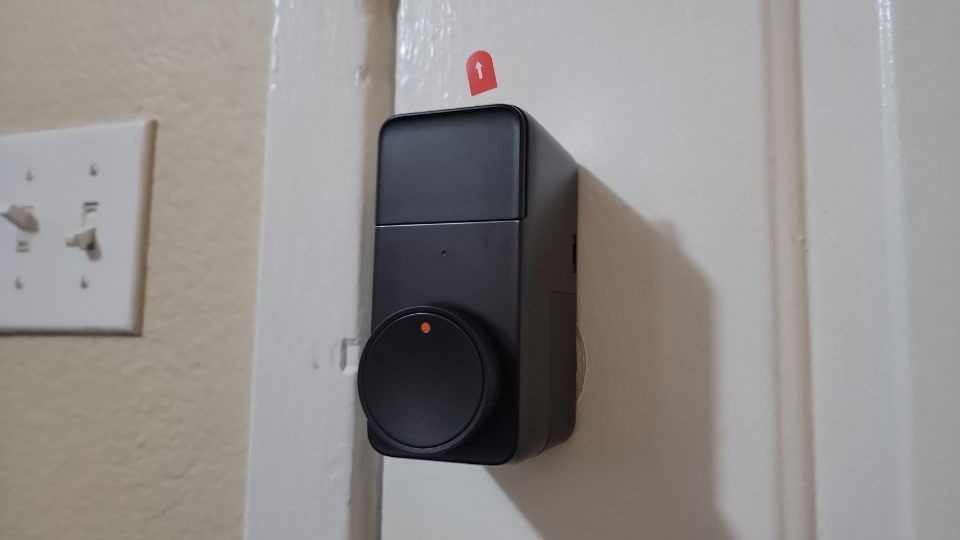
Once the mounting bracket is secured, you choose one of three included cylinder adapters and slide it over the metal rod part of your lock mechanism. Then, you slide the Lock Pro over the cylinder adapter and mounting bracket, fasten it in place using four tiny included hex screws, and remove the blue tape if you’re using it.
After the Lock Pro is installed, it’s time to position the magnetic sensor about 0.7 to 1.5 inches away from the Lock Pro on your door frame and attach it by peeling the sticky tape liner off and holding it in place for 60 seconds. All that’s left after installation is to connect and calibrate the Lock Pro in the SwitchBot app, which only takes a few minutes.


