An oil change is one of the most basic and critical forms of vehicle maintenance. Whether or not you plan to do it yourself, oil changes are something you absolutely cannot skip. Most auto manufacturers provide specific intervals for oil changes, which can differ from car to car. However, for most vehicles, you should change your oil every 3,000 to 7,500 miles.
To replace your oil at home, you’ll need ramps or jacks to lift the car off the ground, a ratchet and socket set, a torque wrench, a fluid pan, fresh oil that meets your vehicle’s specifications, a new oil filter, and rags for cleanup.
The steps to change your oil can vary slightly depending on the vehicle, but here is the general procedure:
-
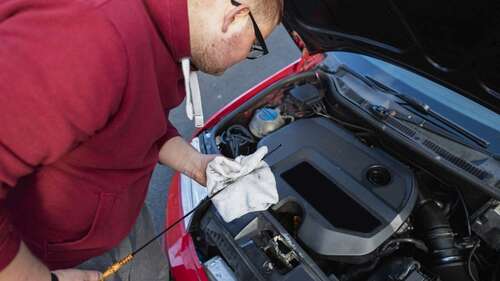
Open your car’s hood and remove the oil fill cap and dipstick.
-
Lift your vehicle’s front end off the ground.
-
Locate the oil pan and remove the drain plug (position your fluid pan to catch the old oil).
-
Remove the old oil filter.
-
Apply a light layer of oil to the new filter’s gasket and screw it into place.
-
Replace the drain plug and torque it to the proper specification.
-
Lower the vehicle.
-
Fill your car’s engine with the appropriate amount of clean oil (check your owner’s manual to verify).
-
Start the vehicle and let it run for 30 seconds. Then, check the oil level using your dipstick. Top off the oil, and clean up any messes before closing the hood.
Once you finish, complete the project by recycling your old oil. Simply transfer it into the container the new oil came in and return it to your local auto parts store for proper disposal.

