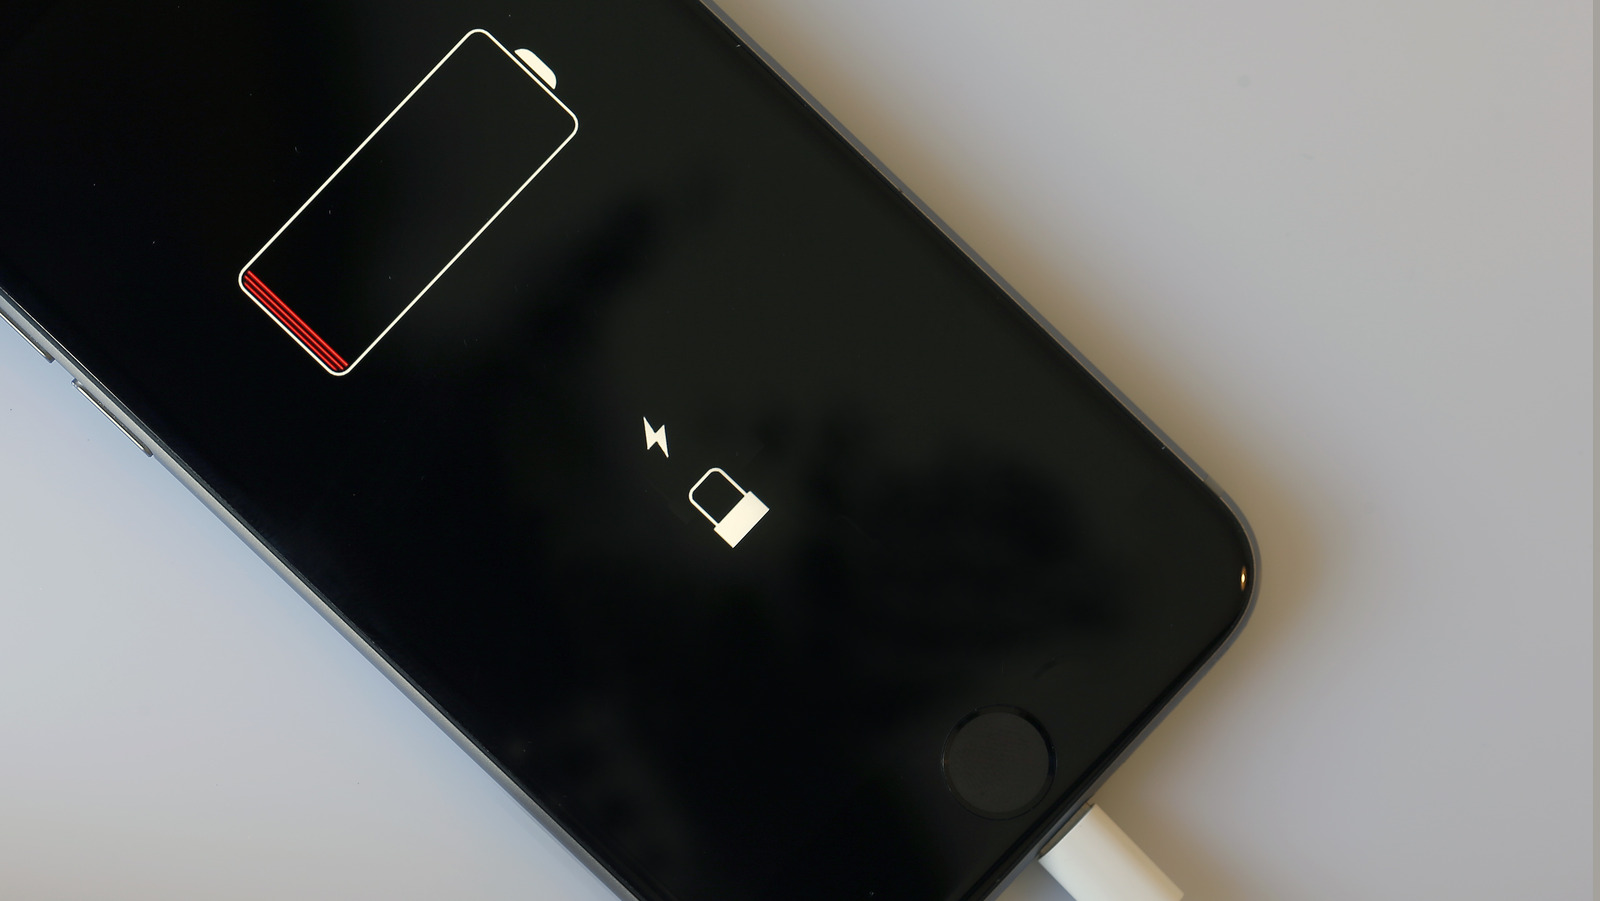
Replacing your iPhone battery by yourself is much easier if you buy a premade kit. Most involve the same general tools and steps, which we will outline in this guide. We also recommend watching a video or two if you ever feel stuck, as it can help to see how everything is done.
Start by turning your phone off and using the specialized screwdriver to remove the P2 pentalobe screws from the bottom of the phone. These can be found on either side of the charging port. Once the screws are removed, you can use a warming pad or a hair dryer to apply heat across the bottom of the phone to soften and loosen the adhesive.
Next, you’ll use the suction cup to create a cap between the phone screen and the phone’s case. Once the gap is visible, slide a pry tool two millimeters or less into it. Use the same process of warming the phone, then rotate your prying tool along the left side and then the right side. Do the top last, and slide it gently along the top of the phone. The display will still be attached via cables, but you should be able to open it to the right.
To completely remove the cover and have unrestricted access to the phone’s internal mechanisms, you’ll need to remove the battery cover, disconnect the battery connector, then unscrew the cover of the battery sensor, and disconnect it. Once these cables are disconnected, the display will lift off.

