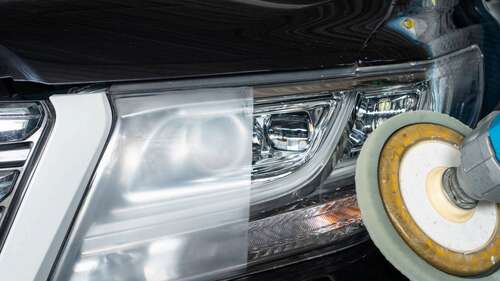
If you don’t own an electric drill, the Sylvania Headlight Restoration Kit is an excellent option. Sylvania’s kit includes masking tape, vinyl gloves, application cloths, a proprietary surface activator, three progressively finer grits of waterproof sandpaper, a polishing compound, and a UV-blocking coating.
Sylvania claims three easy steps to headlight restoration. That claim is only valid if you count three sanding operations and polishing as one step and don’t count preparation. Regardless of the actual number of steps, the kit provides reliably satisfactory results with over 400 five-star reviews.
Before you begin, ensure the headlight lenses are clean and dry, then apply masking tape to the painted surfaces surrounding the headlights. Sylvania’s first step requires the application of its proprietary surface activator, which softens the lens plastic. Step two: uniformly sand each lens with progressively finer sandpaper, keeping it wet at all times, and then apply the polishing compound with the provided polishing cloth. After thoroughly cleaning the now transparent lenses, proceed to step three, applying the UV-blocking clear coat protectant.

