Are you selling a product but don’t want to mess with a website or marketplace, and you don’t know how to code either? You can build and publish a store app for Android and iPhone without any coding skills using a service called Appy Pie.
What is Appy Pie?
Appy Pie is a web-based tool that offers no-code development platforms, which means that you can use it to develop applications without any programming knowledge. You can use these platforms to build mobile applications and websites, develop chatbots, automate processes, and create designs without having to write code.
To build your application, you’ll need Appy Pie’s app builder, which is only available on its Gold and Premium plans, which cost upwards of $360 per year. For this tutorial, we’ll be using the 7-day gold plan free trial to customize our application. We’re also showing you how to cancel if you decide it’s not worth it.
Why Appy Pie?
These are the benefits of using Appy Pie:
- Usability: It has a beginner-friendly interface and is easy to use.
- Flexibility: Appy Pie isn’t limited to online store application development. You can use it to create applications for other businesses and industries like news, events, health, podcasts, and lots more.
- Monetization: You can make money from your application not only by selling your product but also by displaying ads, as well as other monetization features that Appy Pie offers.
- Customization: Appy Pie has a template gallery. These templates are designed based on the category of the application. You can also develop an application by writing a sentence or two about the application, and the Artificial Intelligence builder will build it for you in no time.
- Push Notifications: You can create push notifications that you can send to users of your applications.
Creating a Mobile Application on Appy Pie
You can follow the steps below to create your mobile application using Appy Pie;
Create an Account or Sign in to an Existing Account on Appy Pie
To create your account, visit Appy Pie’s website and click on “Join” at the top-right corner of the webpage. You can create your account by signing in with Google or your email address. Go through the terms and conditions, then click on “I Accept”. If you already have an account, you can sign in to your account.
Set up Your Application
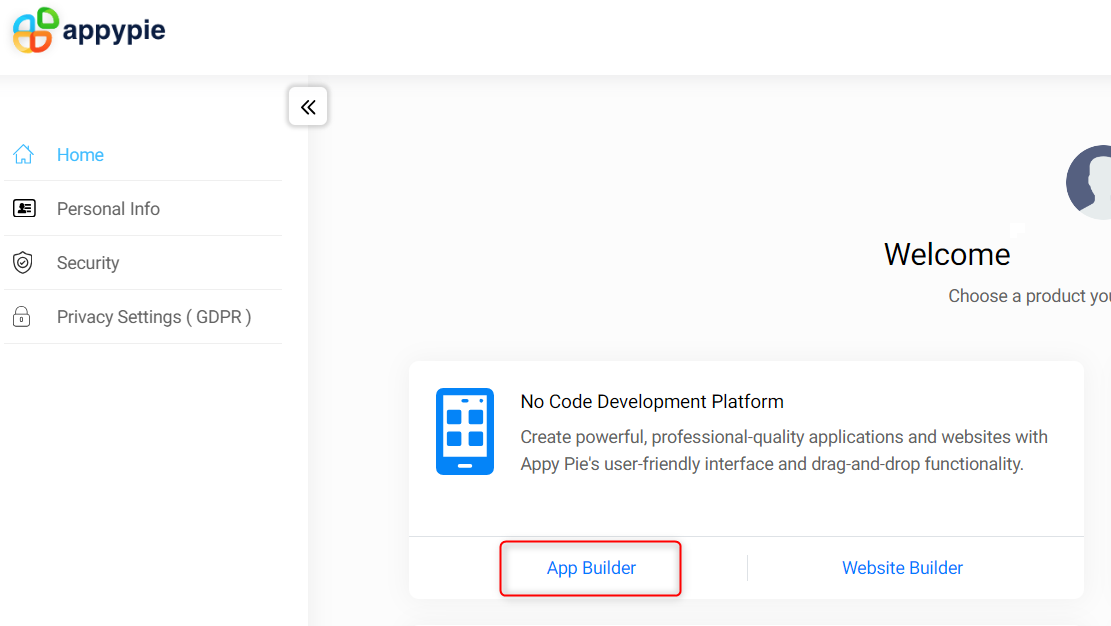
When you log in, you are now on Appy Pie’s homepage where you can view its products. In the “No Code Development Platform” section, Click on “App Builder”.
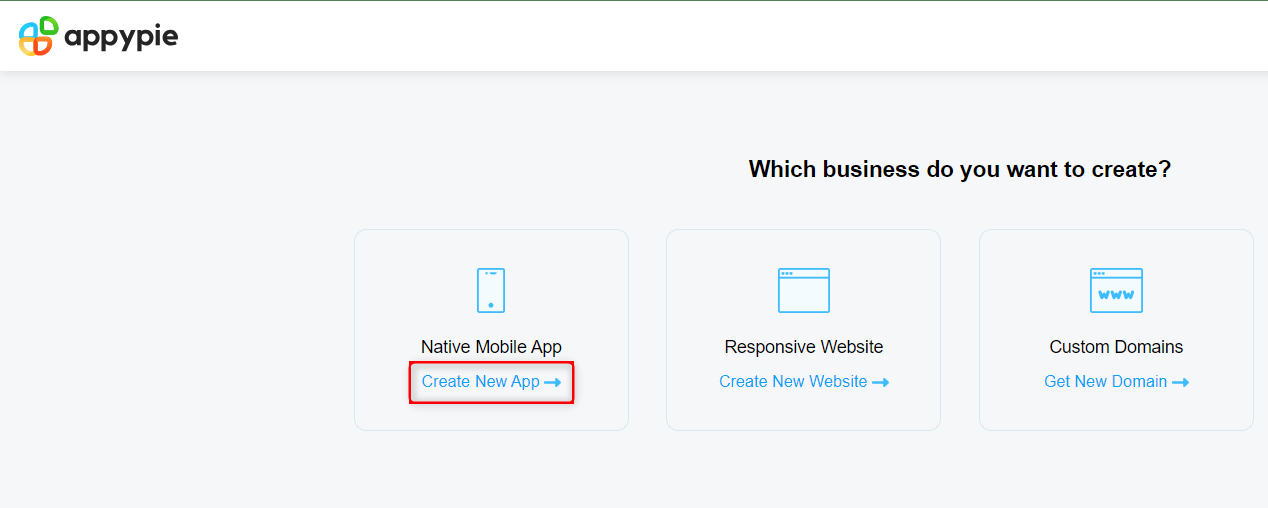
Under “Native Mobile App”, click on “Create New App”. Appy Pie will direct you to its app builder page.
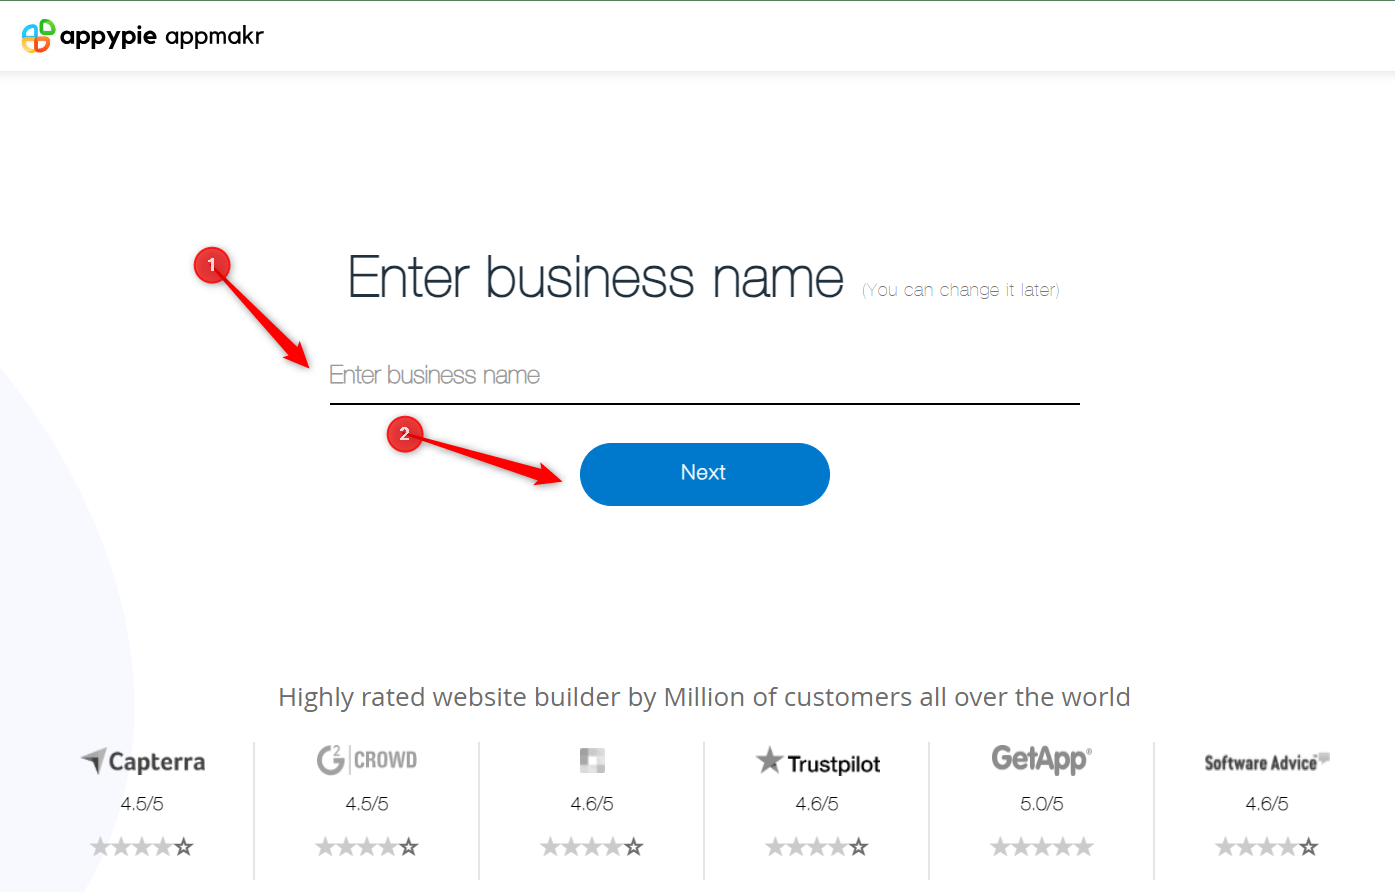
Enter your business name or the name of your application in the space provided, and then click on “Next”. Note that the business name that you enter will be the name of your application.
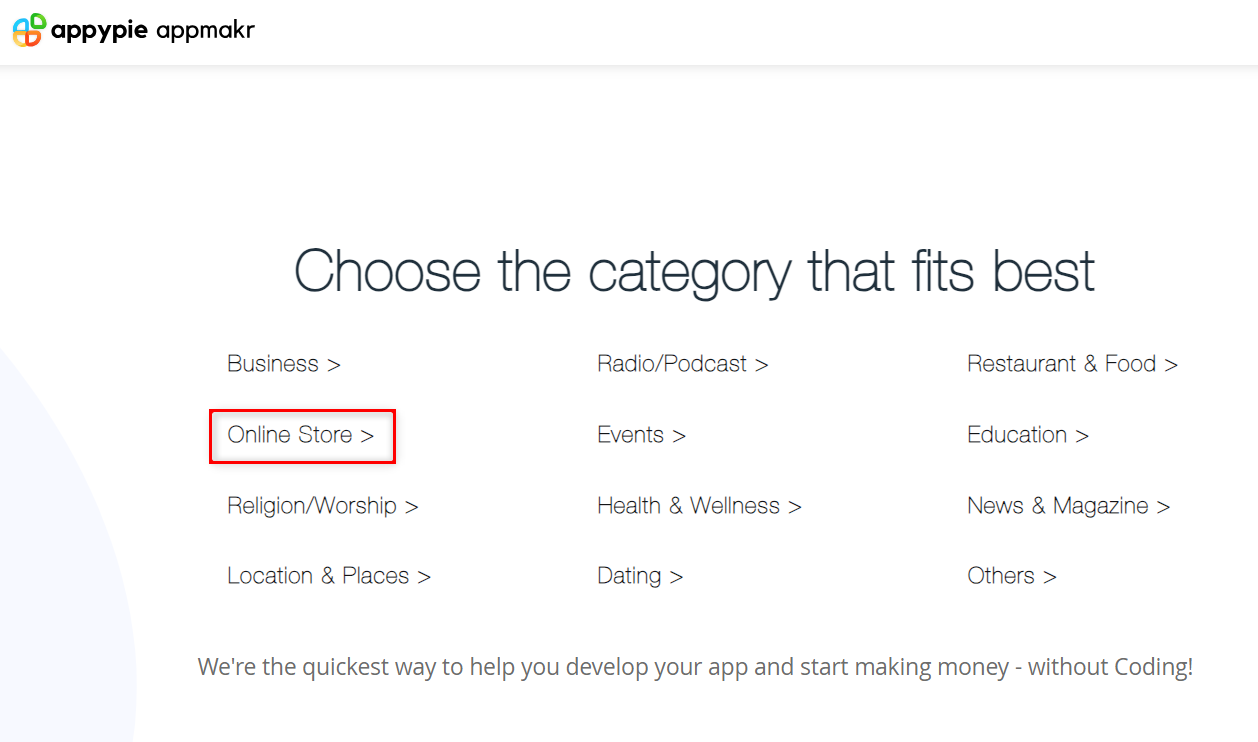
Select the type of application that you want to develop. We will be creating an online store application, so click on “Online Store”. Appy Pie will display different online store templates for you to choose from.
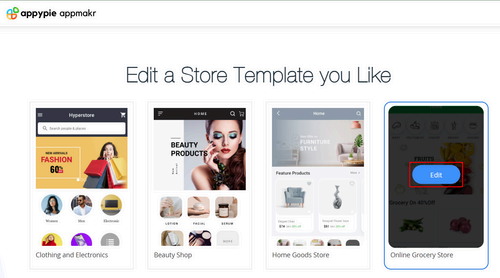
Choose An Application Template
Choose a template that you like and give it some time to load. We will be using the “Online Grocery Store” template, hover over it and click the “Edit” button.
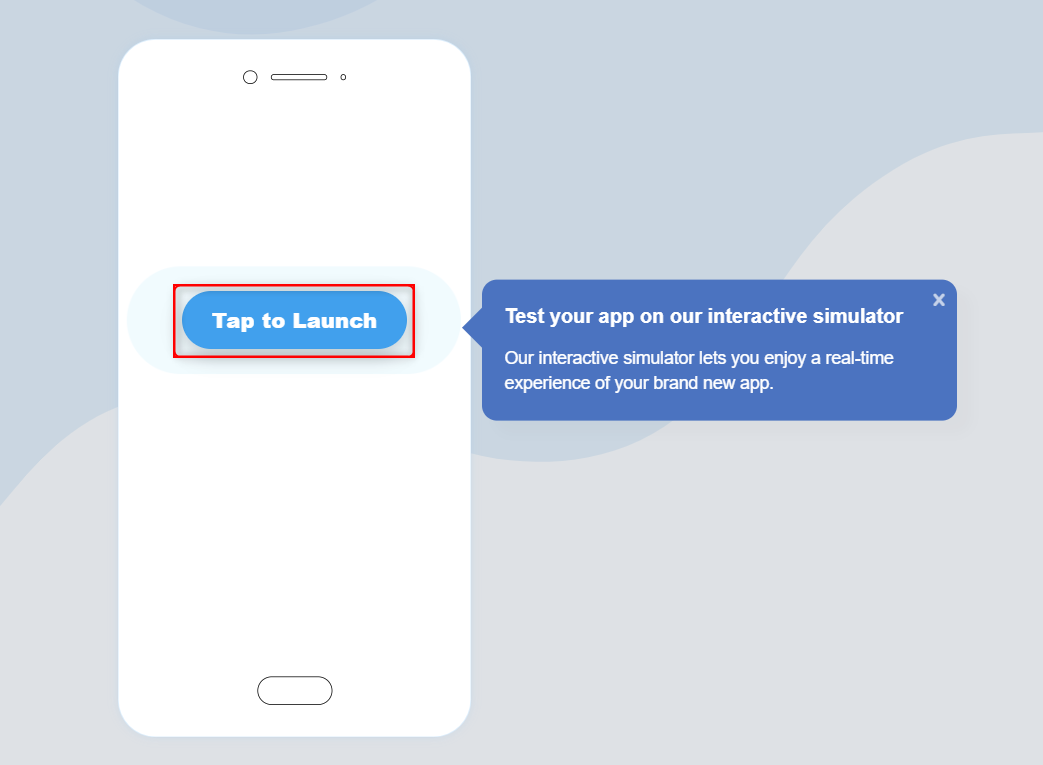
Next, click “Tap to Launch” to create and test your application in a real-time simulator.
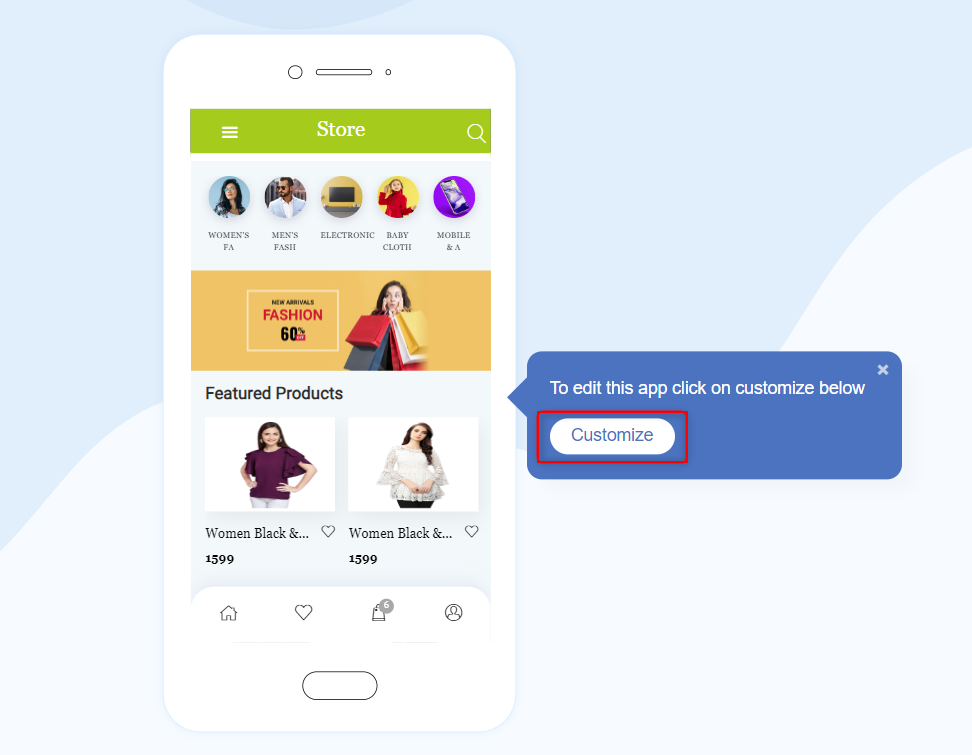
Then click on “Customize” to add a personal touch to the template.
Customize Your Application
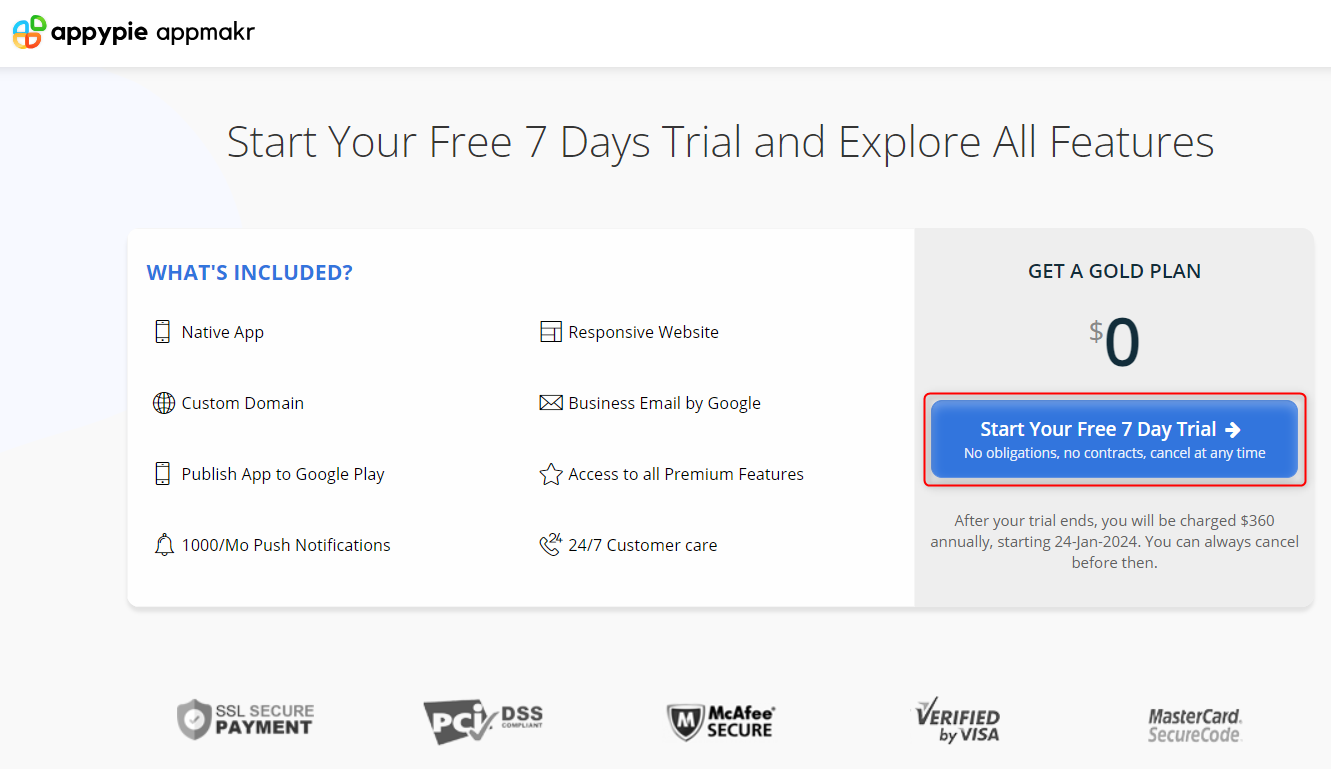
To customize your application, you will use the 7-day Gold plan free trial.
After the trial period, you can decide whether to continue your subscription by selecting one of the available pricing plans or cancelling your subscription. To start the free trial, click on “Start Your Free 7 Day Trial”.
For this next step, you will need a PayPal account. Enter your PayPal details that will be used to renew your subscription.
When you do, submit the form and you will receive an email to claim your free trial. From the email, click on “Claim Your Free Trial Now”. This will direct you to Appy Pie’s checkout page. Input your details and click on “Start Trial”.
Note that this lasts for only 7 days, if you do not want Appy Pie to charge you, you’ll want to cancel your subscription before the end of the trial period or delete the account. We’ve explained how to do that at the end of this article in case you’re not sure how.
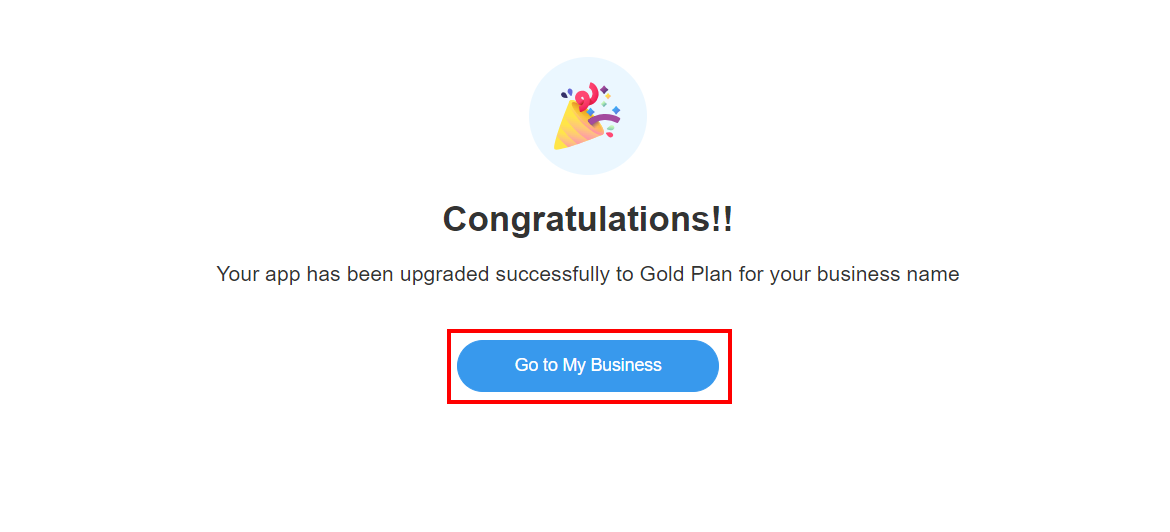
You will get a congratulatory message stating that your account has been upgraded to the gold plan. Click on “Go to My Business” to go to your business dashboard.
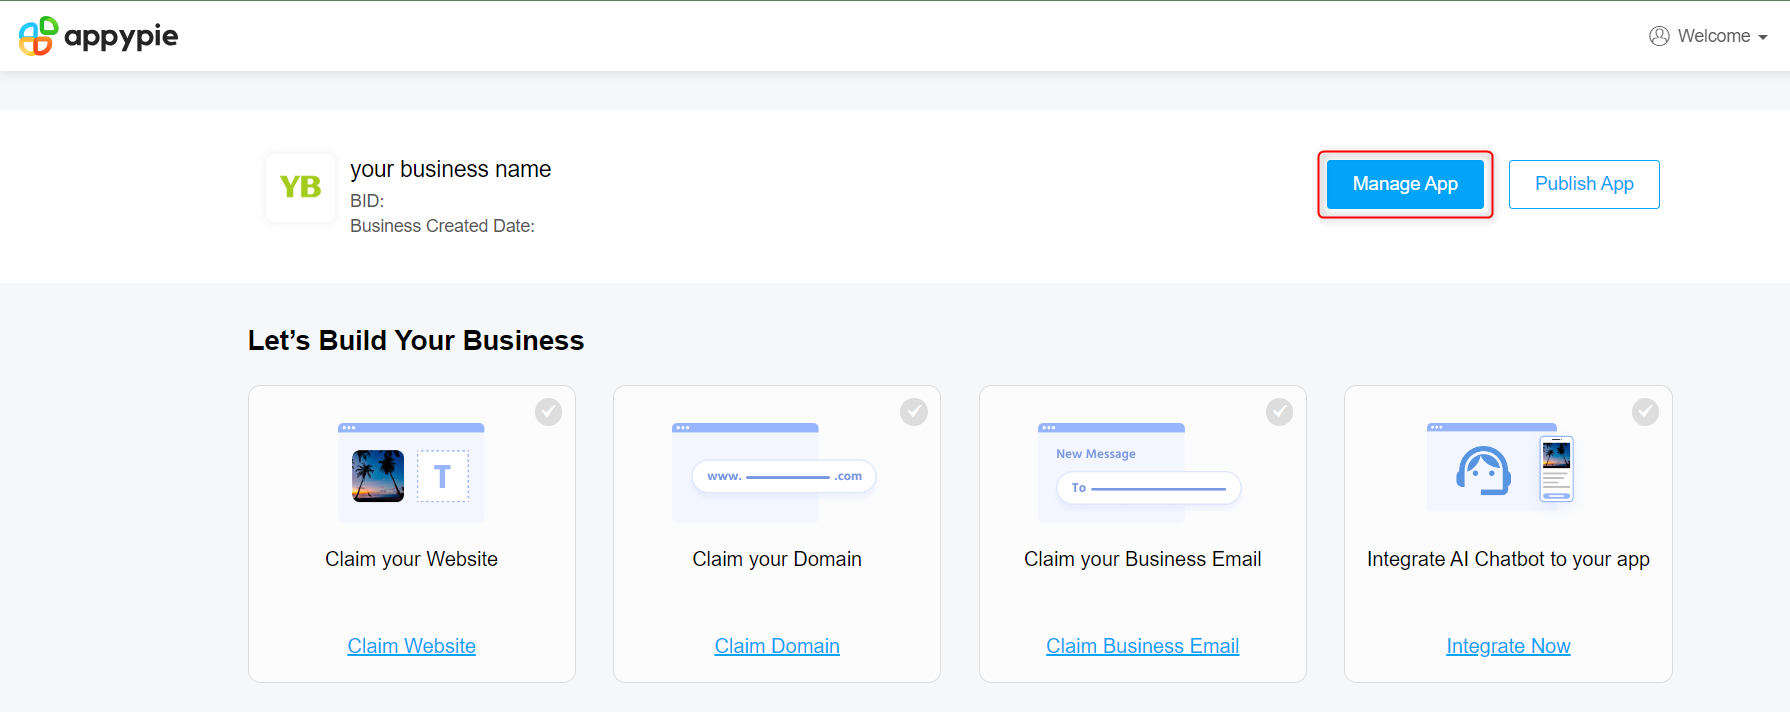
On your dashboard, click on “Manage App”.
This is your application’s homepage. Click on “Edit” to start editing your application.
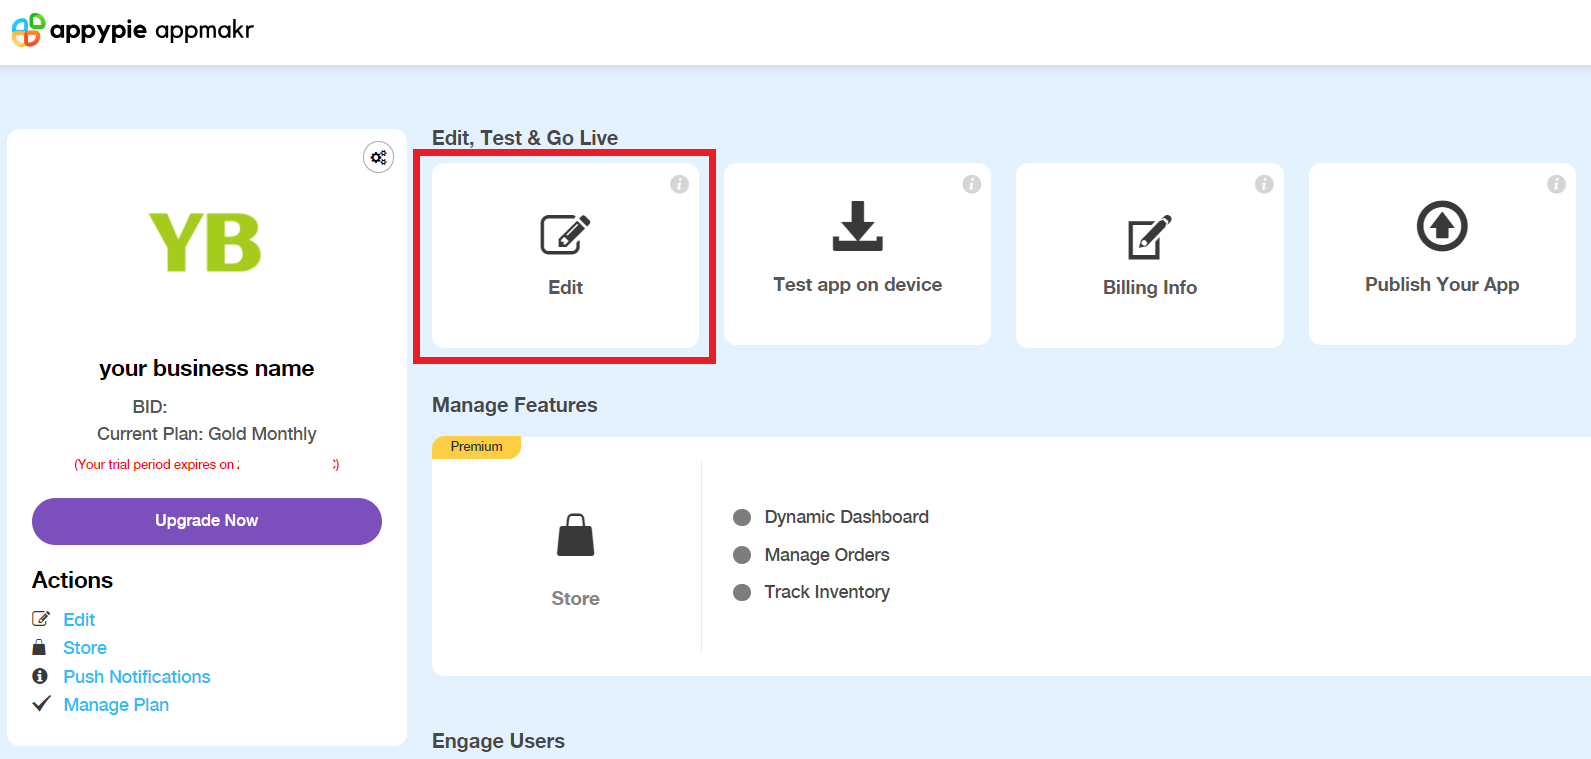
This is the edit feature page, take note of this page because we will be referencing it in this guide.
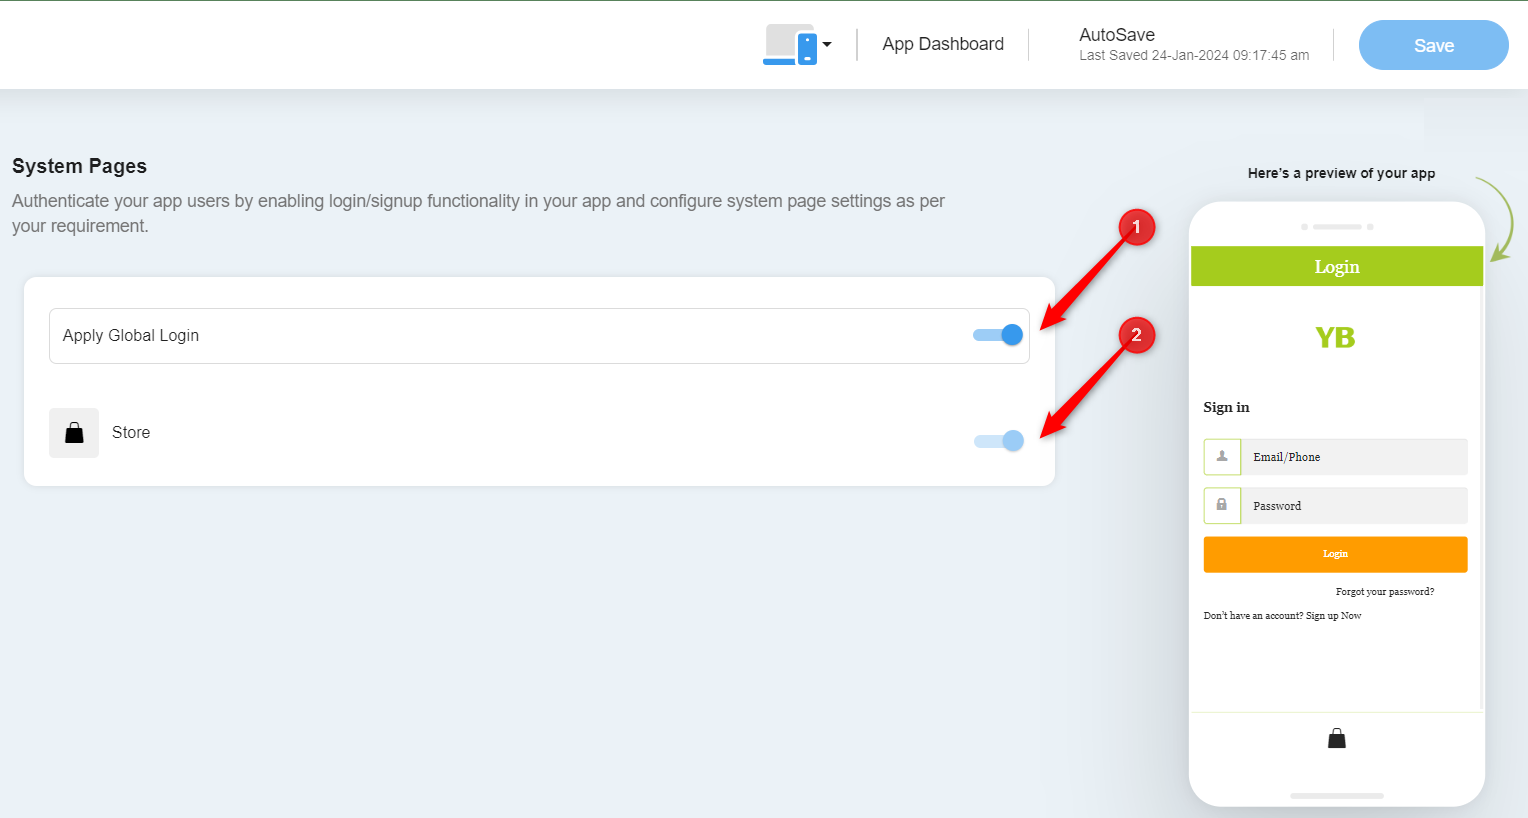
Add system pages like the Signup/ Login page if you want your users to sign in to have access to your application. Do this by selecting “System Pages” from the top left corner of the edit page. Then click on “Login/ SignUp”.

Next, click on the toggle buttons beside “Apply Global Login” and “Store”. On the right-hand side of Appy Pie’s visual editor page, you can see what your application would look like on a mobile device in real time.
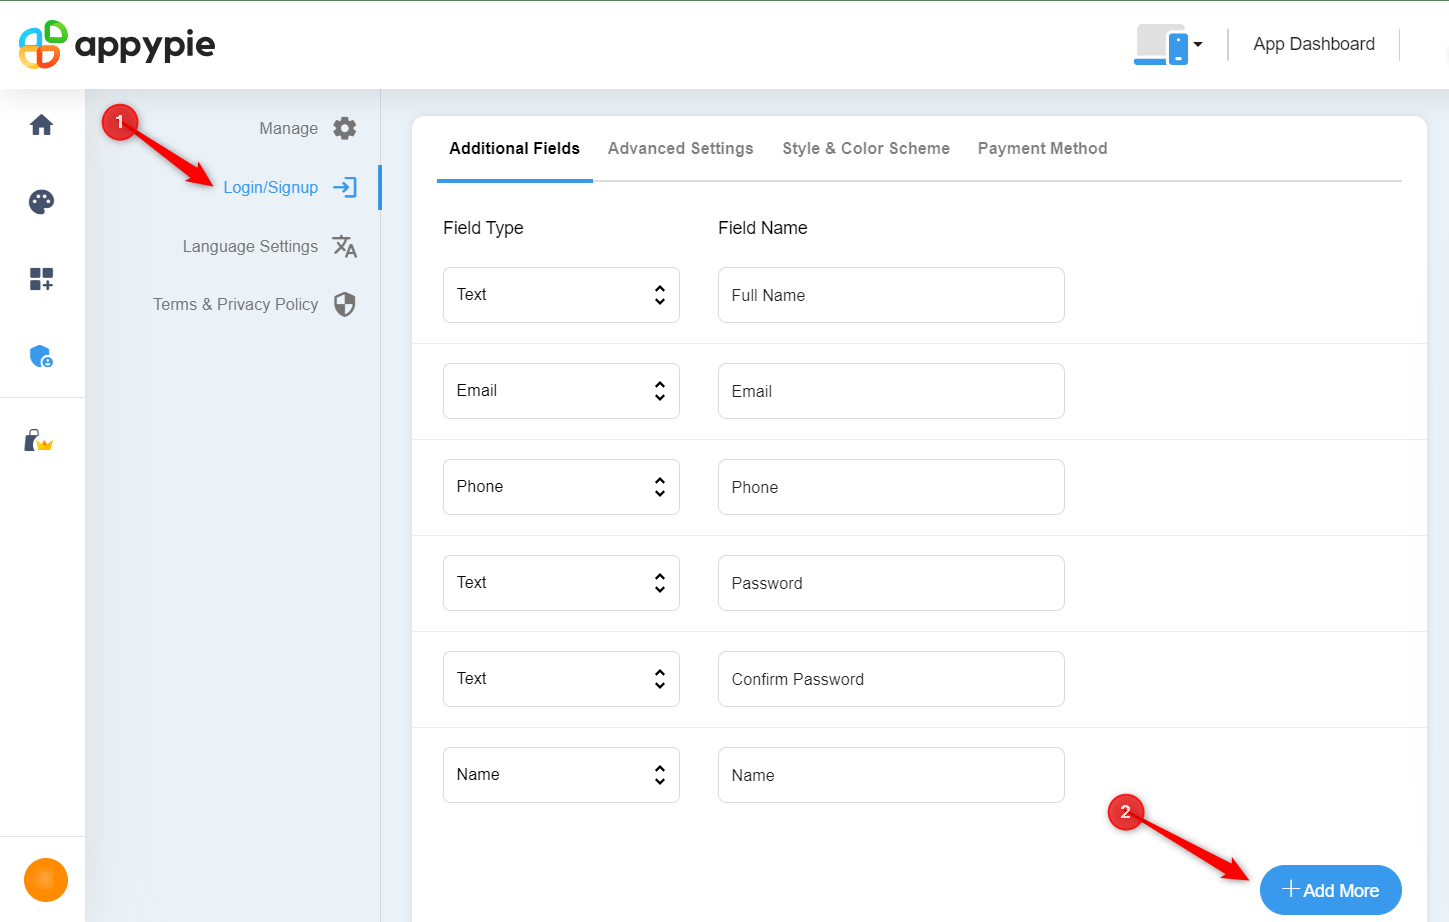
If you want to include additional fields to your signup page, click on “Login/ Signup” and then “Add More”. You can also change the style and color theme from this section.
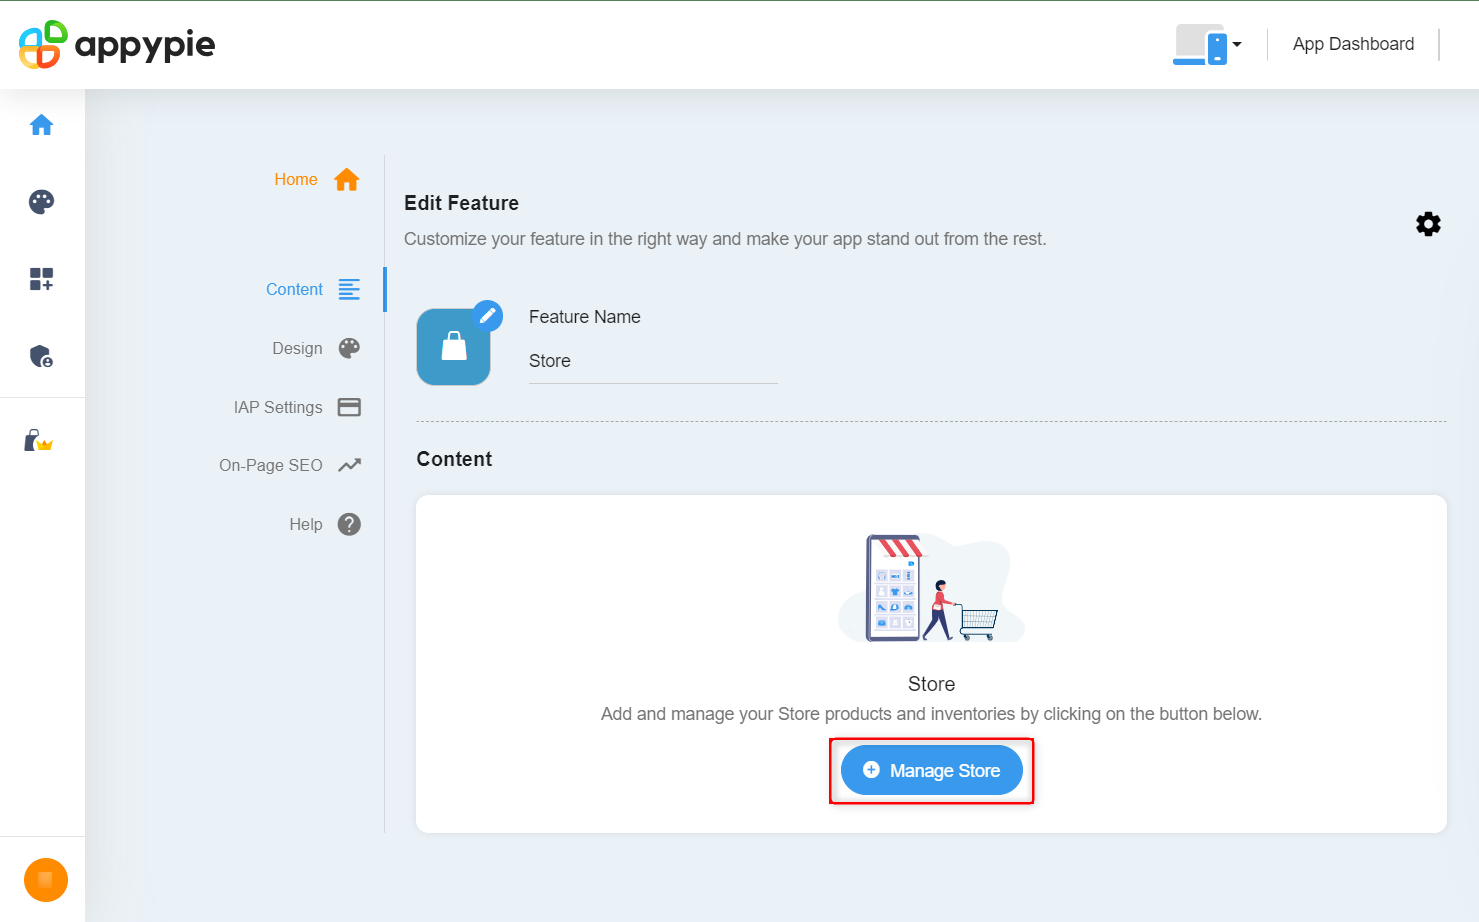
To manage your store, click on “Manage Store” from the edit feature page. This feature lets you manage products in your store application, like uploading images and prices of your products, setting your product to “Out of Stock”.
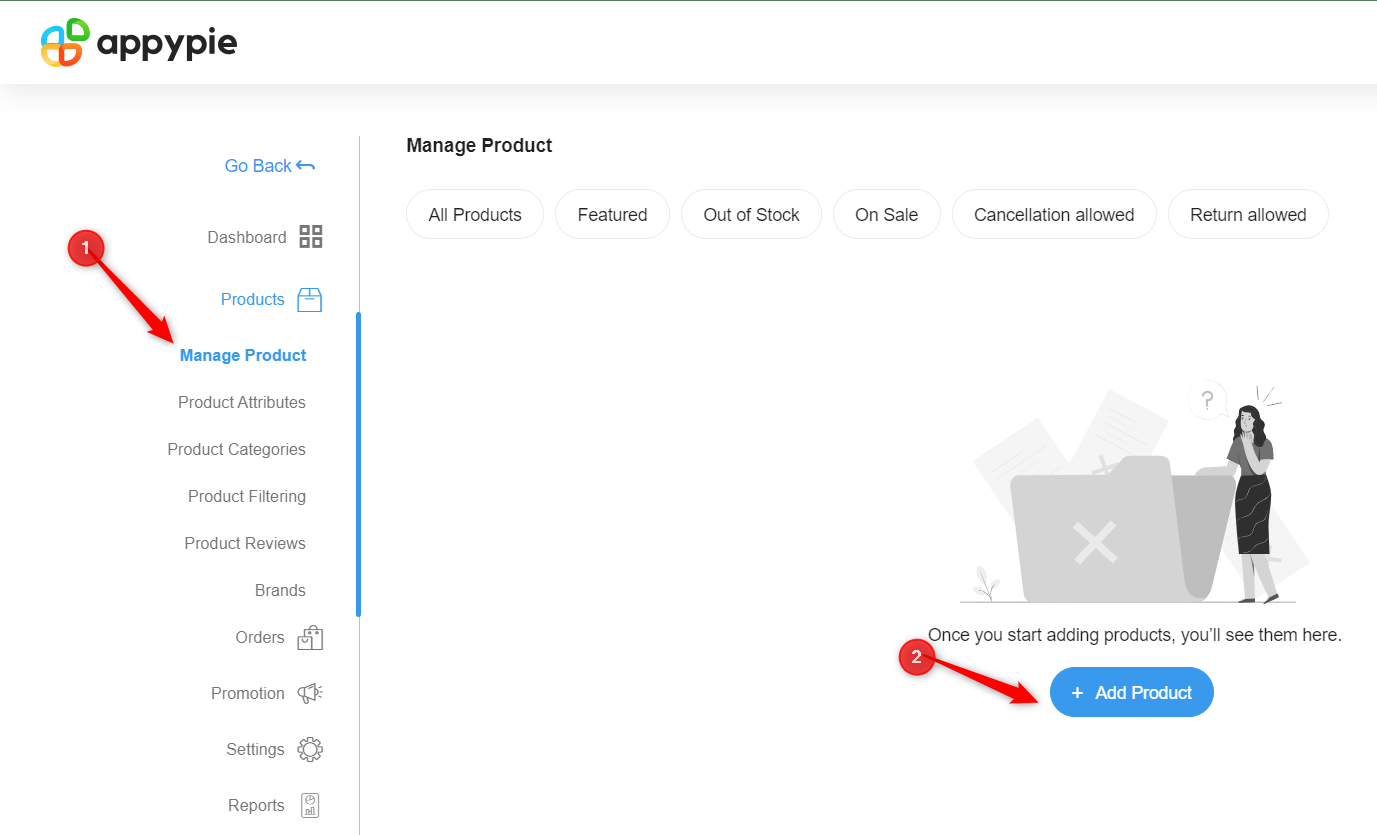
To add your products to the application, click on “Products”, then “Manage Product” and “Add Product”. This allows you to enter the details of your product.
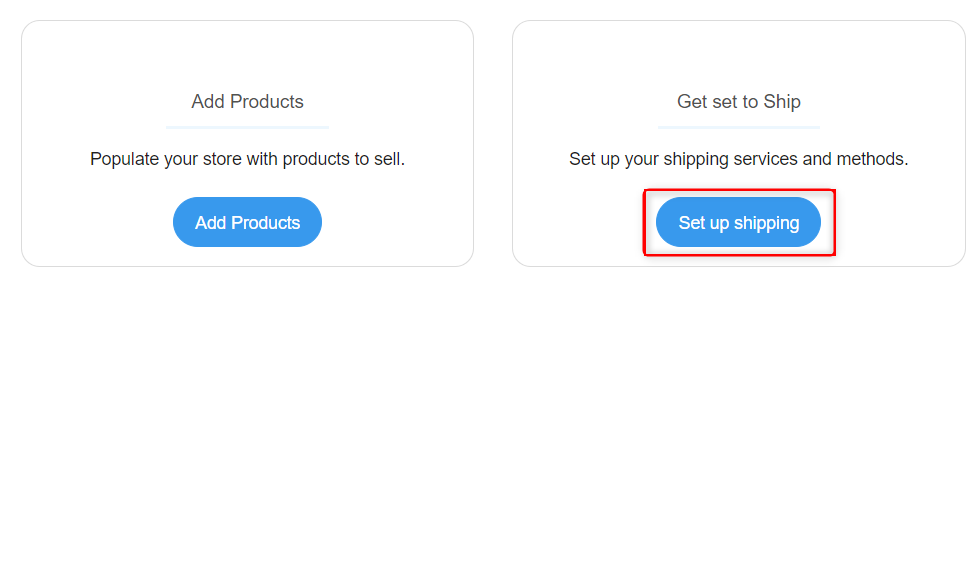
To set up the shipping section, click on “Manage Store” from the edit feature page, and click on “Set up Shipping”. Appy Pie has an option that lets you integrate shipping stores like FedEx into your application.
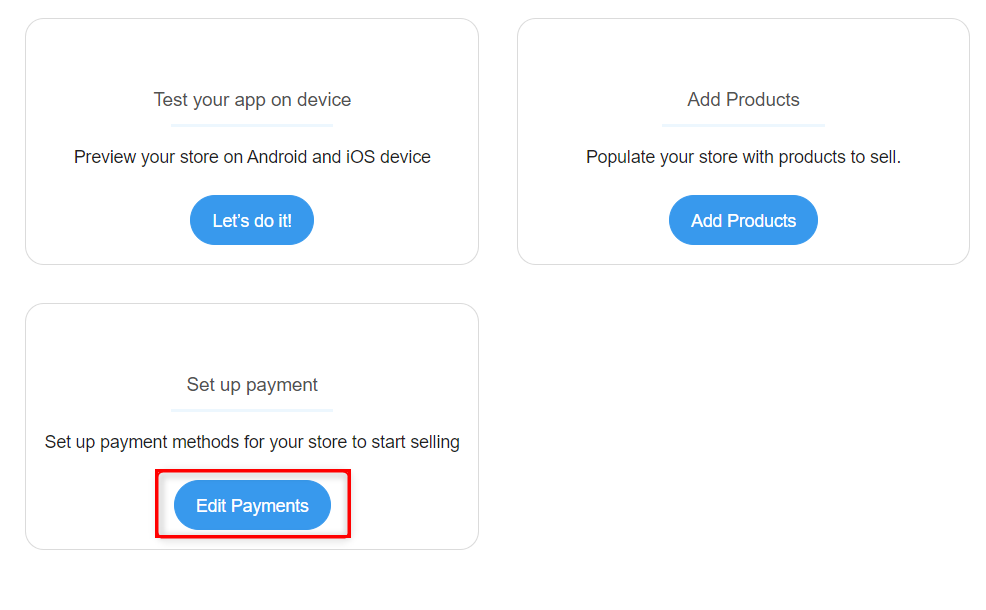
To set up the payment section, click “Manage Store” from the edit feature page, then click “Edit Payments”.
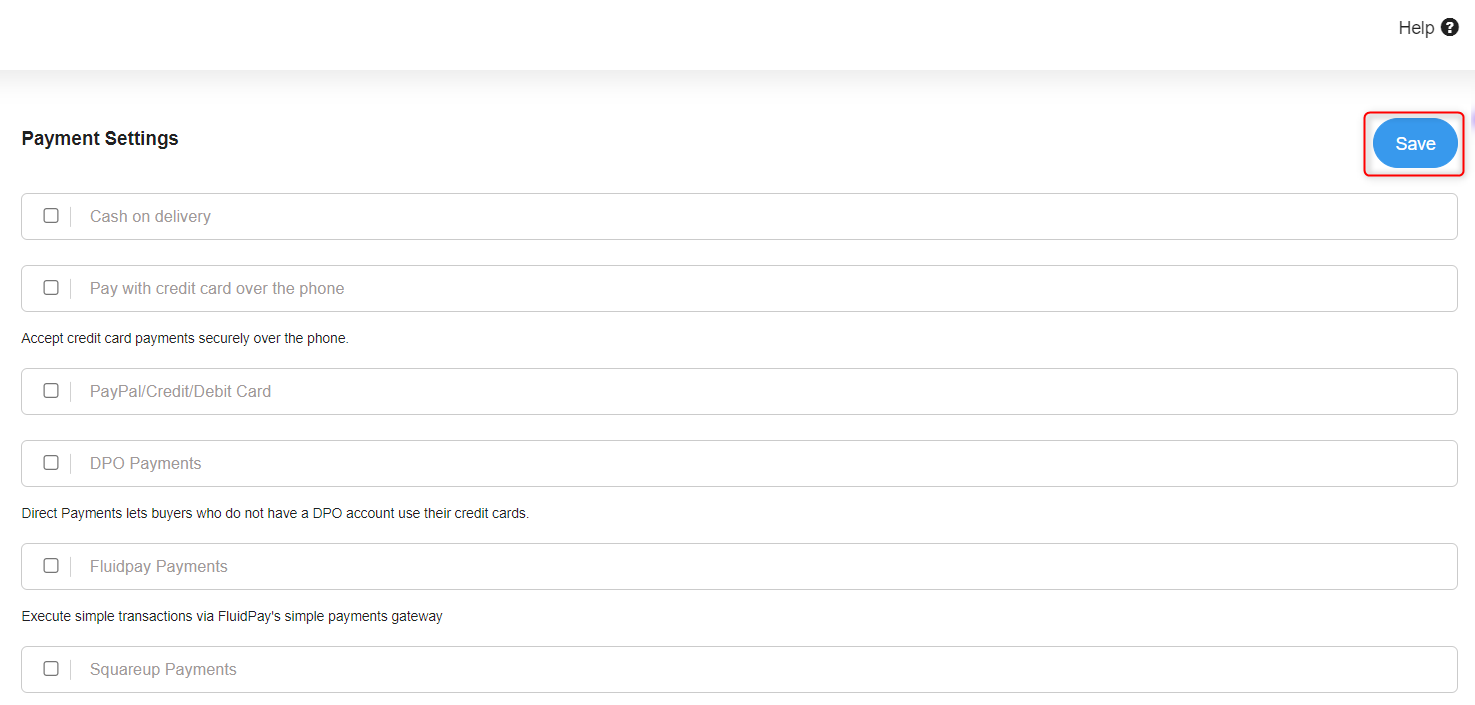
You can tick the options that you want to include in your application such as credit card payments, cash on delivery, PayPal, and lots more. After selecting your preferred payment method, click on “Save”.
Test Your Application
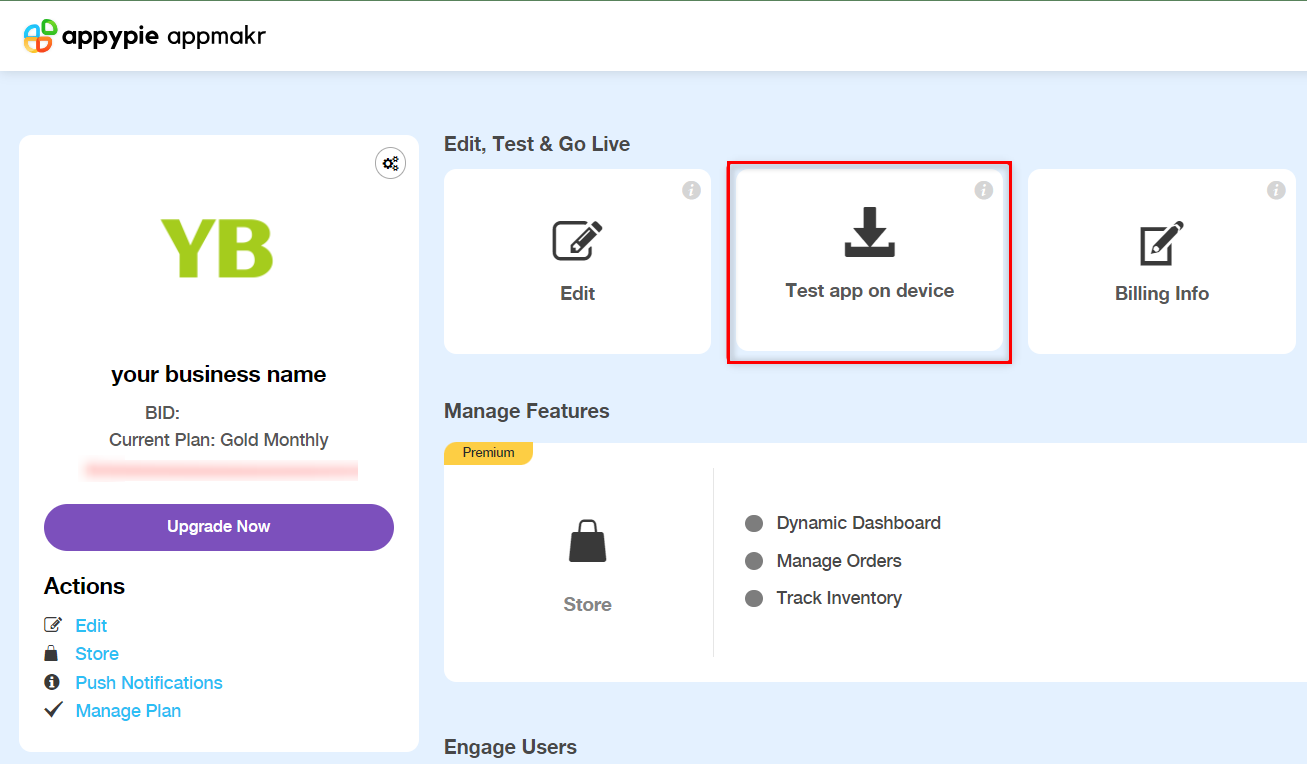
From your application’s homepage, click on “Test App on Device” to test your application.
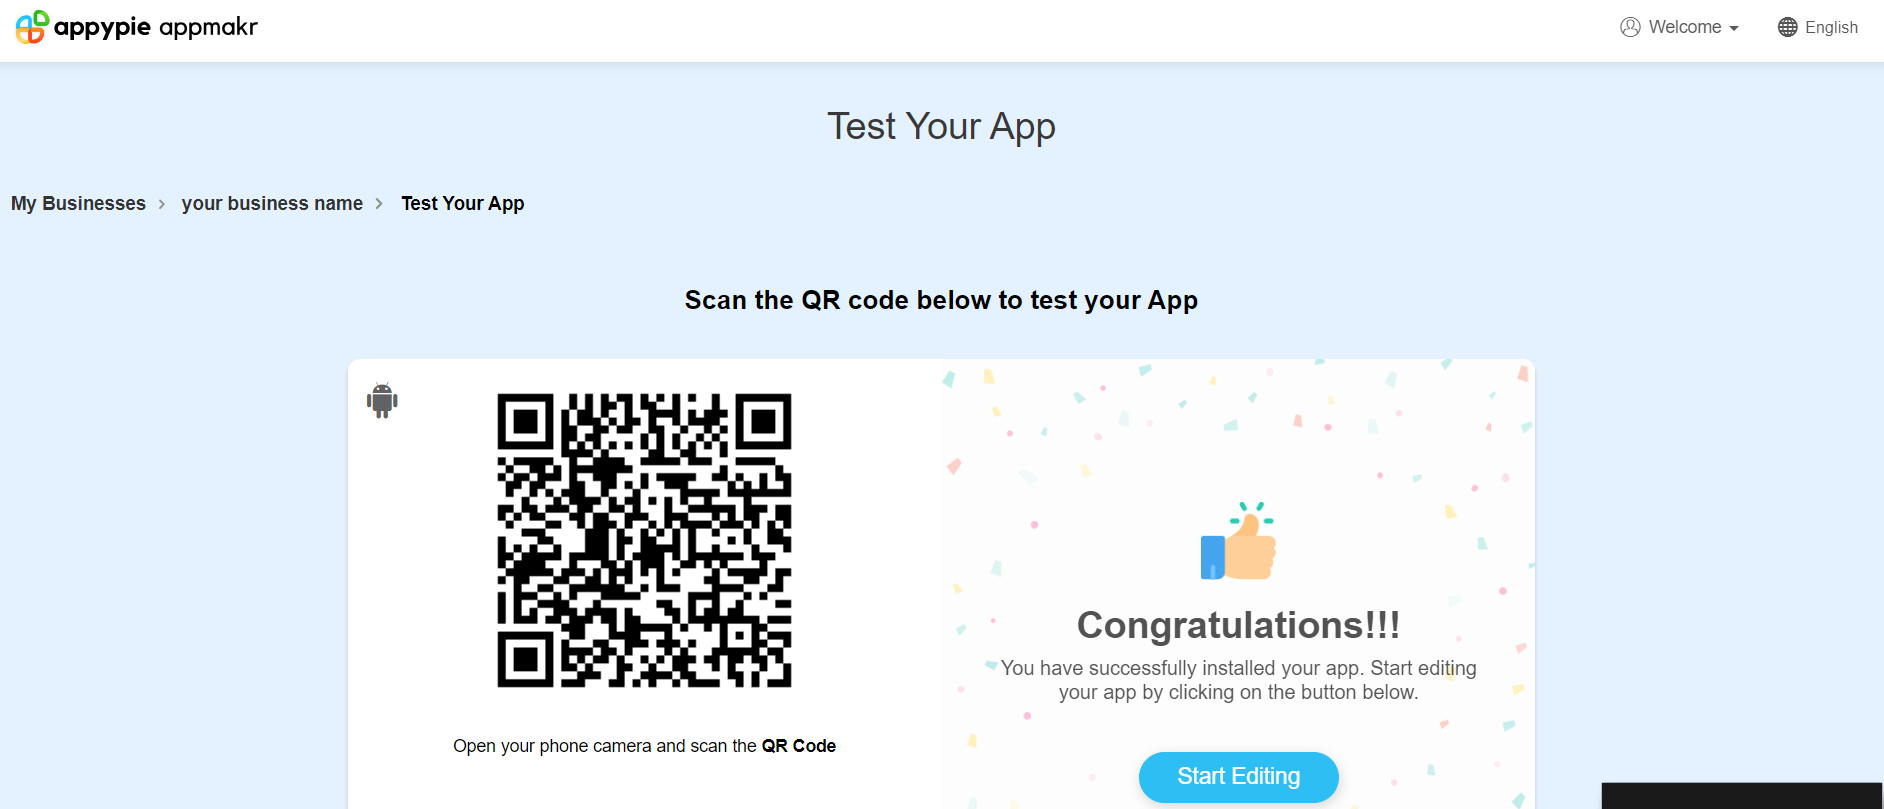
Next, open your phone camera and scan the QR code. Appy Pie will direct you to install an application called “Test Lab App”. After installation, enter the email address that you used to create your Appy Pie account. You should be able to view your application on your mobile device.
Publish Your Application
Once you are happy with the outlook and features of your application, publish it to the Google Play store or Apple’s App store so that your potential clients can download and use your application.
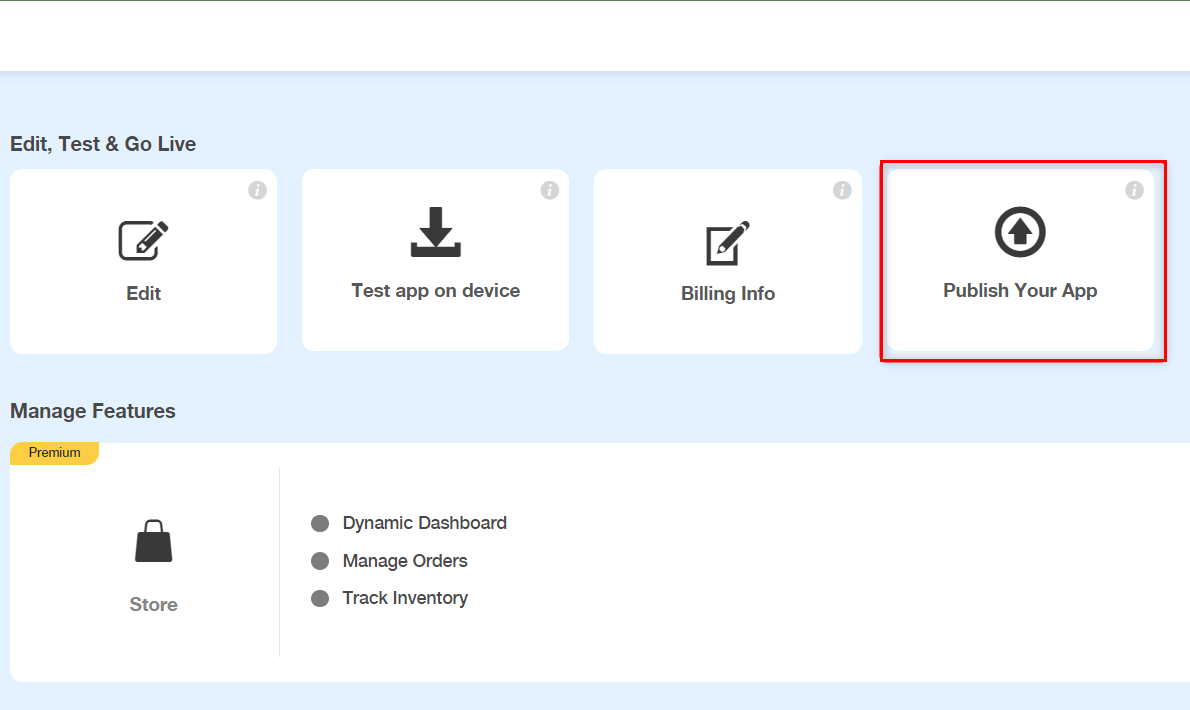
From your application’s homepage, click on “Publish Your App”.
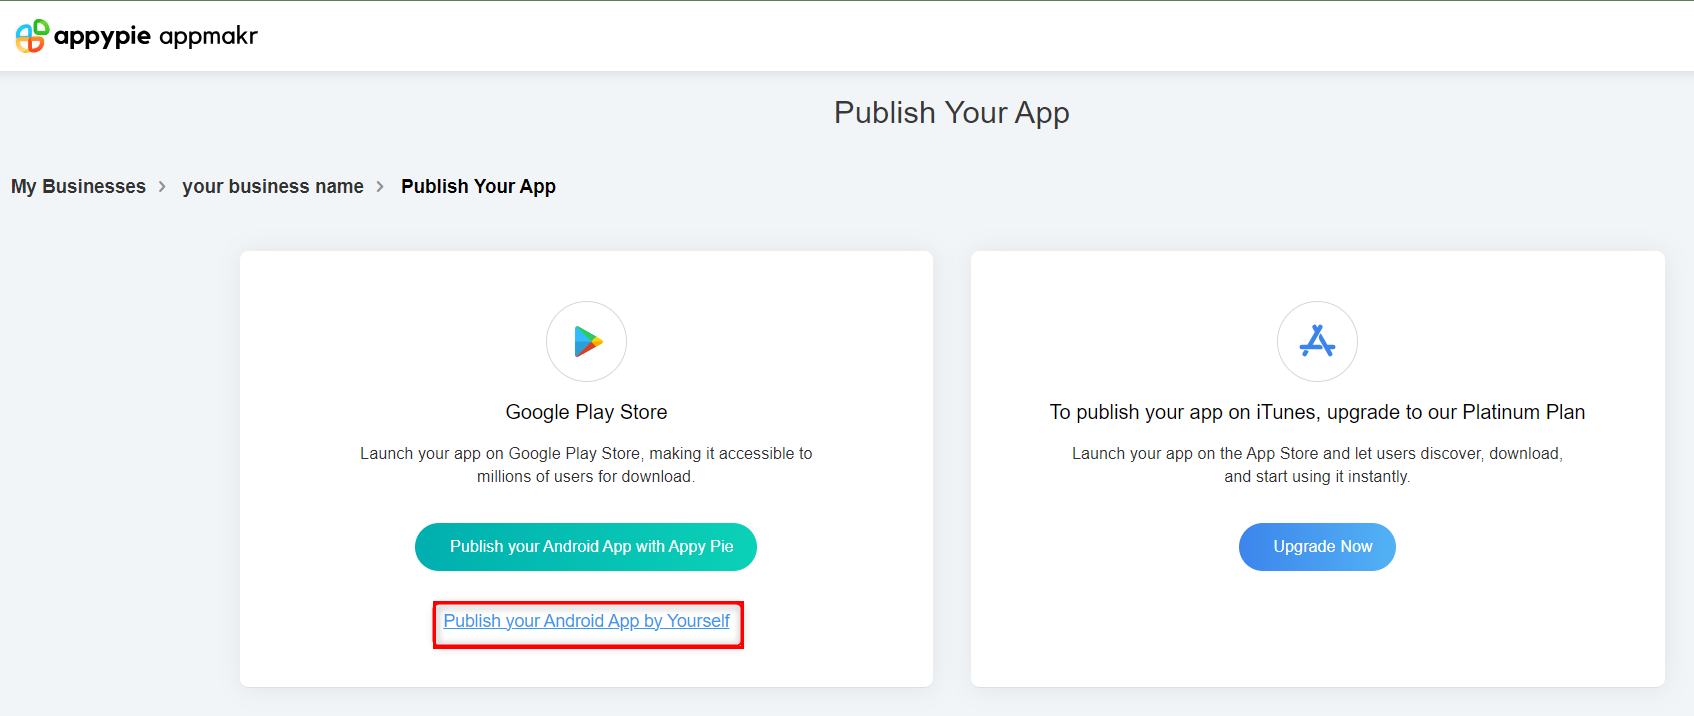
Using the free trial, you can only publish your application to the Google Play Store. To publish to the App Store, you need to upgrade to the premium plan.
Click on “Publish Your Android App by Yourself” if you do not need help with the publishing phase. Once you do that, there will be a list of steps to guide you. Follow the steps to publish on Google Play Store and your application will be published.
Alternatively, you can click on “Publish Your Android App With Appy Pie” to schedule a meeting for your application submission assistance.
Ensure that you have a Google Developer account to be able to submit your mobile application to the Google Play Store.
How to Cancel an Appy Pie Subscription
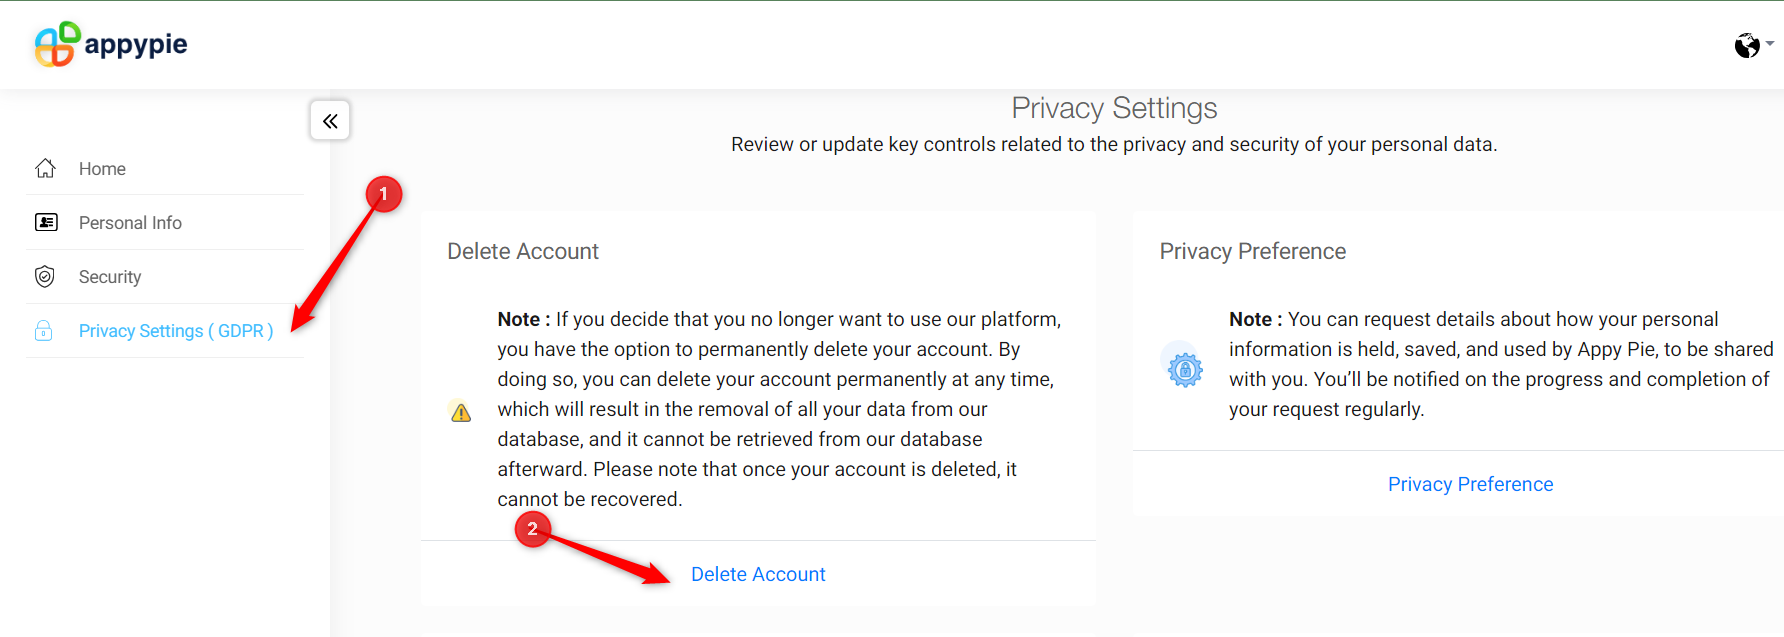
This is an optional step in case you decide you don’t want to pay for a premium plan. If you want to cancel your subscription, go to “Privacy Settings (GDPR)” at the left corner of your homepage. Then click on “Delete Account”.
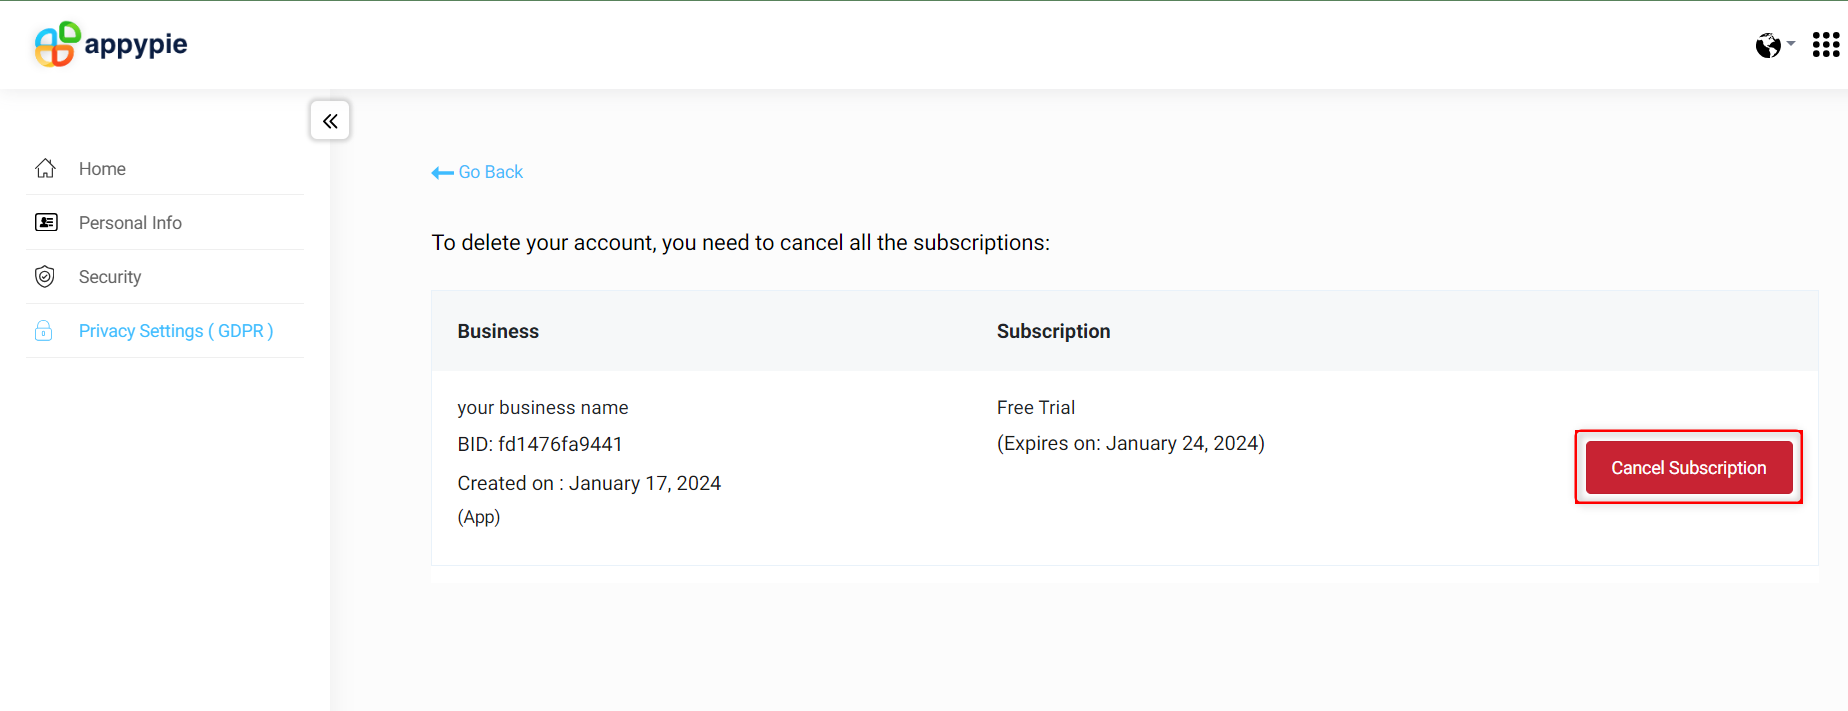
Next, click on “Cancel Subscription”, follow the instructions, and Appy Pie will cancel your subscription.
Congratulations on developing your mobile application! Remember to ensure that your product images are of high resolution so that customers can have a visual representation of what they are paying for.

