Key Takeaways
- Keep a table on one page in Word by adjusting paragraph settings to force rows to stay together.
- Adjust the table properties to repeat table headers, resulting in column headers being displayed on each page that the table spans across.
- Save table settings as a template for future use and easily add rows or columns while maintaining formatting.
Tables are a really useful feature in Microsoft Word, as they allow you to present information and data tidily. However, you can sometimes run into problems when you add a table towards the end of a page. Here are some ways to handle that problem.
What Does Word Do with a Table Larger Than One Page?
By default, Word automatically continues your table onto the next page.
You might prefer it to stay on one page or repeat the headers to make the table easier to read. Let’s look at how we can fix this problem.
How to Keep a Table on One Page in Word
This will only work if your table is one page or less in length. If your table is longer than one page, you might want to repeat the column headers instead. We’ll cover that in the next section. Alternatively, you can reduce the font size, adjust the line or paragraph spacing, or resize the columns to reduce the length of your table.
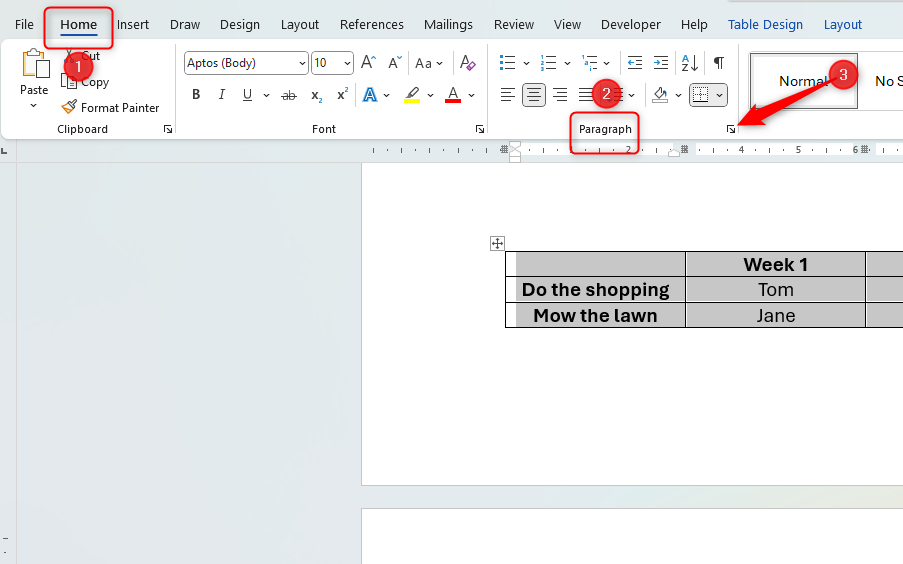
To keep a table on the same page in Word, you’ll need to adjust the paragraphing controls within your table’s rows. To do this, highlight every row in your table, except for the bottom row. This includes your table header row.
Next, with the table still highlighted, in the “Home” tab on the ribbon, click the “Paragraph Settings” icon in the “Paragraph” group.
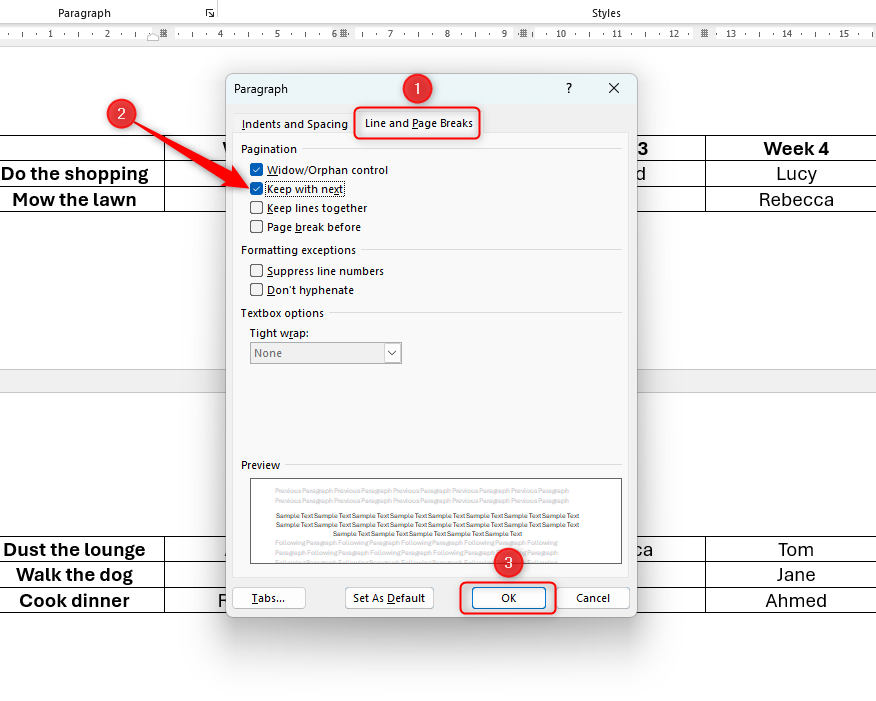
This will open the Paragraph dialog box. In the “Line And Page Breaks” tab, ensure the “Keep With Next” box is checked, and click “OK”.
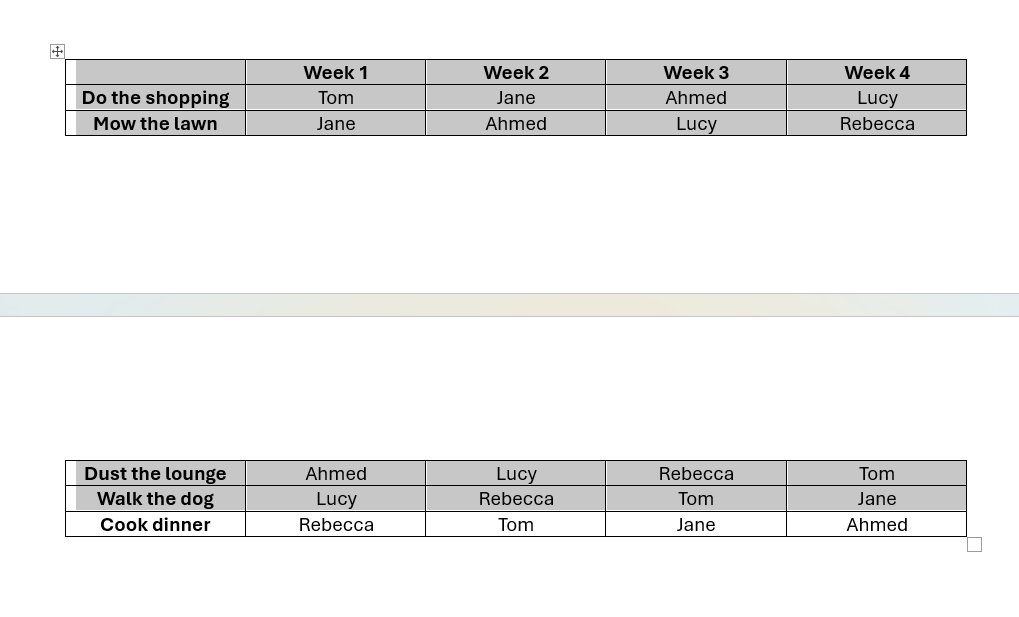
Now, each row you highlighted in your table has been forced to stay next to the row below it. This is why we did not highlight the bottom row of our table—we did not need the bottom row to stay next to whatever followed it, as that’s where the table ends.
As a result, Word will now force your whole table to move to the next page. However, after you have completed these steps, if you’re unhappy with the resulting layout of your Word document (you will end up with a gap at the end of the previous page, as the table is forced to the next page), you can keep your table spanning two pages but repeat the header row on each page for clarity. To do this, press Ctrl+Z and follow the steps below.
This is the best way to tidy and present your table if it is more than one page in length, or if you’re happy to have a smaller table spanning two pages.
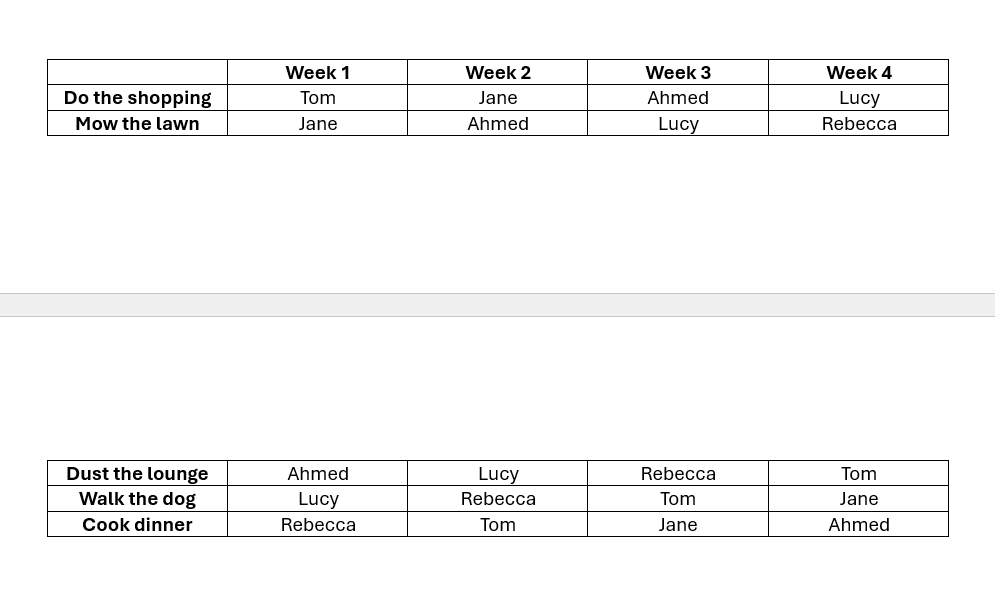
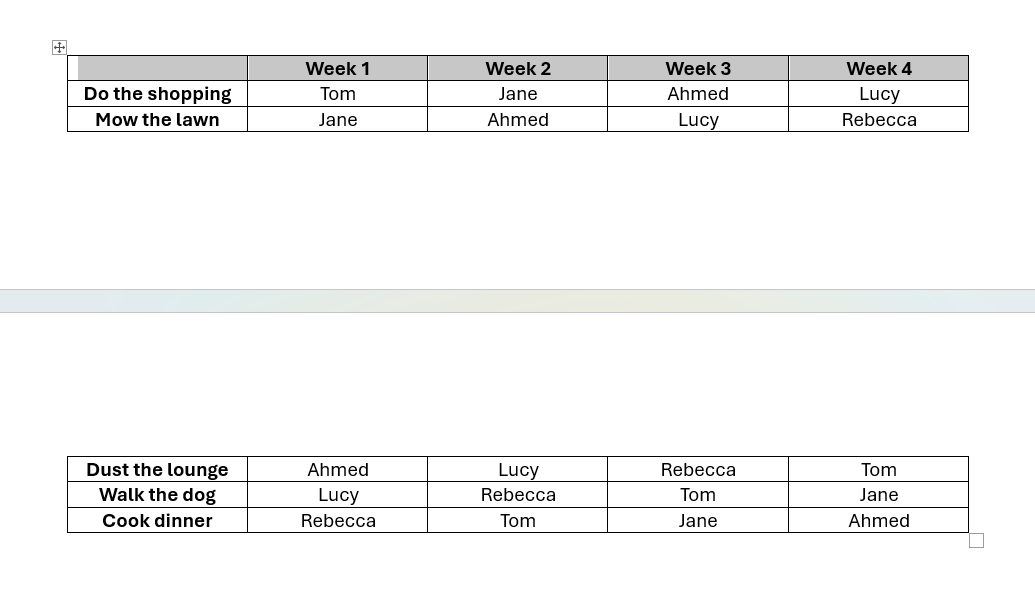
Another way to present your table clearly in your Word document is to repeat the colum headers, meaning they will show at the top of your table on every page it spans. In this example, if you were to print your Word document, the second half of your table would not contain column headers, meaning the reader might not know what each column refers to.
So, to repeat the column headers, first highlight the header row in your table.
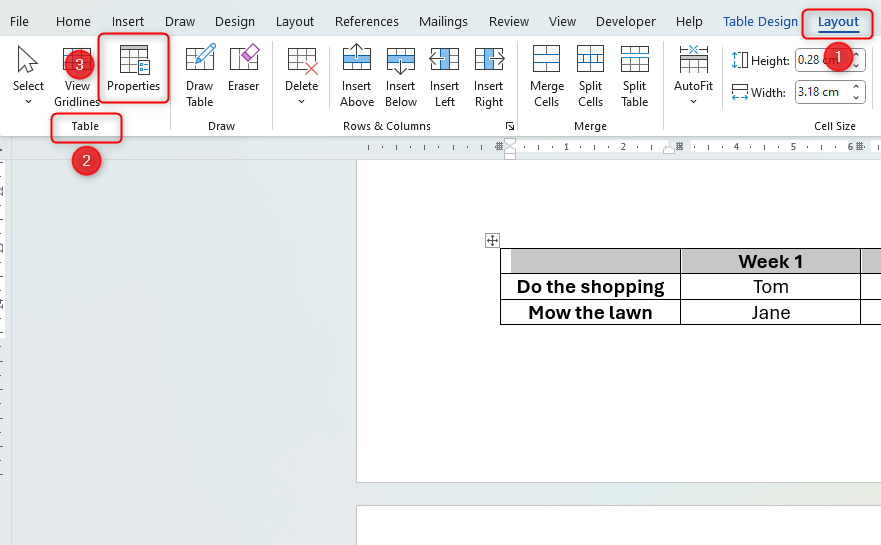
Next, in the “Layout” tab on the ribbon, click the “Properties” icon in the “Table” group.
Be careful, here—when you are amending a table in Word, there are two “Layout” tabs. The one on the left is to adjust the layout of the whole document, whereas the one on the right is to adjust the layout of the table. Make sure you click the one on the right.
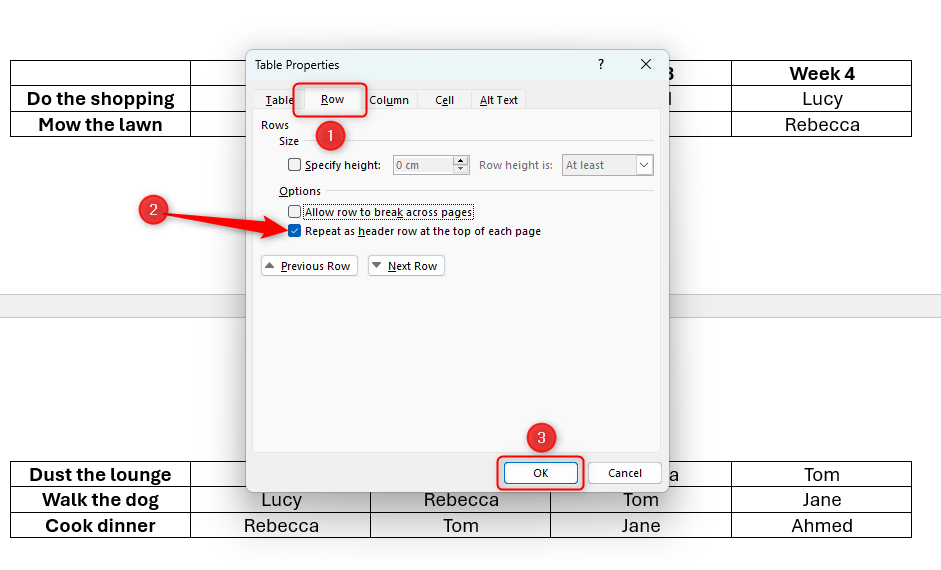
In the Table Properties dialog box that opens, in the “Row” tab, make sure the “Repeat As Header Row At The Top Of Each Page” box is checked, then click “OK”.
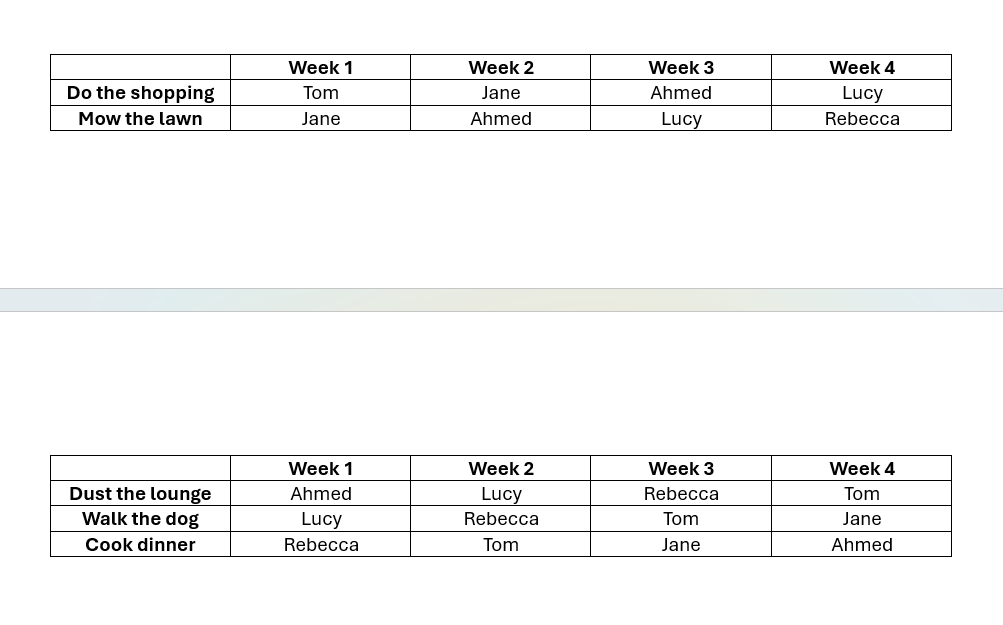
Word will now force your title row to repeat when your table extends to a new page.
If you want to amend the details or formatting of the header rows in your table, simply apply these changes to the first header row at the very top of your table, and the changes will be applied to each repeated header row on any subsequent pages.
Now you know how to tidily present your table in Word, you can add further rows or columns to your table, and the settings you have already applied will remain in place. Furthermore, if you want to add an additional table in your Word document with the same formatting, you can save your table’s settings and create a table template to reuse later on.

