This method of organizing the screws while you work on your motorcycle is straightforward and doesn’t require any special tools. Be sure, however, to carry an A4-sized piece of paper and a pencil/marker. Optionally, carry some sticky tape.
To get started, you’ll need to draw an outline of the part you are disassembling. Don’t worry, this doesn’t have to be a perfect recreation — a crude drawing will work just as well. Then, punch the screws through the paper in the corresponding spots as they appear in the actual part. If you’re working on a motorcycle part that has multiple panels with screws on each of them, use separate sheets for each panel and label them to prevent any mix-ups.
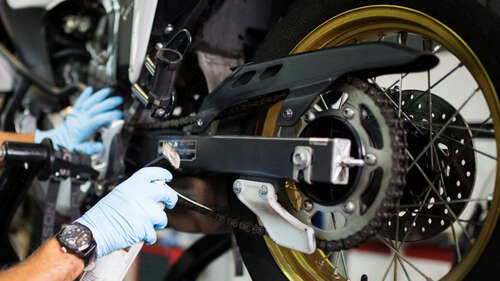
Alternatively, if you can’t or don’t want to draw, use your smartphone to take a picture of the motorcycle part you’re working on and print it out on an A4-sized sheet of paper. It’s a bit more involved, but you can then use this as your visual guide and punch the screws through the image for future reference.

