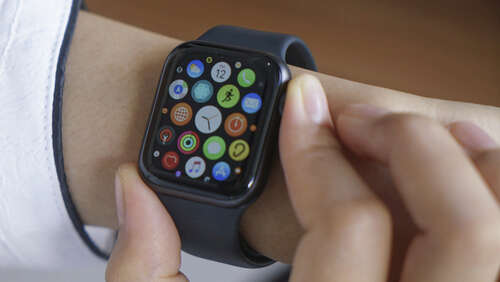
Assuming you have the necessary hardware, and live in a region where the feature is currently available, getting set up is a breeze.
- Open the Health app on your iPhone and select the Browse tab.
- Tap the Respiratory option and then choose Blood Oxygen. Tap the Enable button at the bottom of the pop-up when it appears.
- This process will put the Blood Oxygen app on your Apple Watch, which you’ll be able to access like other watch apps.
- If the Blood Oxygen app doesn’t show up on your Apple Watch, you’ll have to visit the App Store on your watch and download it manually.
- To use the feature, open the Blood Oxygen app on your Apple Watch while the watch is on your wrist, making sure it’s not too loose or too tight, and is positioned correctly with the back of the watch against the back of your wrist. It’s best to remain relatively still, and keep the watch face pointed up (towards the ceiling or sky).
- Tap the Start button and hold your arm steady — ideally resting on a table or other sturdy surface — with your wrist and palm facing down until the test is complete. This should take about 15 seconds.
- When you’ve finished viewing the results, tap the X button to close.
You may receive inaccurate results due to cold temperatures, a high (over 150 bpm) heart rate, or bruises, tattoos, or other markings on your skin blocking the sensors.

